Table of Contents Show
by Levin Müller-Holste
In the fourth semester of my bachelor’s degree in Media Design at Ostfalia University in Salzgitter, I was allowed to choose a specialisation subject and an associated project. The following project was to focus entirely on this area and be completed over two semesters. I quickly decided to create a homage to the Japanese film “Castle in the Sky”(is.gd/castle_in_the_sky). I wanted to experience the feeling of scrutinising such a great production. It was released in 1986 and, like many of the Studio Ghibli productions, is a 2D film. So I was tempted to convert this 2D film into a 3D version and bring my own style to it.
The story
Castle in the Sky is about a flying island called Laputa. According to legends, there are riches and technologies on this island. However, it has so far remained hidden from humans, which is why various parties have made it their goal to find it.
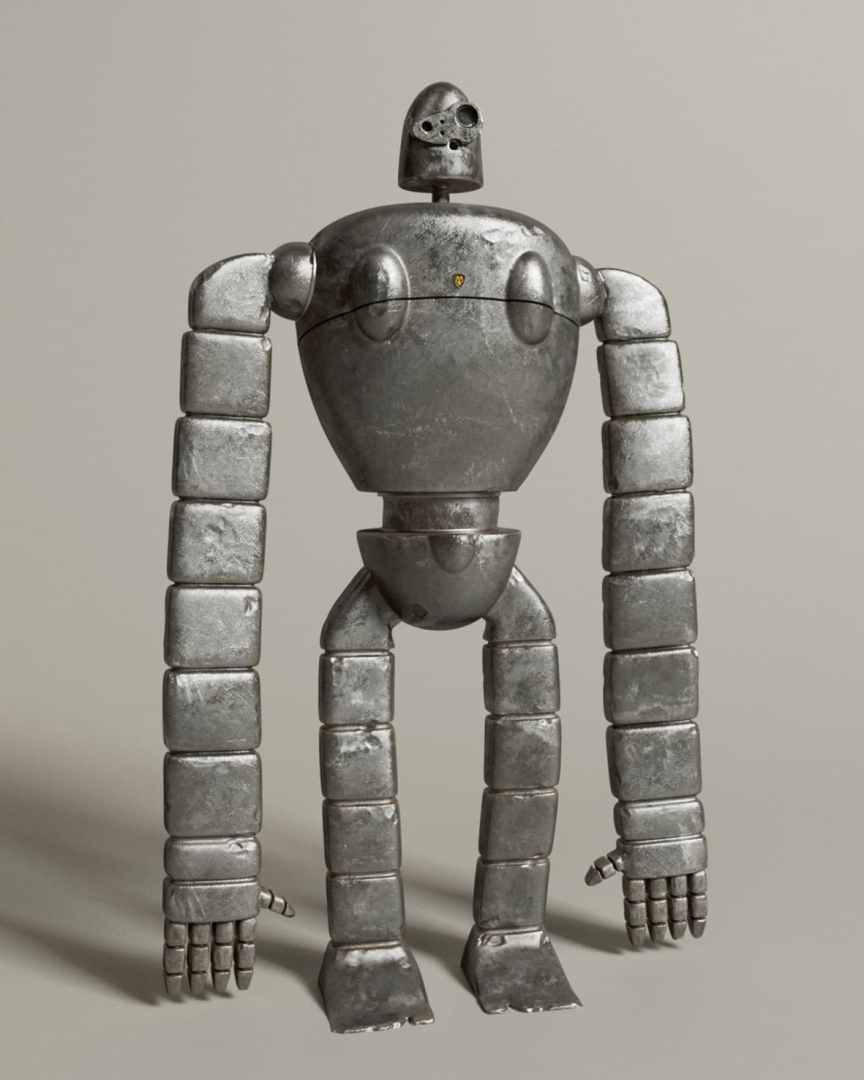
As I was of course aware that I wouldn’t be able to make the whole film in 3D, I first asked myself the following questions: What do I want to show? The island of Laputa is the most important part of the film and, in my opinion, also the most beautiful. The island initially has a peaceful, quiet and deserted atmosphere. Technology and nature live in harmony with each other, which is particularly evident in the robot that lives on the island. Among other things, it is there to look after nature. The longer you spend on Laputa in the film, the more mysterious it becomes and secrets are gradually uncovered that lie beneath the surface of the island. The focus of the project should therefore be specifically on the island.
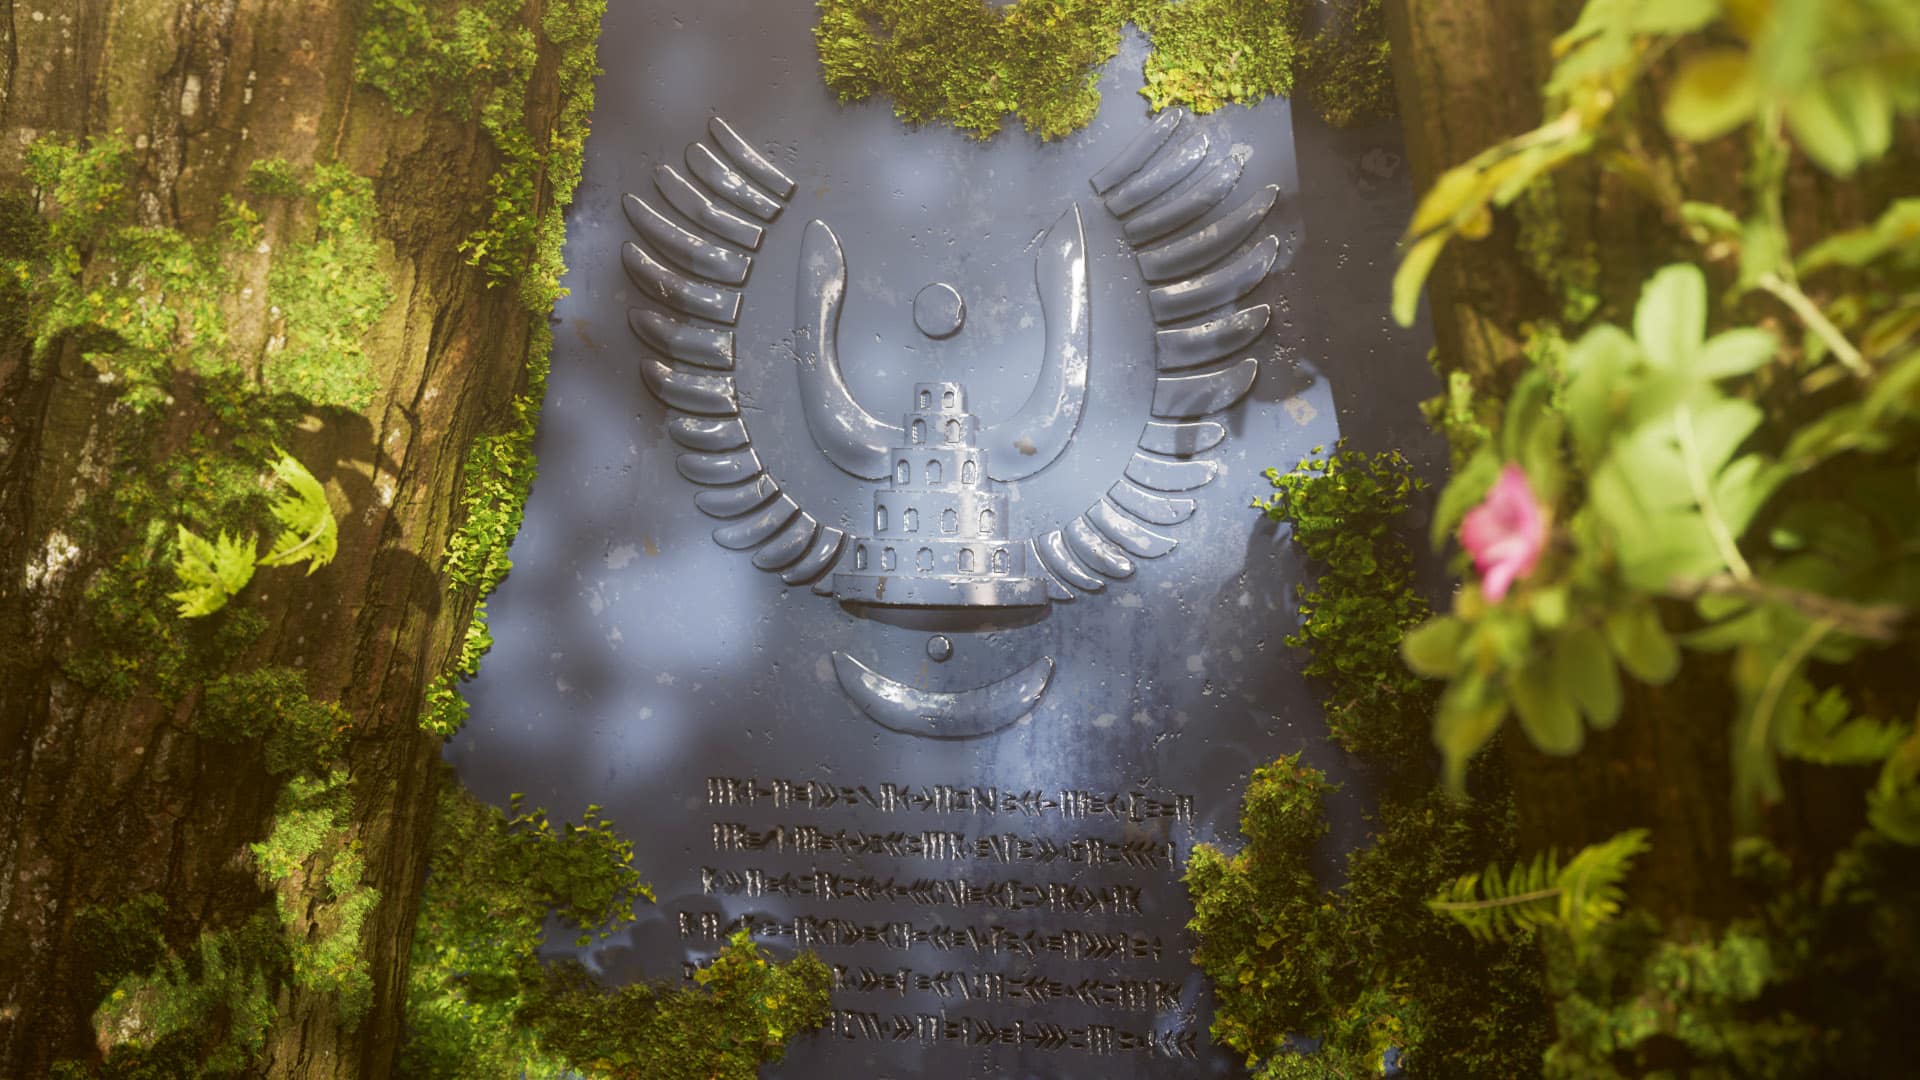
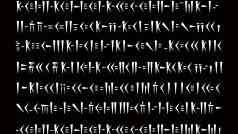
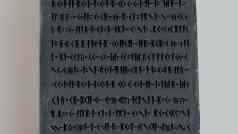
The result is a journey through the different parts of the action, with the main focus being diverted away from the characters. I deliberately left them out because I only wanted to focus on the appearance of Laputa to convey the feeling of what it might be like to be there. I have emphasised individual elements, such as a plaque with an inscription or the aforementioned robot.
The process
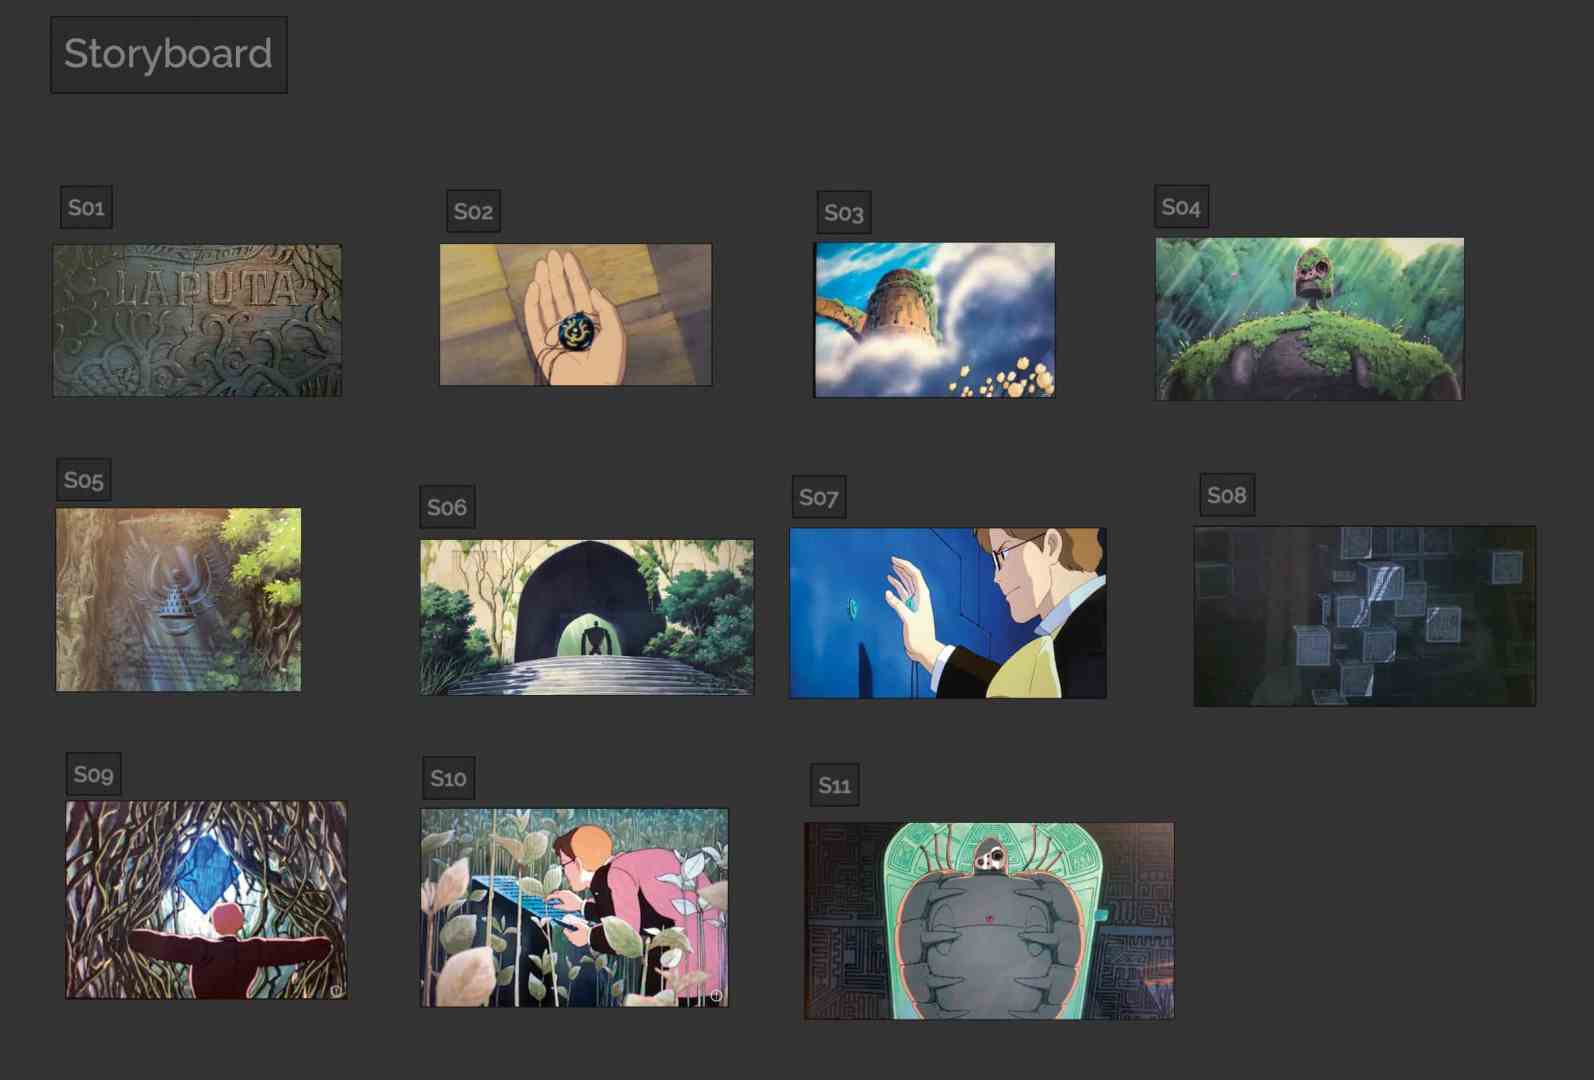
In the fourth semester, I started by analysing the film. I took a close look at the important scenes on the island and picked out some favourites that I could imagine implementing. I used PureRef (pureref.com) for all the thoughts, images and information I collected. My first storyboard was created there. At the same time, I created an animatic in After Effects and added my first music. This gave me an idea of how long the various shots would be. This was changed again and again during the fourth semester, shots were shortened, lengthened or exchanged. A few of the shots were already firmly anchored in my storyboard after watching and analysing the film for the first time and I couldn’t imagine life without them. So as not to end up with scenes in 3D for nothing, I started with the realisation of the shots that were already certain. This meant that the process and working on the scenes was a bit of a mess, but I didn’t waste any time.

The realisation was done on my own setup – my PC is equipped with an RTX 3070, 32 GB RAM and an AMD Ryzen 7 3700X. This allowed me to edit and render all programmes and the wealth of geometry and textures well. I rendered the project in 1920 × 1080, with most frames taking an average of 12 minutes to render. The realisation was mainly done in Cinema4D. At the beginning of the fourth semester, I also set myself the goal of learning ZBrush and Substance Painter. I was able to integrate the two programmes very well into my workflow.
Modelling
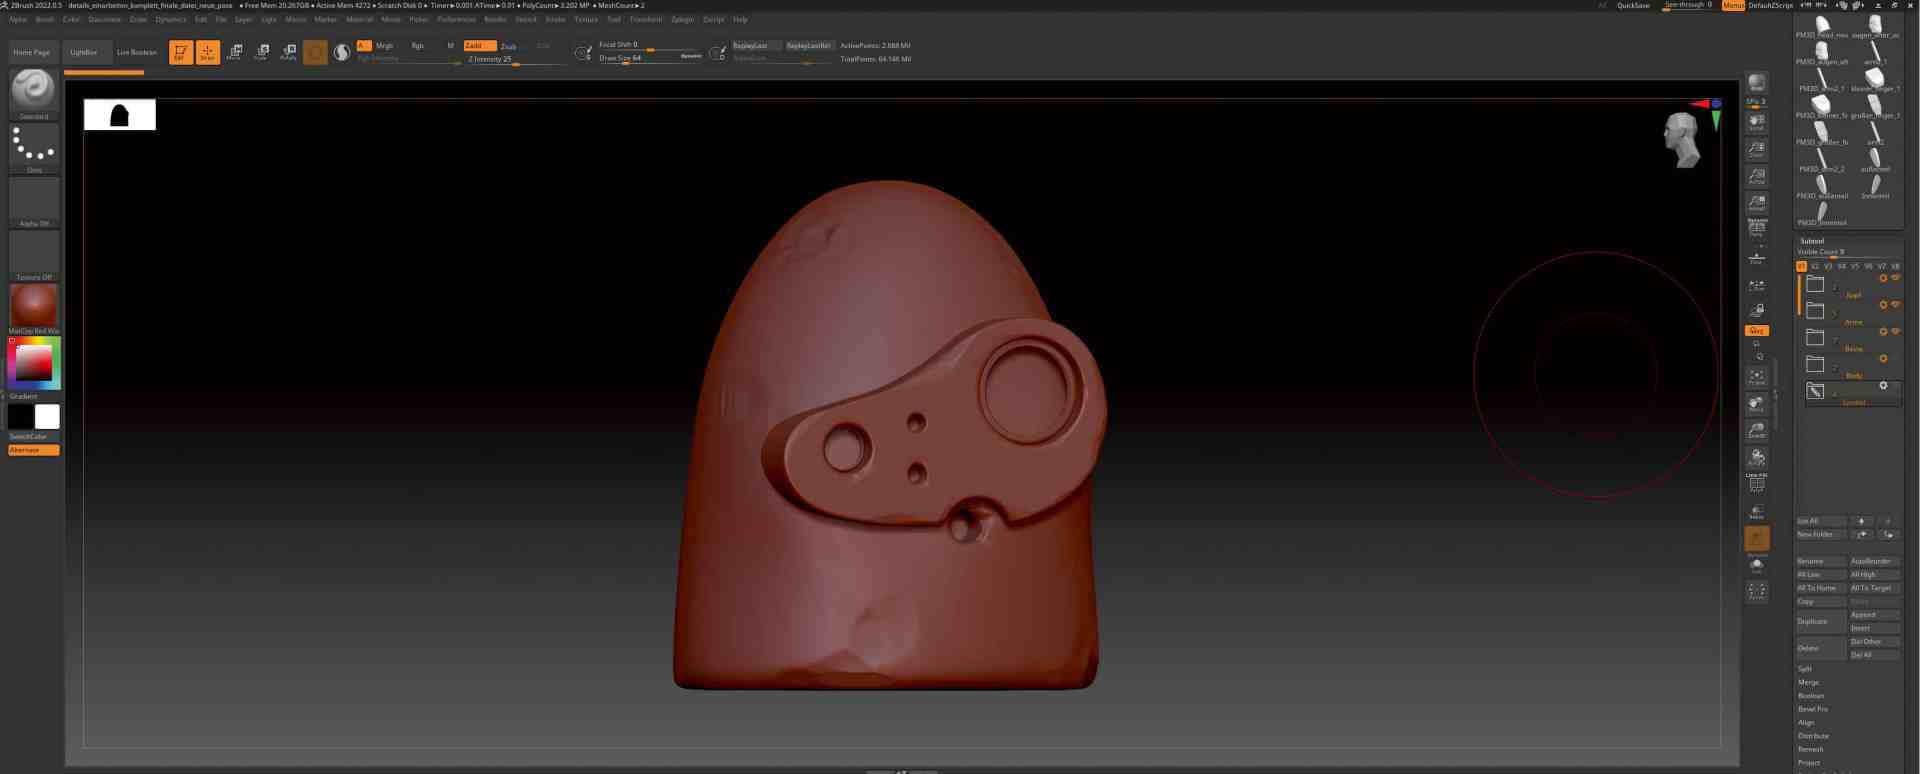
In order to achieve a satisfactory result, I wanted to model all the objects myself. Apart from the plants and the grass, which I scattered, I modelled all the objects myself. The blockout for all objects was first created in Cinema4D, then I imported the models into ZBrush, where I always used the ZRemesher. Then the details were sculpted. For example, the robot was given lots of small dents and bumps.
It was important to me not to have a clean CG look, but to embellish the scenes with lots of small details. As soon as I was happy with the sculpting, I went to the dynameshen, created a high poly and a low poly version and added UVs to the low poly version. For this I used the tool RizomUV, which specialises in creating UVs, so it was much quicker for me than using Cinema4D. Here you can see the whole process, with the individual steps, up to the finished image. For some scenes, I even traced the original font from the film in Illustrator so that I could work close to the original.
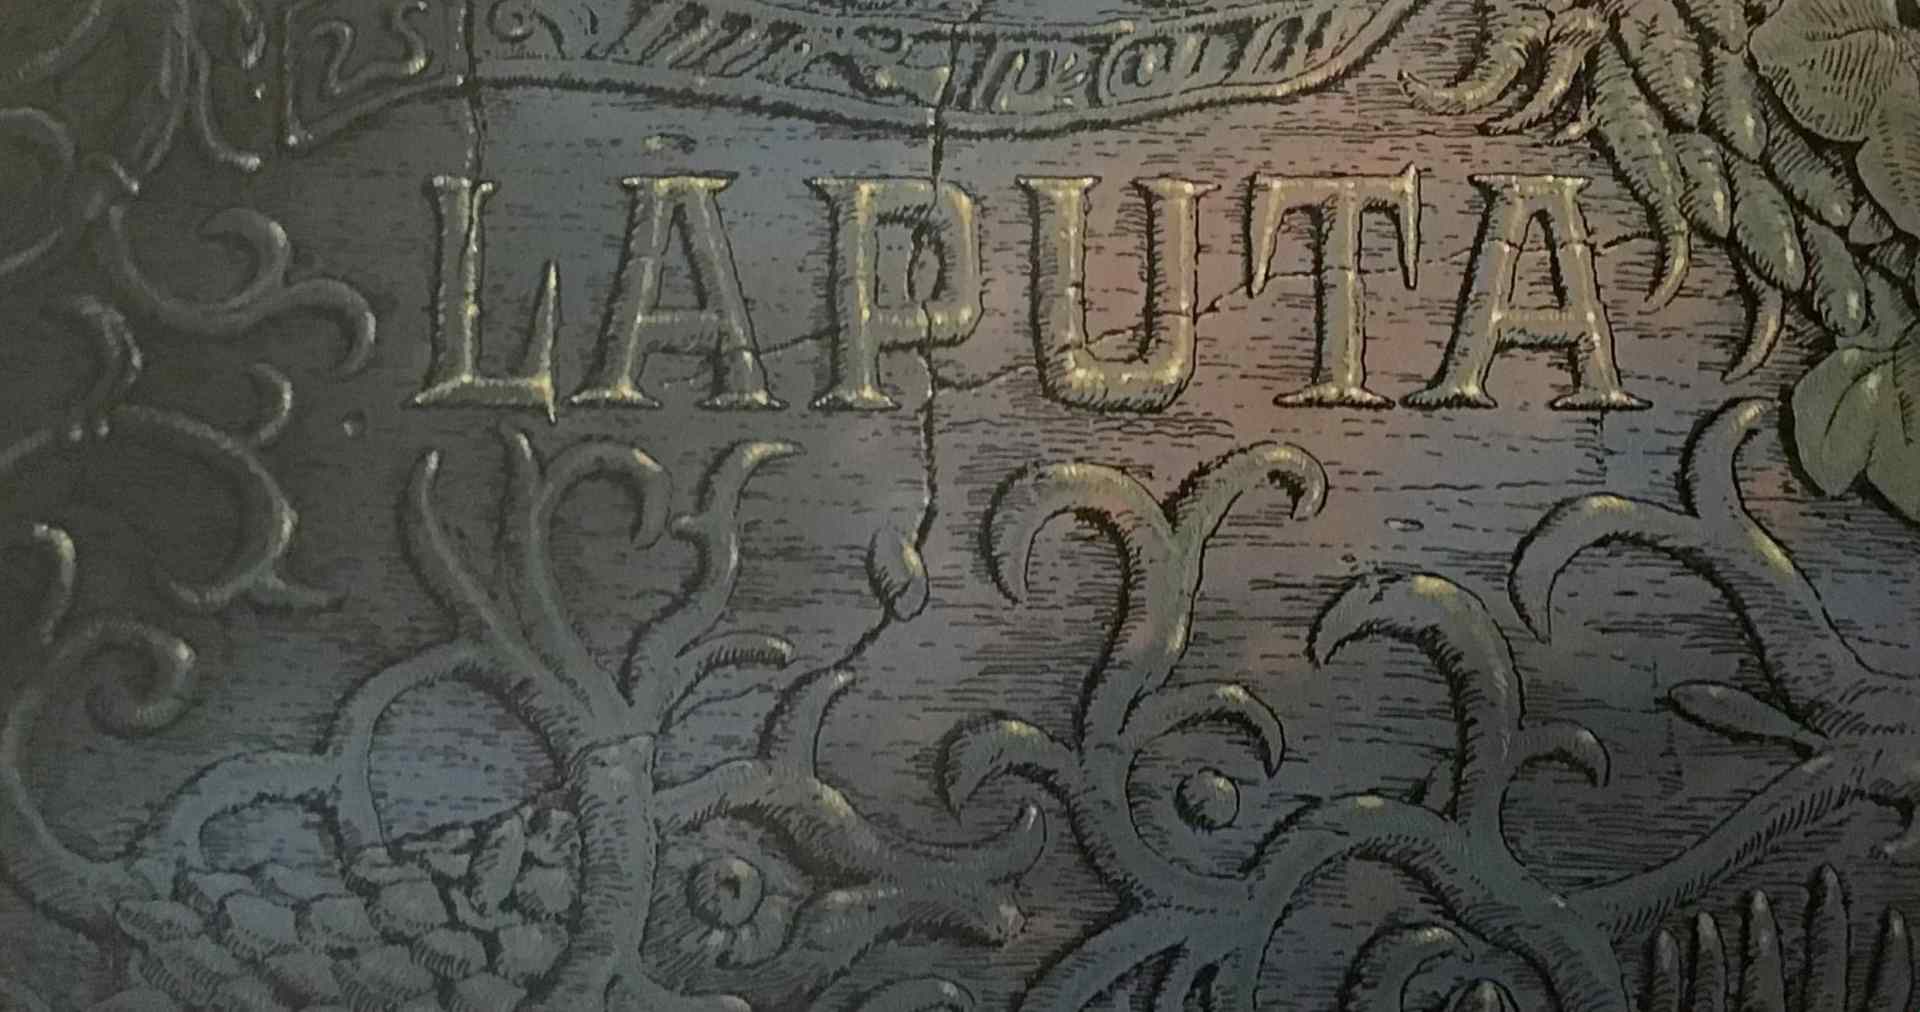

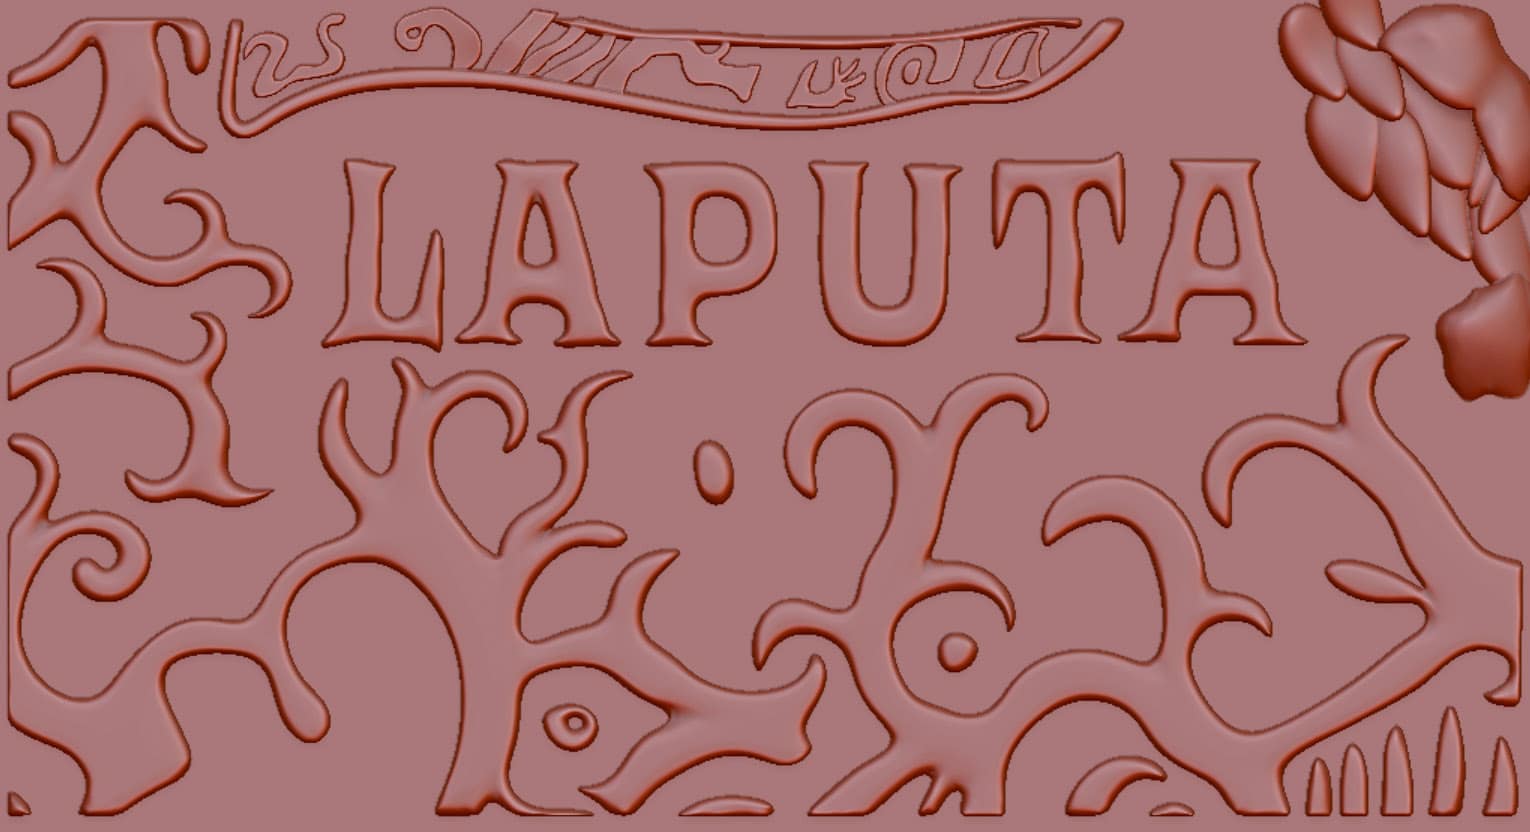

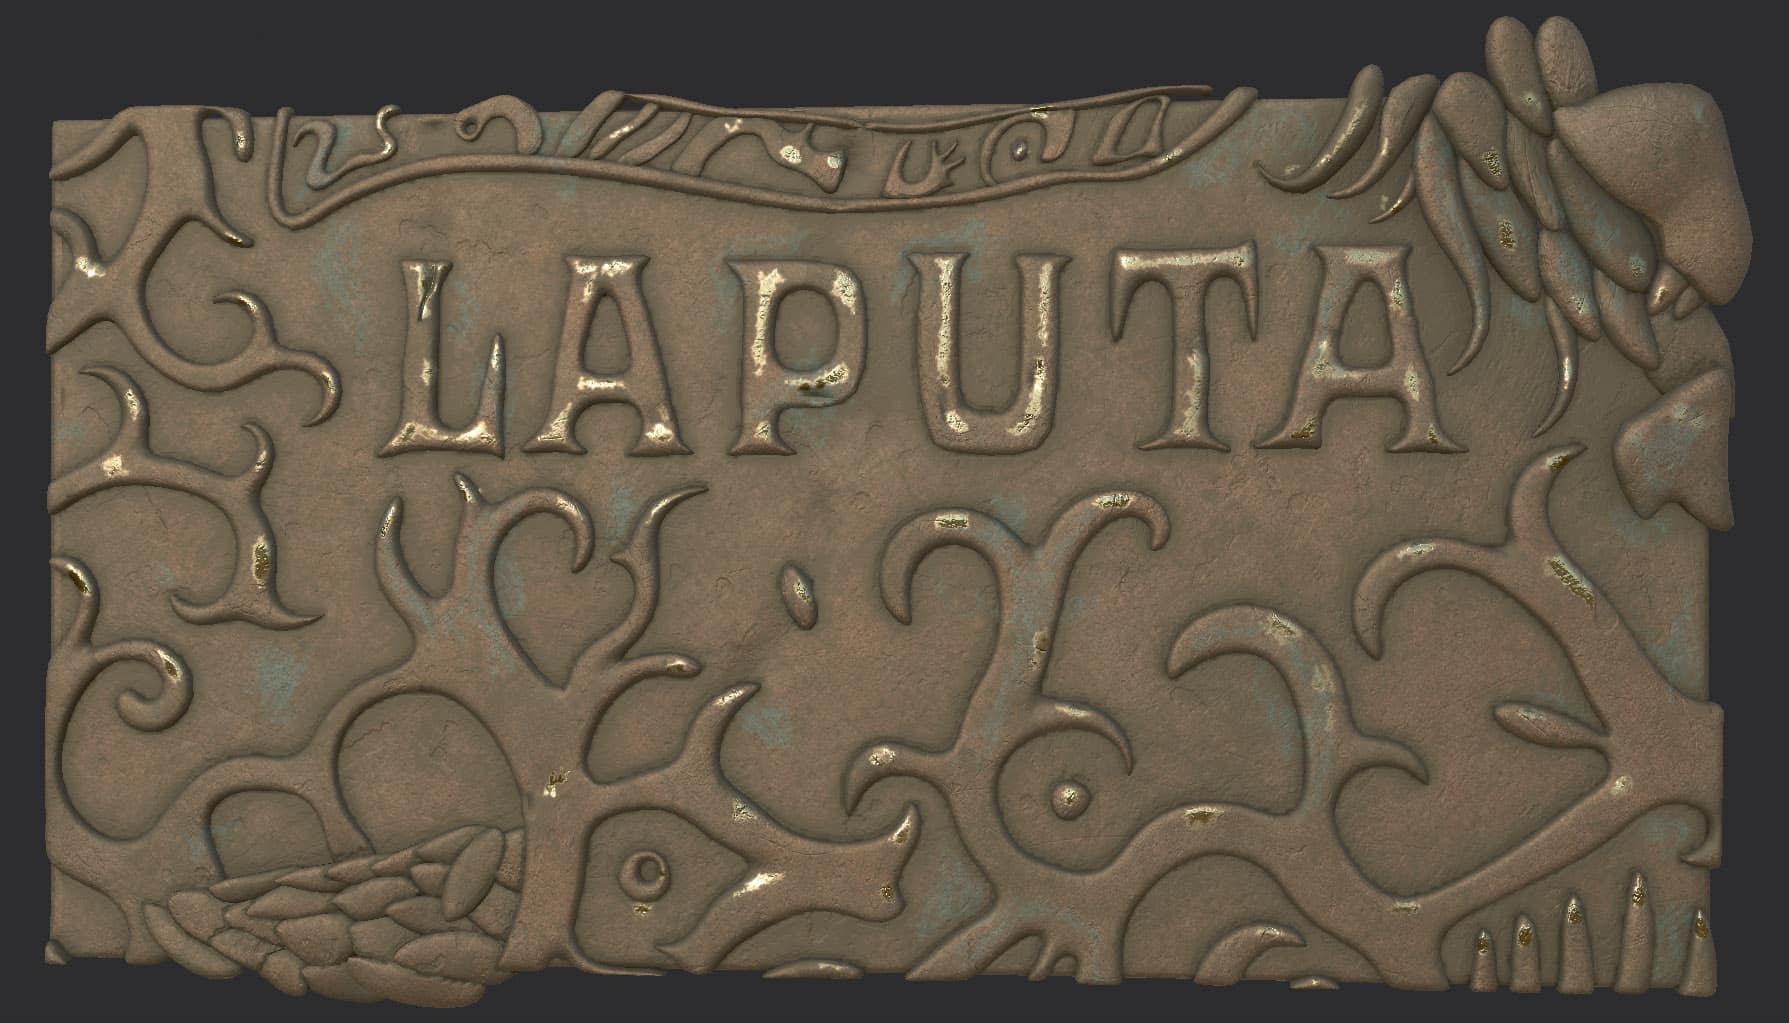

With the UVs created, I then went to Substance Painter. There I loaded in the low poly version and baked the high poly version. This gave me the lowest number of polygons and still the high poly details. I used a mixture of smart materials, self-created procedural materials and hand-drawn masks. I wanted each model to have its own story.
Small cracks, wear and tear, dirt and dust decorate all objects that have been on Laputa for a long time. I mostly exported the textures in 4K, for close-up shots in 8K. They were imported into Cinema4D, where I used Redshift to set up the shaders and decorate all the objects. Of course, it wasn’t important to use Substance Painter for all objects in all scenes, so I also created some material using Redshift’s classic node system.

Lighting
The most exciting, fun and challenging part for me is the lighting. In my work, I specifically focus on the light and the mood it creates. My renderer of choice is Redshift. However, as Redshift is a biased renderer, unlike Octane, it is a little more difficult to create beautiful and realistic lighting settings. It’s always a challenge for me and I try to create a nice contrast between light and shadow and generate a focal point.
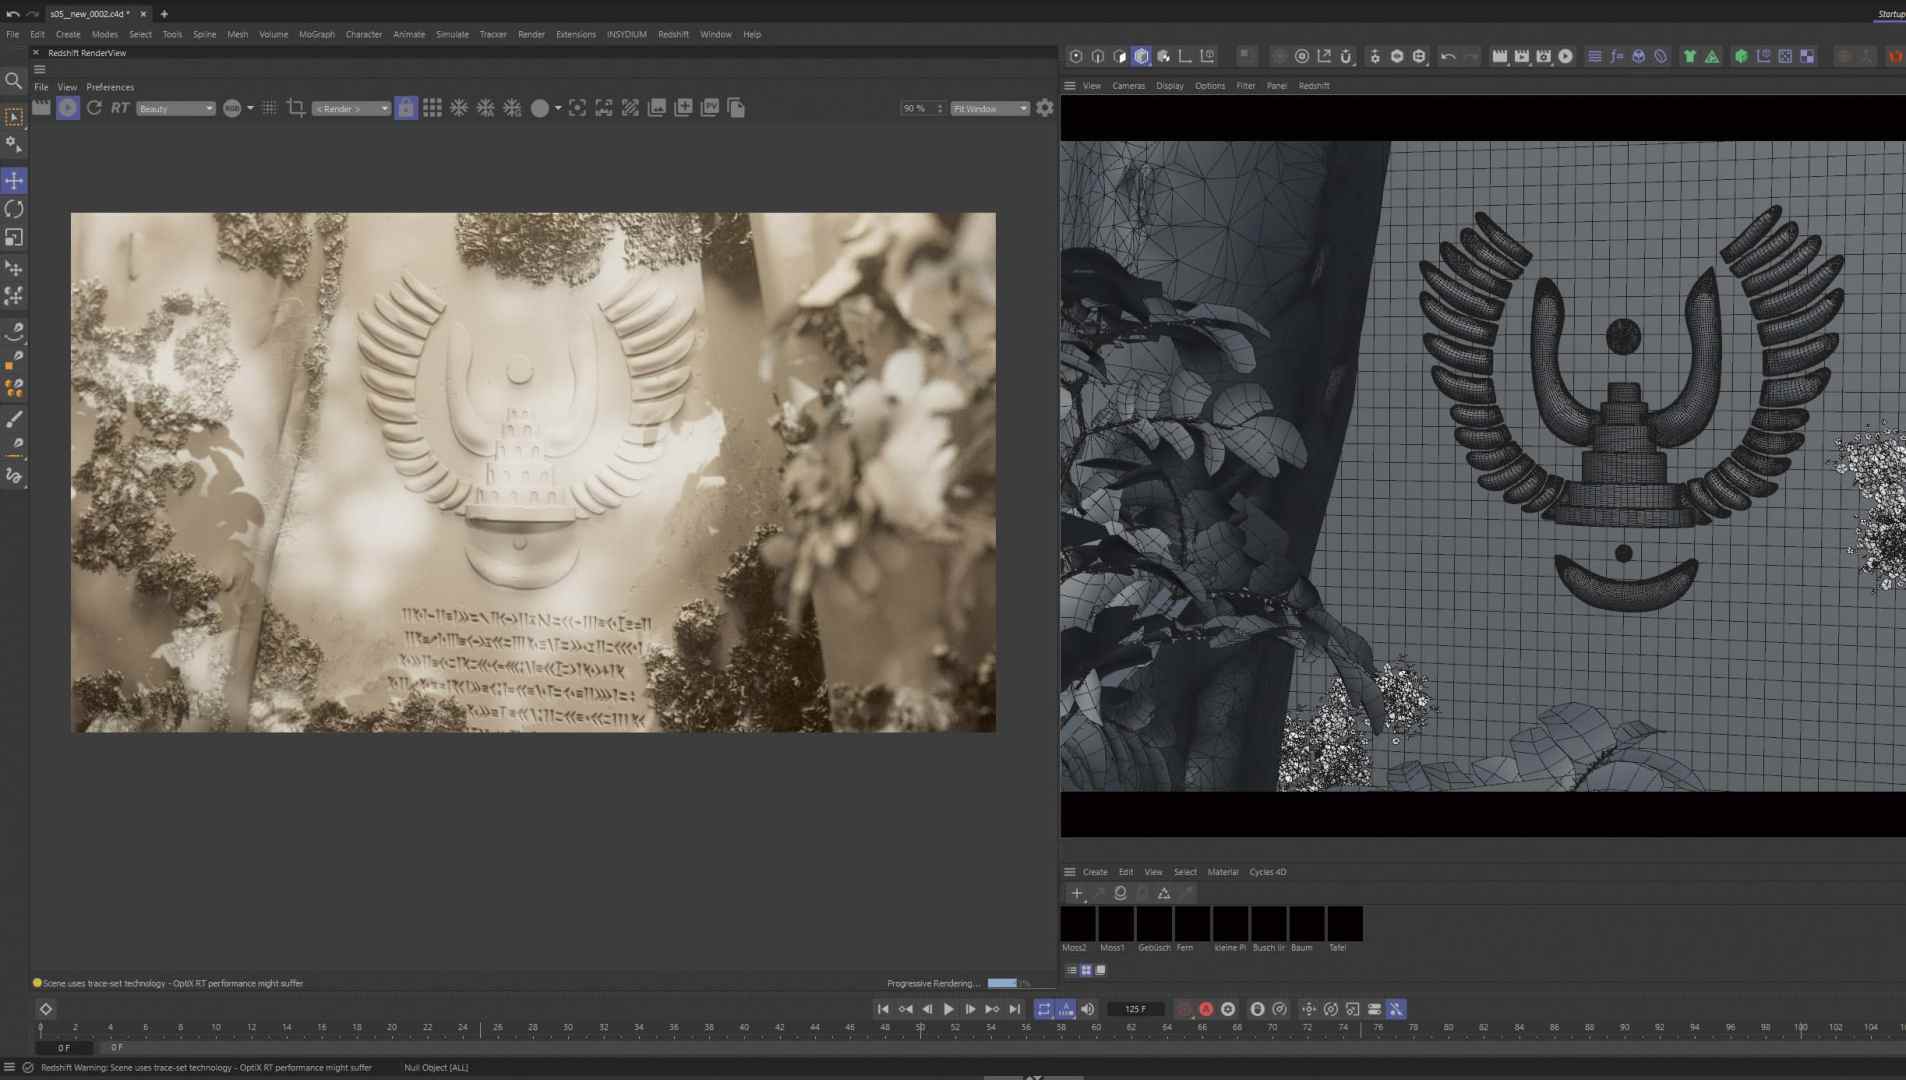
What stands out in the scenes and where is the focus? The look should be dreamy and take into account both the real scenes in the film and my own ideas. I try to get as close as possible to my idea of the final image in Cinema4D so that I don’t have to do a lot of compositing work. The scenes are mainly equipped with area lights, whereby the outdoor scenes were still equipped with dome lights together with an HDRI map and a sun & sky rig. With the area lights, I work with colour settings instead of temperature, as this makes it easier for me to get small colour accents in the light. An important point to achieve a realistic look is that I never set my lights to 100 per cent white, as nothing is 100 per cent white in reality either. These are the little details that make the difference for me in the end.
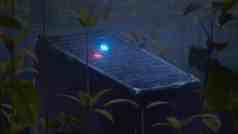
For the fourth shot, the panel between the trees, I also used an animated gobo texture to accommodate a tree moving in the wind in the shadow. Volumes were also an essential part of the lighting. This gave me a more realistic look in the exterior scenes and a mysterious mood for the underground scenes. This created the dramatic mood in the final shot, for example, where the robot’s red lights come on.
To really capture the mood, I kept creating different style frames until I got the result I wanted. By experimenting a lot with light, I gradually got a better idea of what my scenes were missing and how best to light them.
Rendering
For rendering, I gradually adjusted all the render settings in all the scenes individually in order to achieve a good result between images without noise, but also shorter render times. As all my scenes generated a lot of noise due to many lights, depth of field, motion blur and volumes, I decided in the end to use a denoiser built into Redshift. All frames were output as EXR files and, in addition to the AOV passes, I also used the ACES workflow, which was still new at the time.
This means that I output all frames as linear EXR images in order to assemble and grade them in After Effects. With the ACES colour spectrum, the highs didn’t burn out so quickly during post-processing and the lows didn’t turn the darkest black so quickly. With Puzzlematte Passes, I was also able to rework individual elements and place a special focus on them.
Compositing
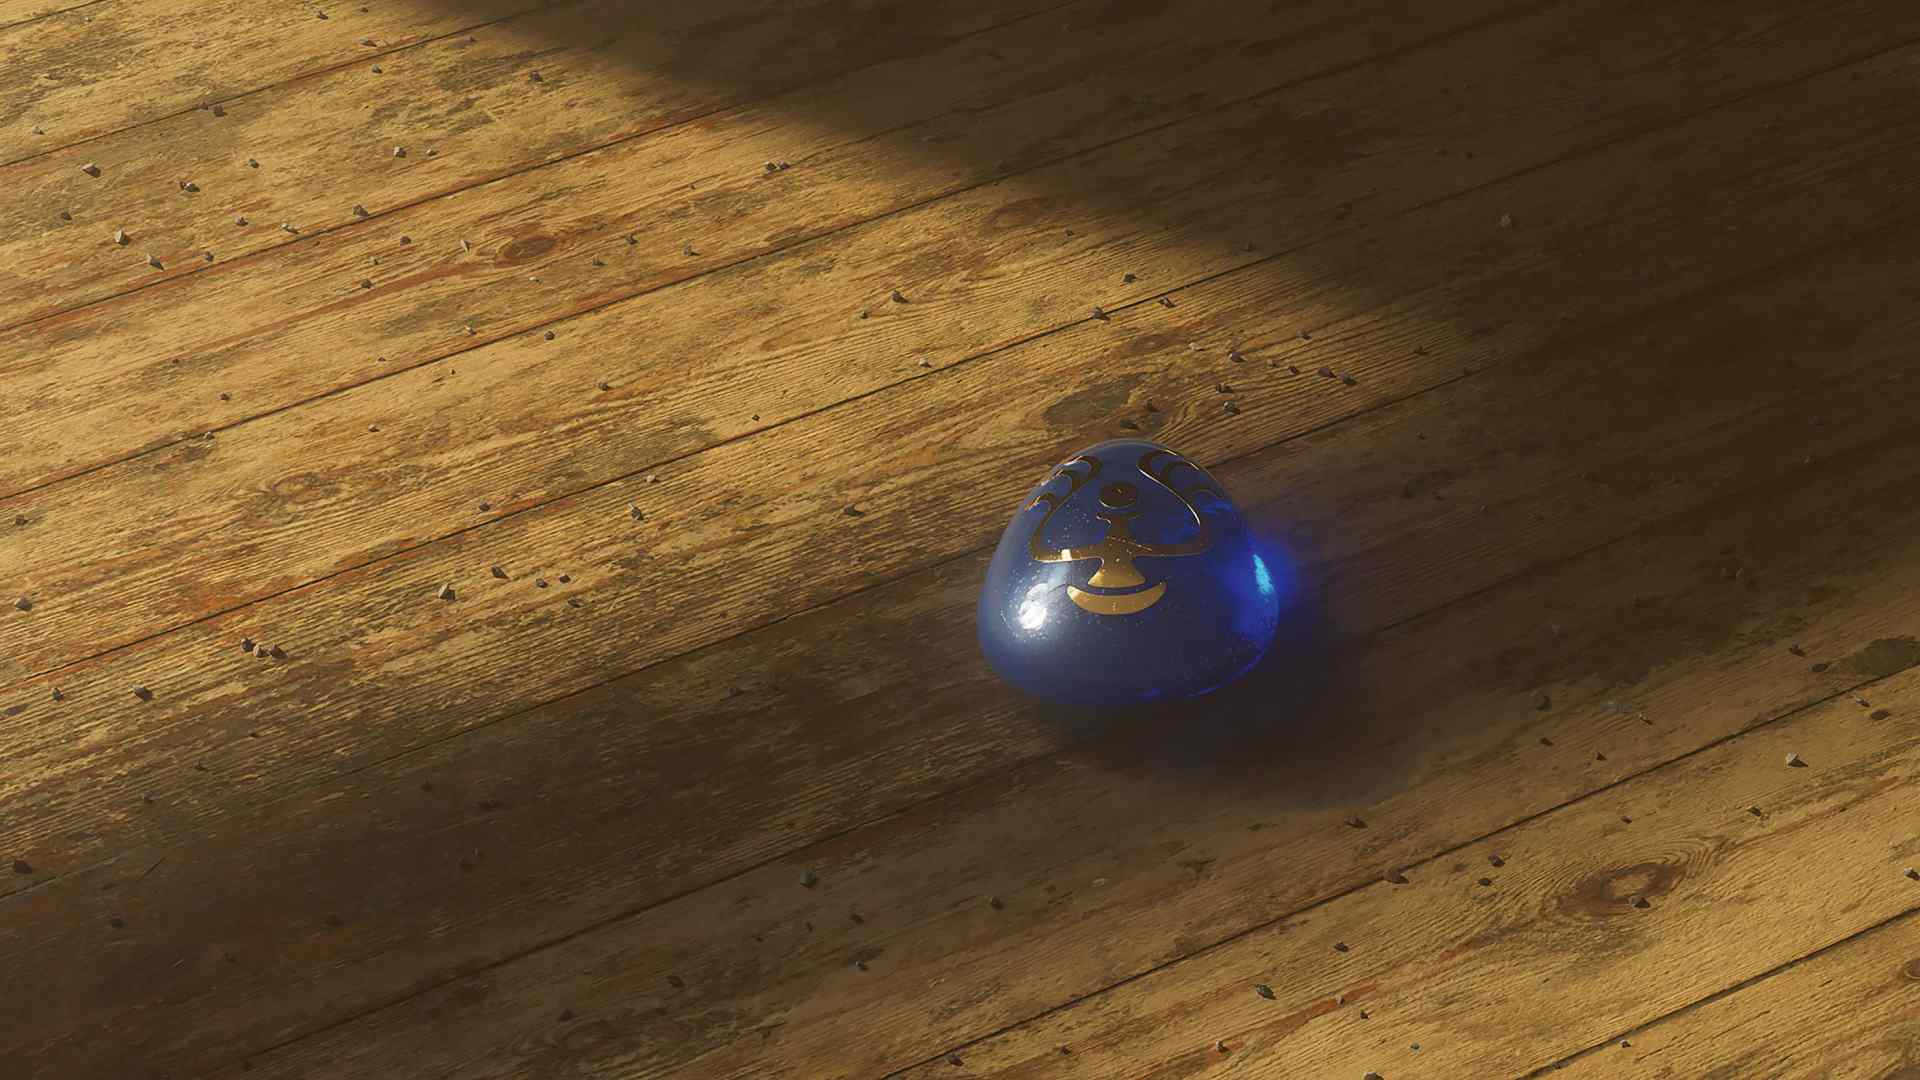
In After Effects, I put all the EXR files together and was able to edit individual AOV passes. I often reworked and emphasised Volume, Specular Light and Reflection Passes in particular. All the scenes were given an adjustment layer on which I adjusted the curves a little to achieve even more contrast. I increased the bloom effect in individual scenes, such as the stone that keeps lighting up.

I added a chromatic aberration effect and a noise overlay to give it a slightly more cinematic look. That’s right, I rendered the scenes with a denoiser to add noise again later. But only because the added noise is more like the noise you get when shooting with a real camera. I also used small dust particles as an overlay so that I could get a bit closer to the retro images of the original.
I didn’t do much in the way of colour grading, mostly just adding a little more saturation. As 90 per cent of the result was already created in Cinema4D and Redshift, only minimal adjustments are necessary – but these are known to make a difference and ensure that the most beautiful image is achieved.
Sound design
As the sound is at least as important as the image, I teamed up with sound designer Jürgen Branz very early on in the process, who developed the entire sound for the project. We wanted to support the visual aspects with appropriate sounds. The individual shots needed to have harmonious and mysterious tones to convey the feeling of being on the island of Laputa and experiencing what was being shown. In my process, I kept sending Jürgen new animatics so that he could adapt the sound to the images and movements, and he kept sending me sound sketches until we were both happy with the result. It was a nice collaboration and I gave him as much freedom as possible because I knew it would be a great result anyway.


Iterations
At the beginning of my fourth semester in April 2022 the project started and at the end of the fifth semester in December 2022 I was finished. My professor Melanie Beisswenger actively supported me throughout the entire time. We talked about the status of the project at short intervals and she gave me tips in all areas.
From creating the first animatic to look development, lighting, texturing and animation. I received valuable help from her in every area and without this help the project would only have been half as good. I reworked some scenes five or six times, but it was worth it.

Conclusion
In conclusion, I really enjoyed the project and I am grateful to have been able to deal with it in such depth over two semesters. I learnt a lot as it was my first big 3D project. I realised how important organisation and a proper file structure are – although it is precisely these points that I would do differently if I had to start again
start again. Saving all the scenes, textures, models etc. properly and working with a proper naming system would probably have saved me a lot of time. I am grateful to have been able to work with Professor Melanie Beisswenger and sound designer Jürgen Branz. As professionals in their field, they helped me a lot.
As I also have my Bachelor’s thesis coming up very soon, I’m going to dedicate myself again to a somewhat larger animated film with its own story and use all the experience I’ve gained to achieve an even better result. I share my journey in the 3D world on Instagram (@levin.mh), Behance (@levinmh) and Vimeo (vimeo.com/levinmh) and you can watch my animation “A Tribute to Castle in the Sky” there. Jürgen Branz can be found at (@juergenbranz) on Instagram and on his website (juergenbranz.de).
Studying at the Ostfalia
With around 12,500 students, Ostfalia University is one of the largest universities of applied sciences in Lower Saxony. It offers more than 90 degree programmes in the fields of law, economics, social and health care as well as engineering and computer science at 4 locations. The Faculty of Transport, Sports, Tourism and Media in Salzgitter has around 2000 students. Ostfalia University is a state university, so there are no tuition fees (except for long-term tuition fees if the student account is exhausted). There is a re-registration fee of currently 330 euros per semester, which also includes the semester ticket for local public transport.
Media Design!
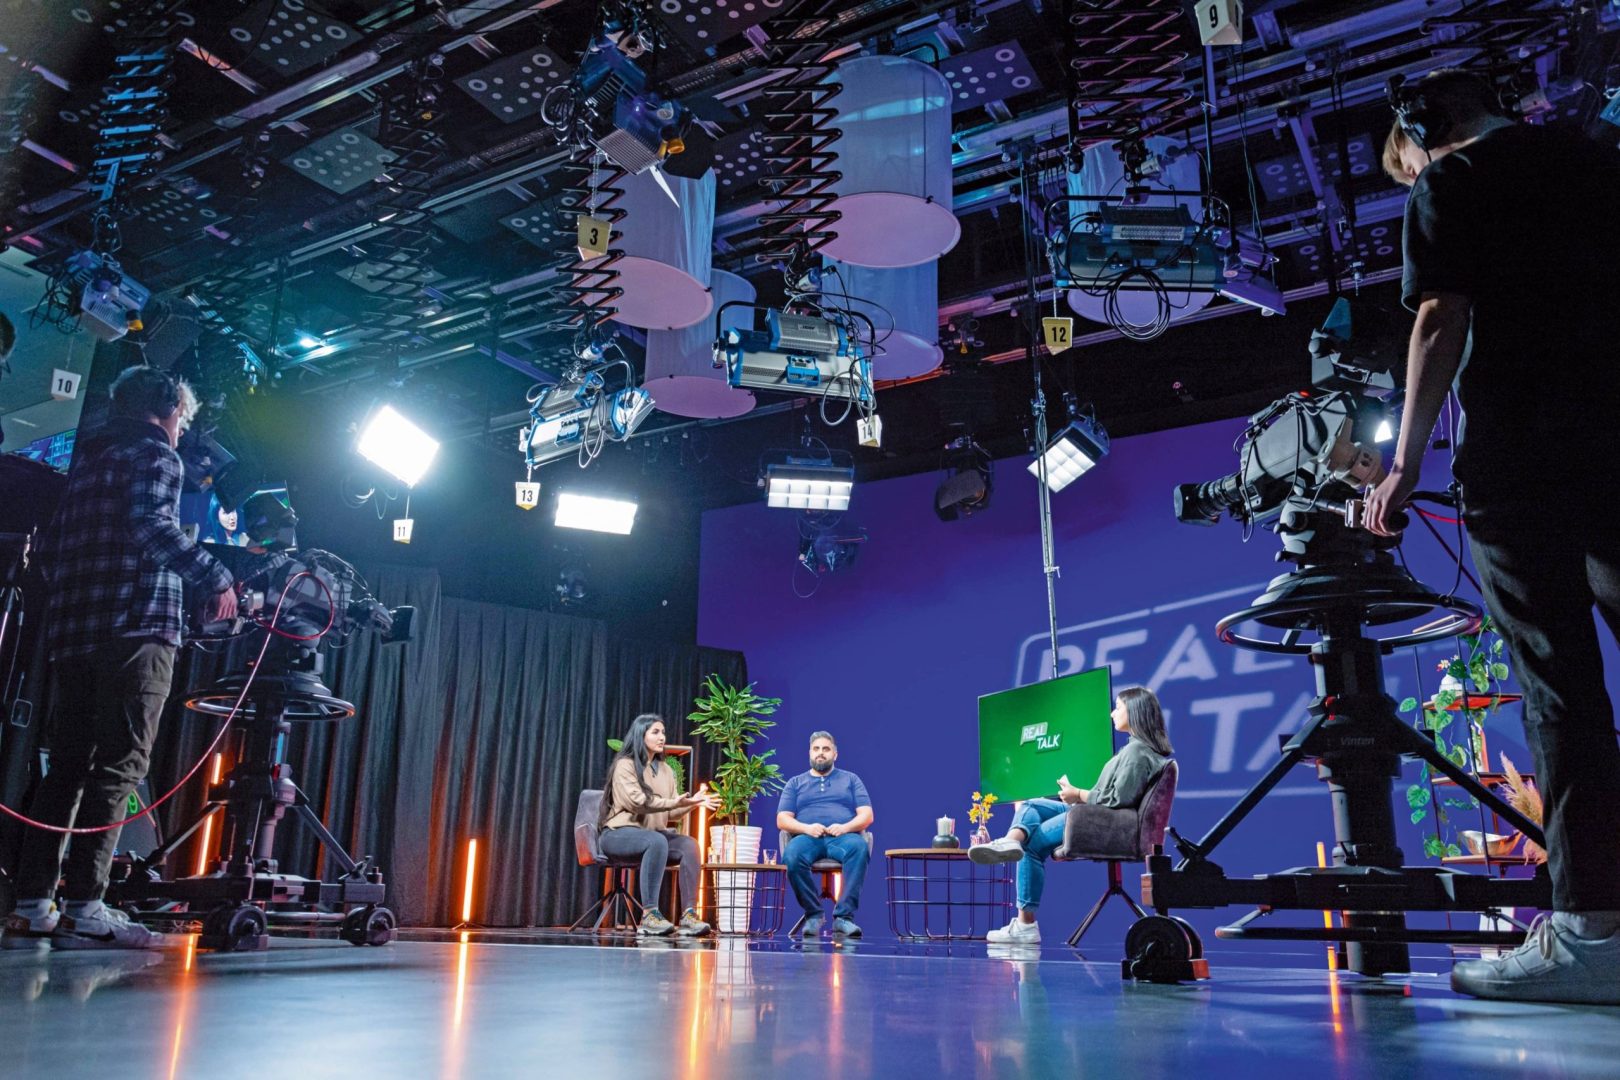
The Media Design degree programme is offered with a Bachelor’s (6 semesters) or Master’s degree (4 semesters). You can specialise in animation, VFX, games, interactive media, film or communication design. In the field of animation, students are taught to work with various techniques: from starting with stop motion, 2D animation, motion design, 3D animation and character animation. In addition to technical skills, the focus is on conception and visual development, as well as working on your own ideas and projects. Ostfalia is equipped with all kinds of state-of-the-art technology: Motion capture system from Rokoko, large film studio with blue and green screen, professional camera and lighting equipment, 3D printer, VR & AR headsets (Quest 2, Hololens, HTC Vive Pro), several computer pools that can also be used for rendering, photo studio, games club with appropriate equipment.
Who would like to take part
The application with the artistic portfolio and passing the aptitude test are the prerequisites for admission to the Media Design (BA) programme. Prospective Master’s students with a BA degree in design do not need a portfolio to apply.
More information: mediendesign-studium.ostfalia.de
Bachelor of Media Design: www.ostfalia.de/cms/de/k/mdba/
Master’s in Media Design: www.ostfalia.de/cms/de/k/mdma/


