Table of Contents Show
In the middle of last year, I received a request from a film production company to reconstruct the Art Museum of Western and Eastern Art in Odessa. With the Russian war of aggression against Ukraine in 2022, the museum’s paintings were moved to a secret emergency storage facility and are now entering into a dialogue in Berlin with works from the Berlin collections. This encounter was to be documented in order to bring the history of the museum closer to the public.
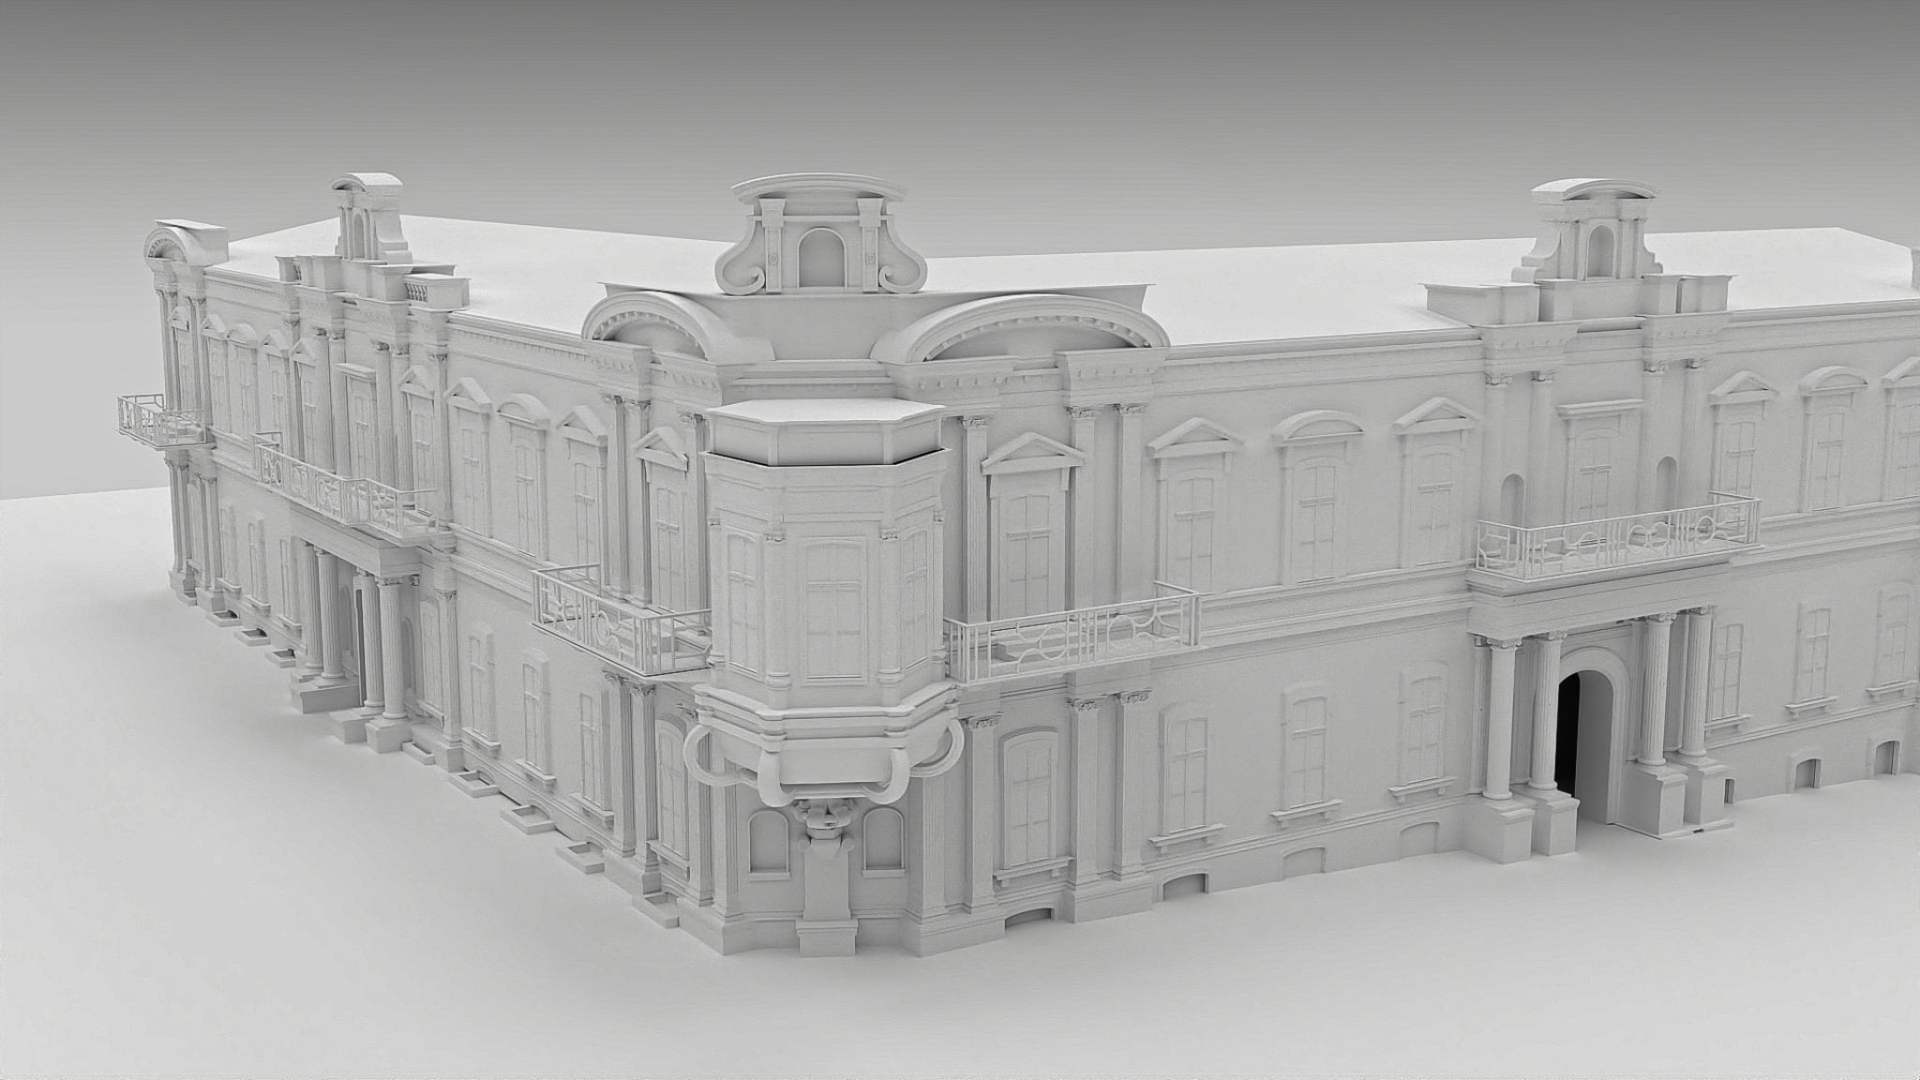
However, the work on site proved to be extremely difficult due to the ongoing war, which comes as no surprise to anyone. Photographs of the building were only possible to a limited extent and frequent power cuts hindered both communication and data exchange. As no floor plans or technical drawings of the building were available, the decision was made to create a complete digital 3D reconstruction of the building and its interiors based solely on image templates – so that virtual insights could still be created. Digital tracking shots were to be created and used in the documentary as a visual introduction to the scenes. For me, this request was a perfect example of the sensible use of 3D visualisation – my ambition was immediately awakened.
Defining the level of detail
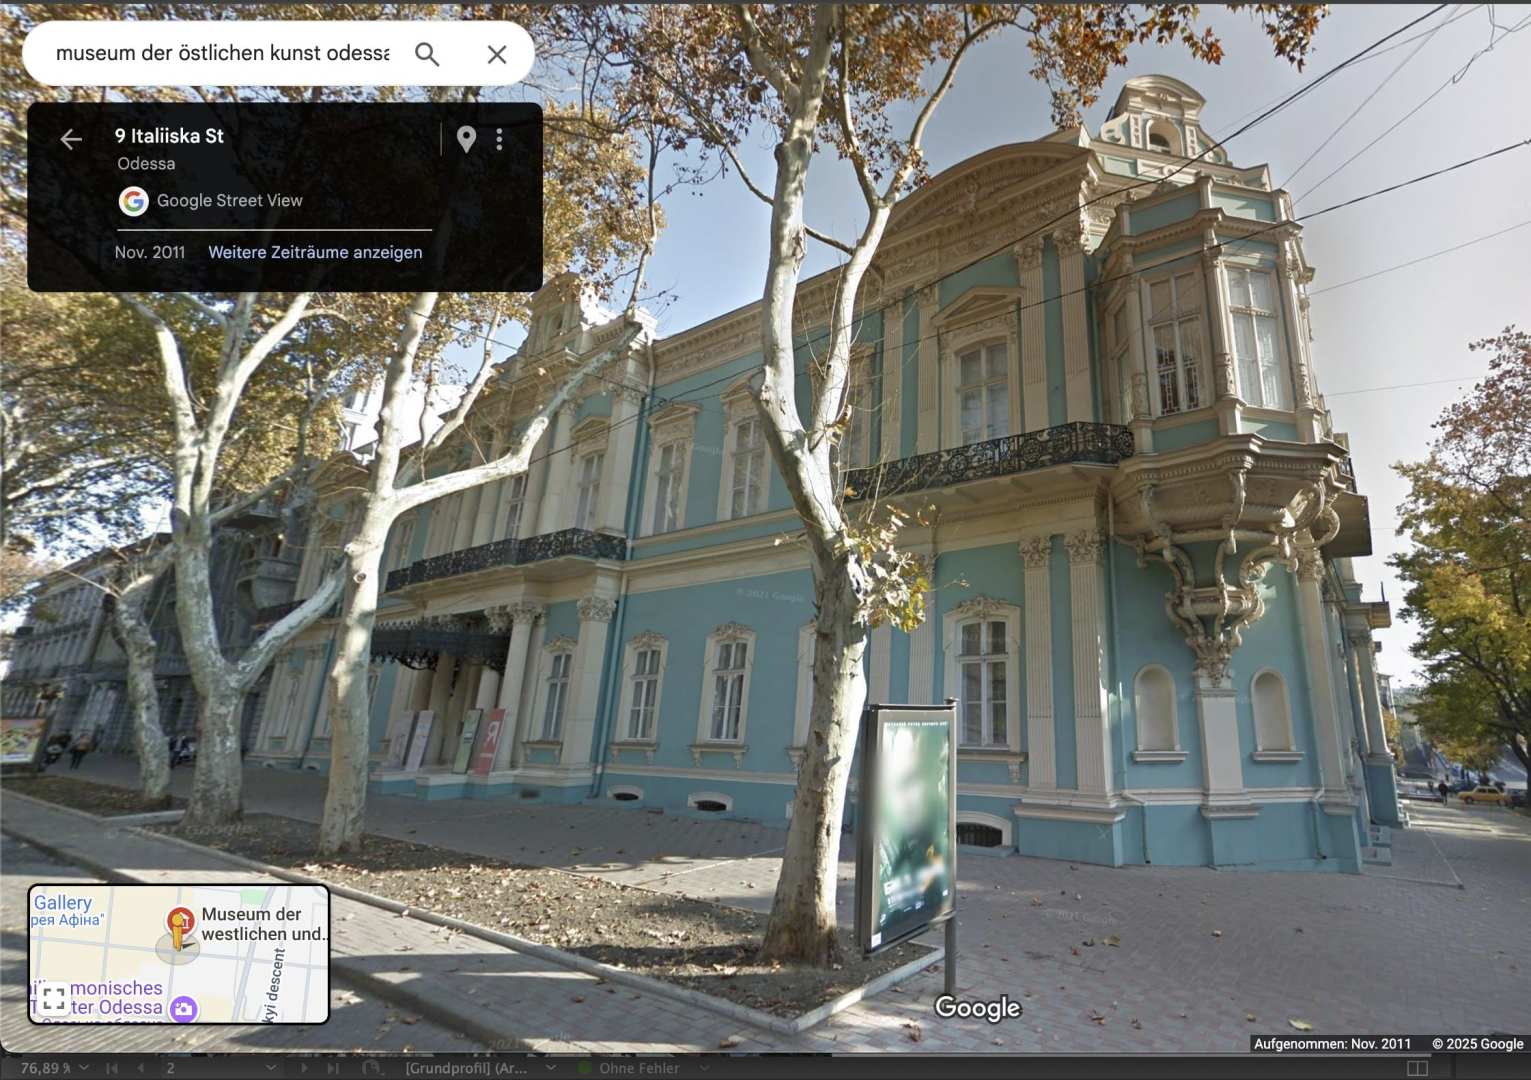
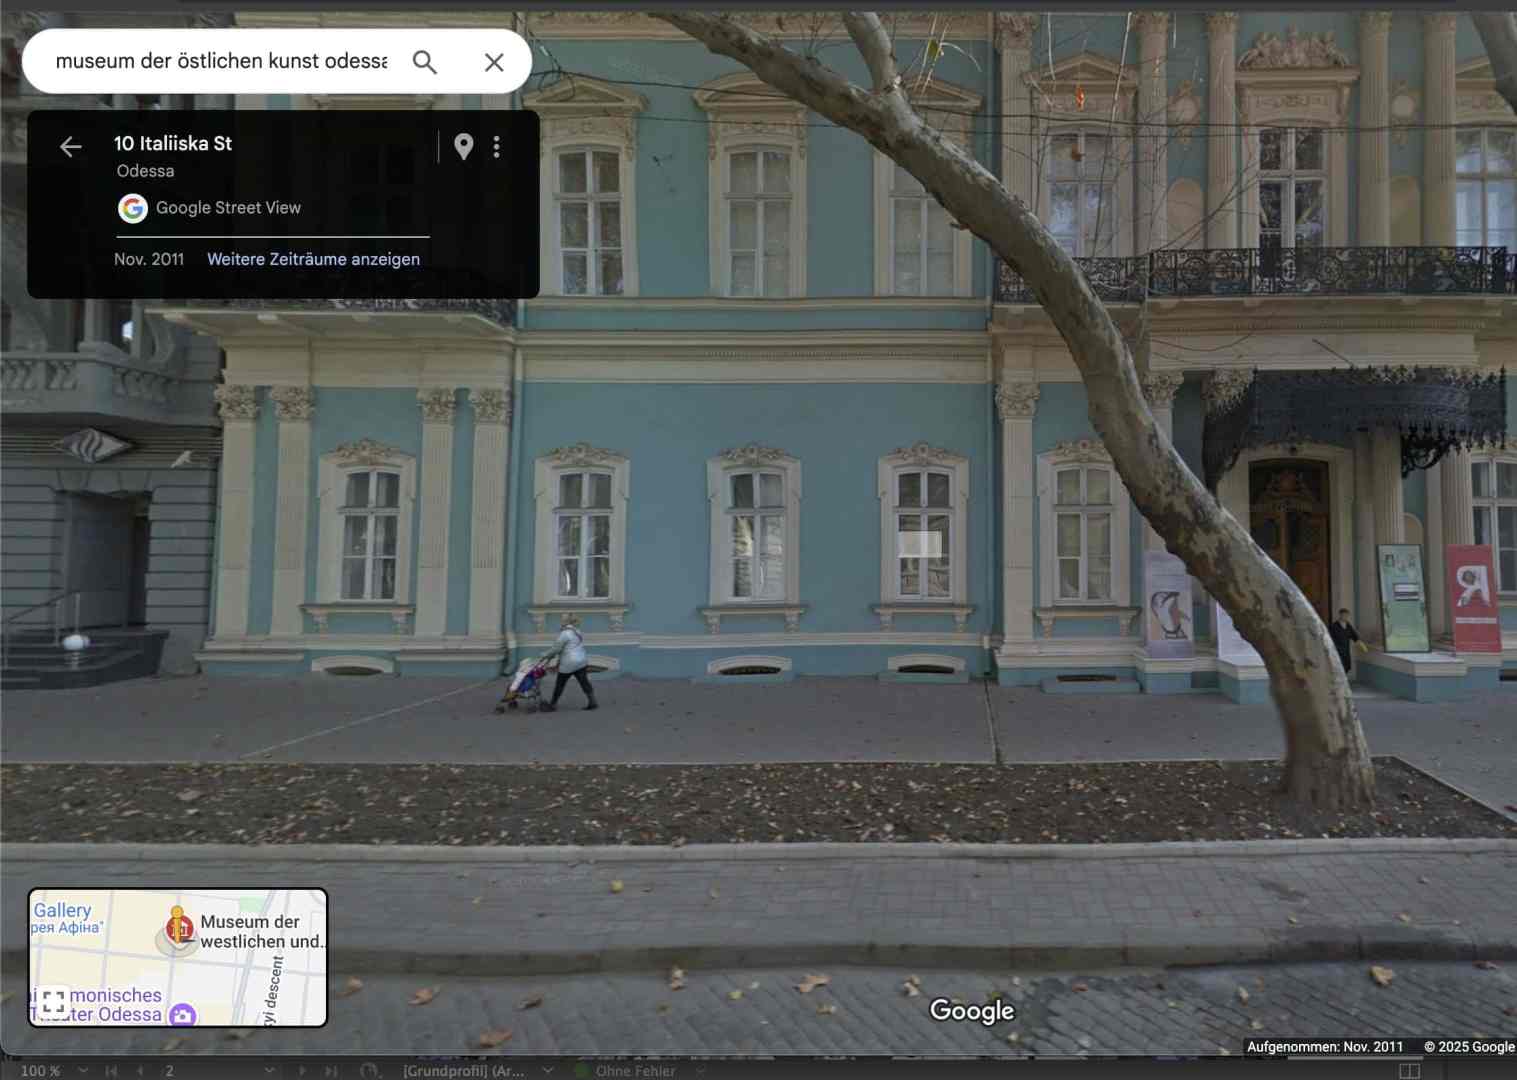
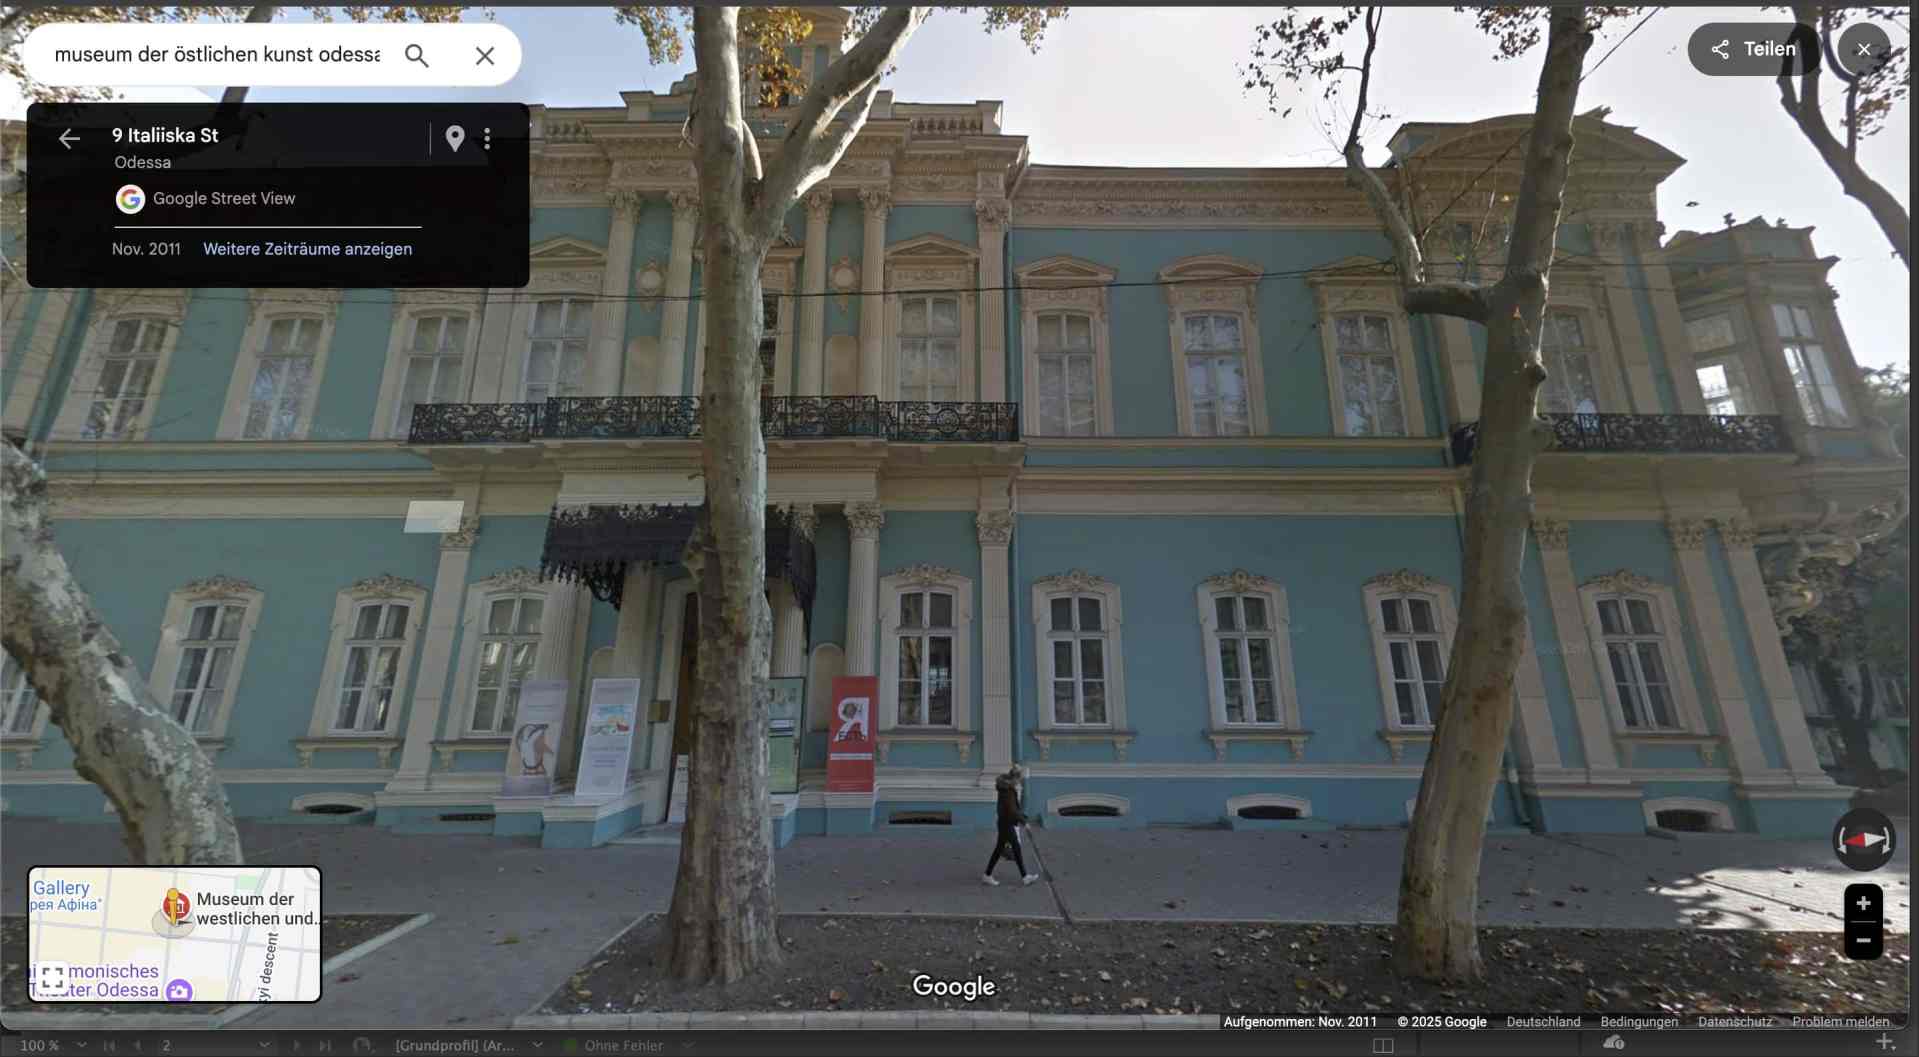
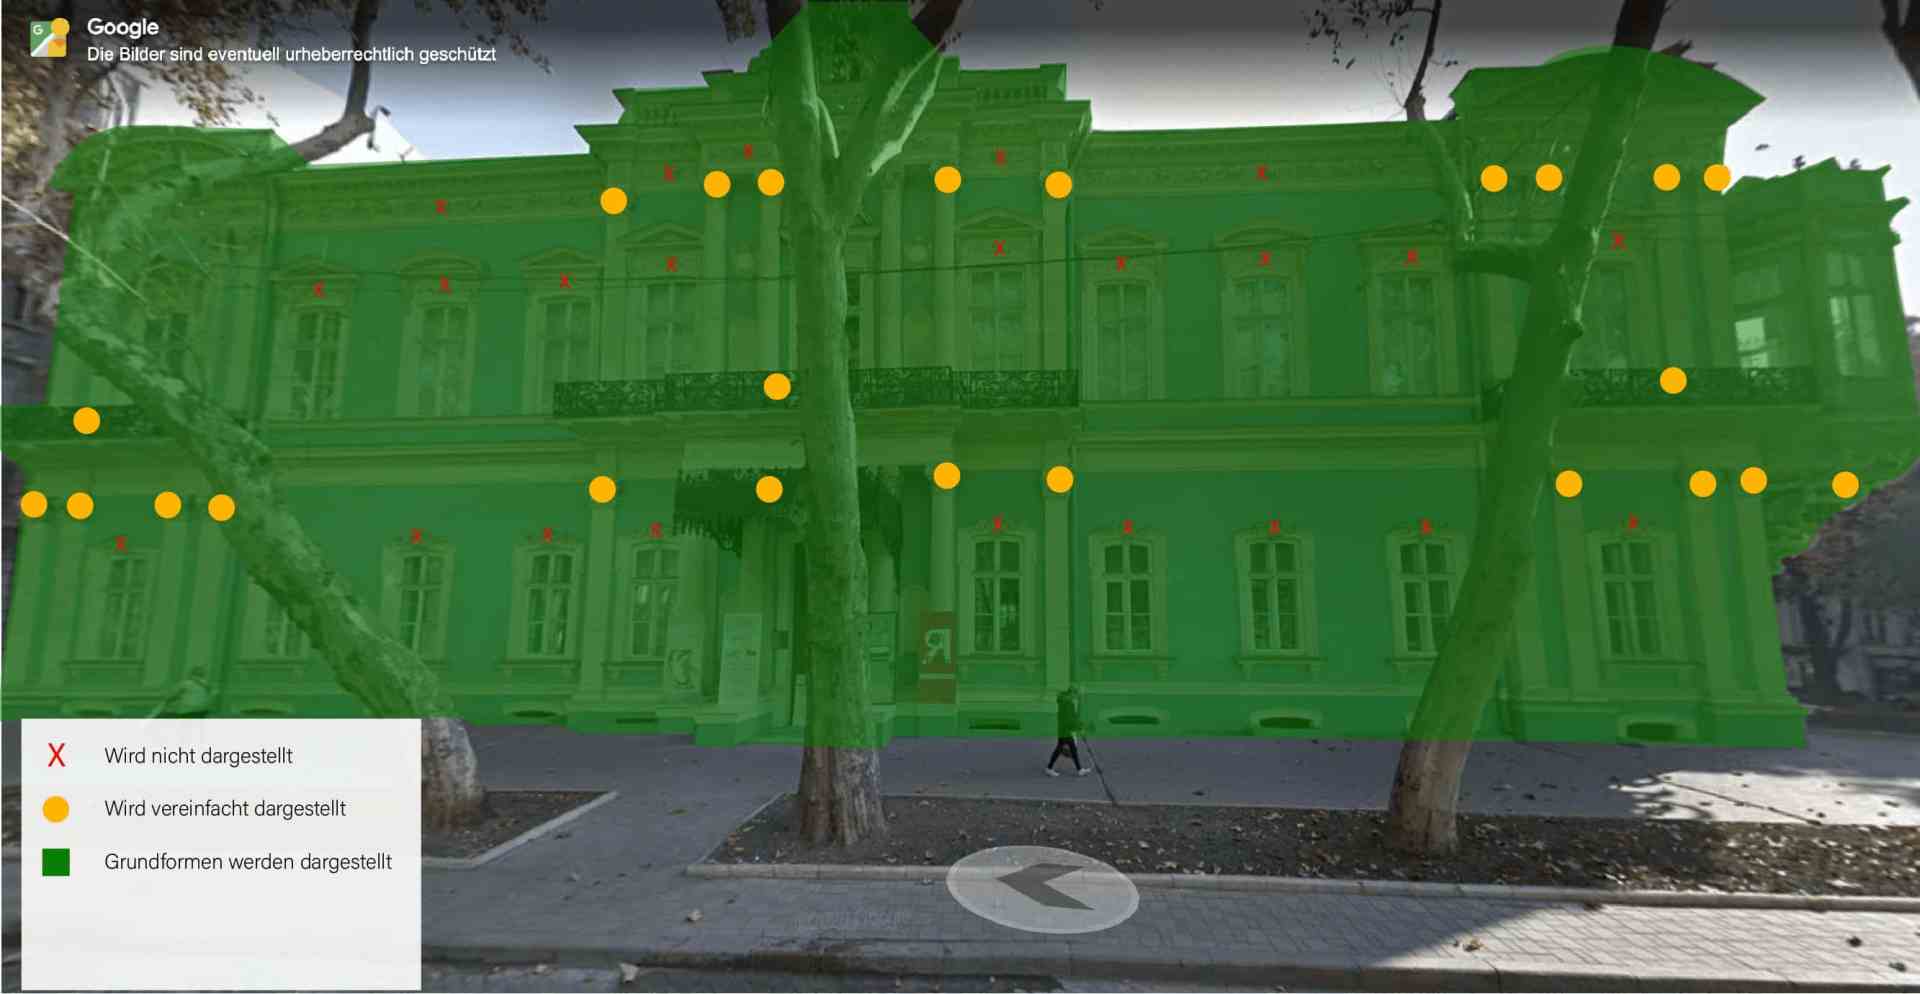
The architecture of the museum reflects the neoclassical style, known for its detailed ornamentation and stucco work. Together with the producers and the authors of the film, I considered how detailed the model should be, which areas could be simplified while still retaining the recognition value. For the construction of the façades, we decided to rely entirely on the images from Google Maps. These were up-to-date and we were able to use the image data to define the proportions and dimensions of the building.
My first approach was to use the OSM add-on in Blender to import the street map and create the visualisation on this basis. The Blender OSM addon allows you to import OpenStreetMap data into Blender, including buildings, streets, rivers and terrain. It allows the automatic creation of 3D city models with real elevation data and can optionally use satellite images as textures. A disadvantage and final criterion for the final use is that detailed OSM files in Blender lead to a high number of polygons. In addition, the models often only contain basic shapes without façade details or textures, so these have to be added manually. Not all cities have equally good OSM data, which is why some buildings are only imported as simple 2D contours without height information. I therefore only used the standard 3D view of Google Maps as the starting point for my image template.


Creating the assets with Rhino
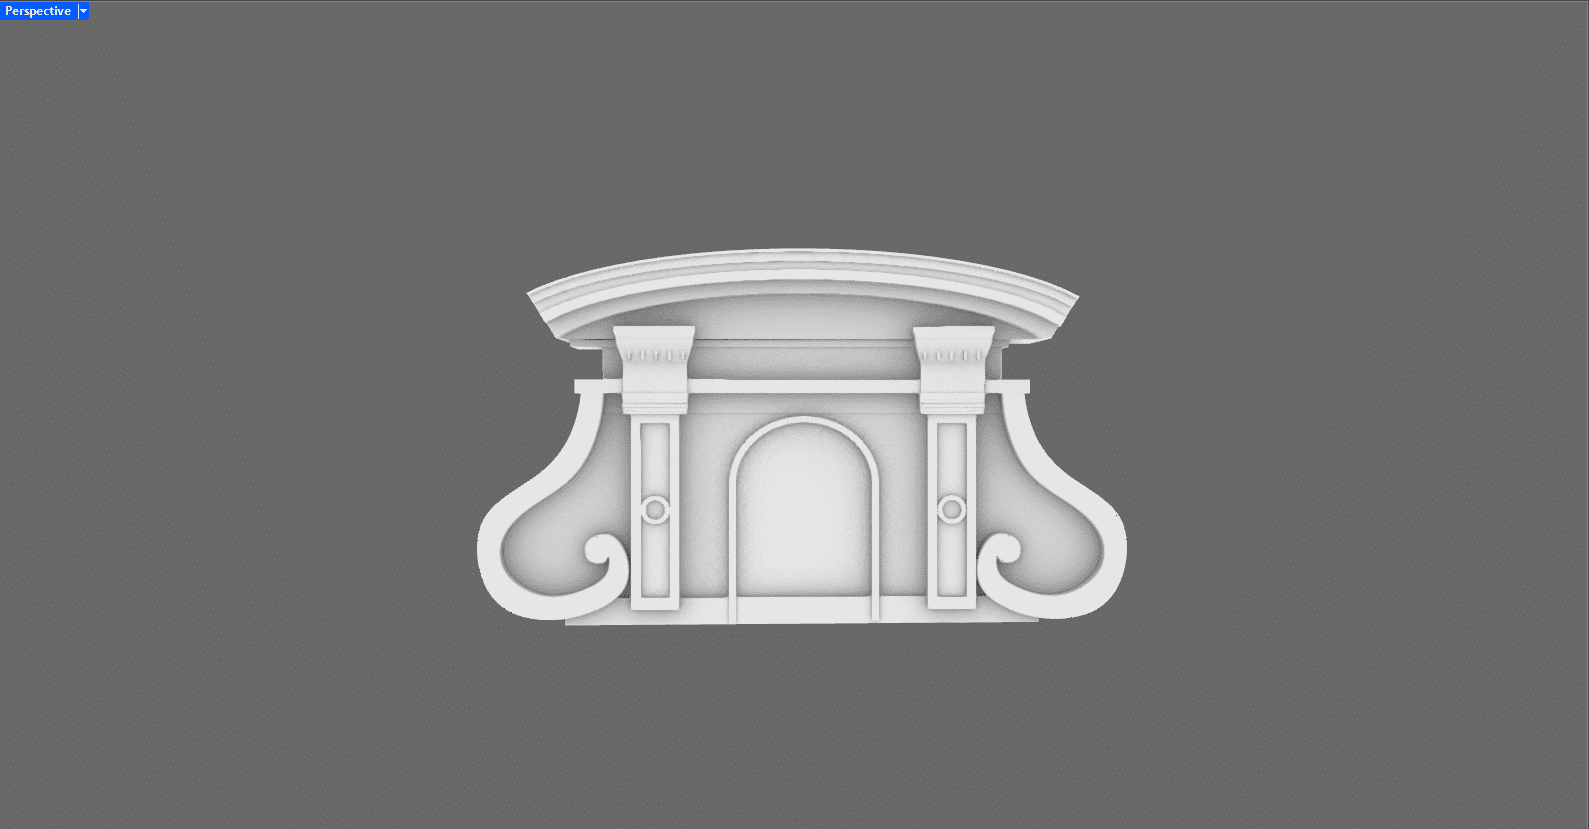
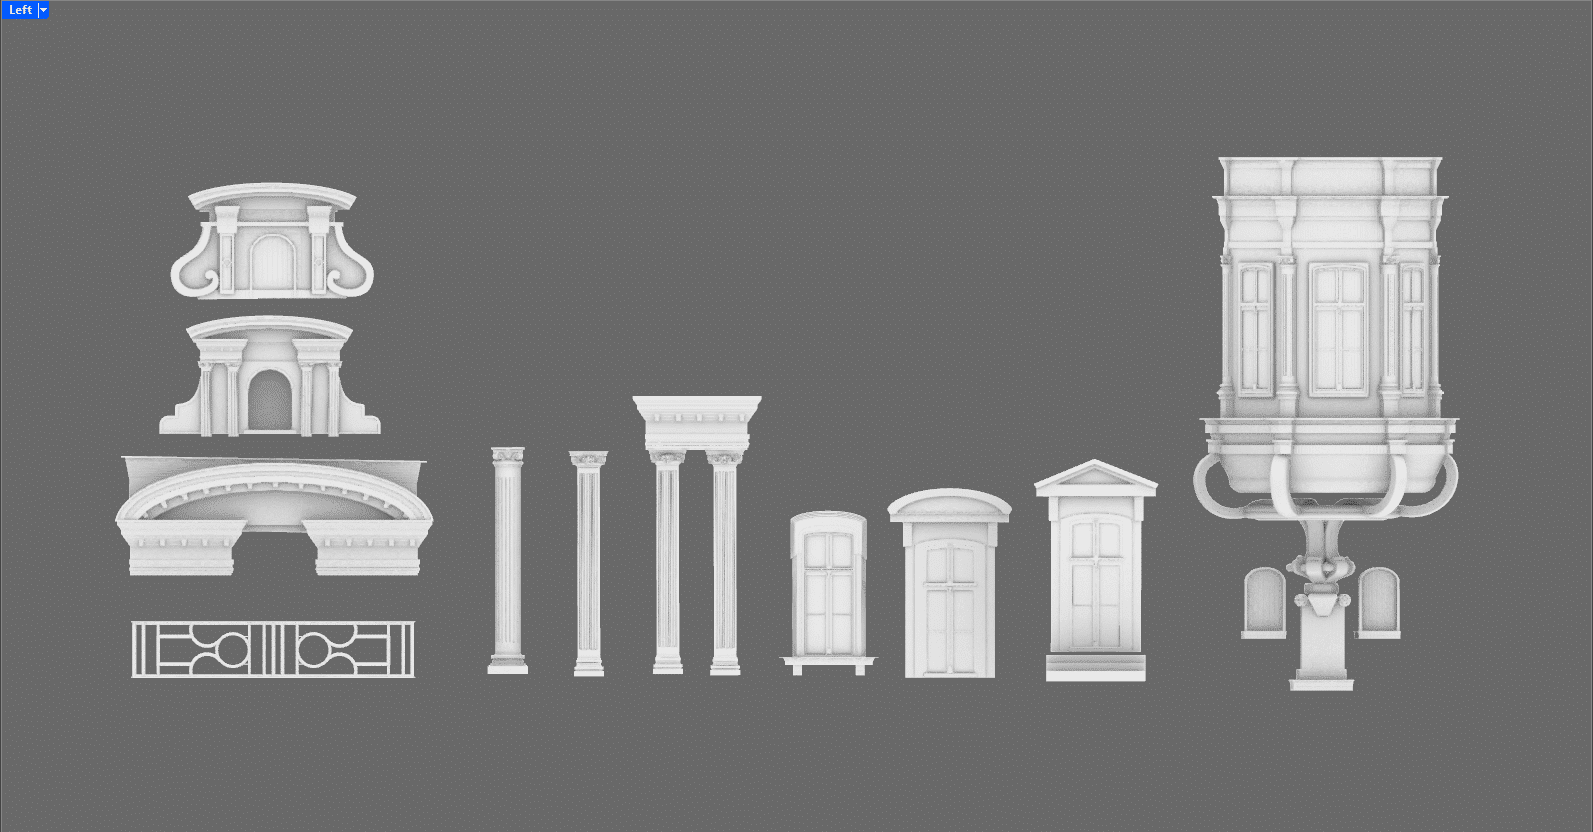
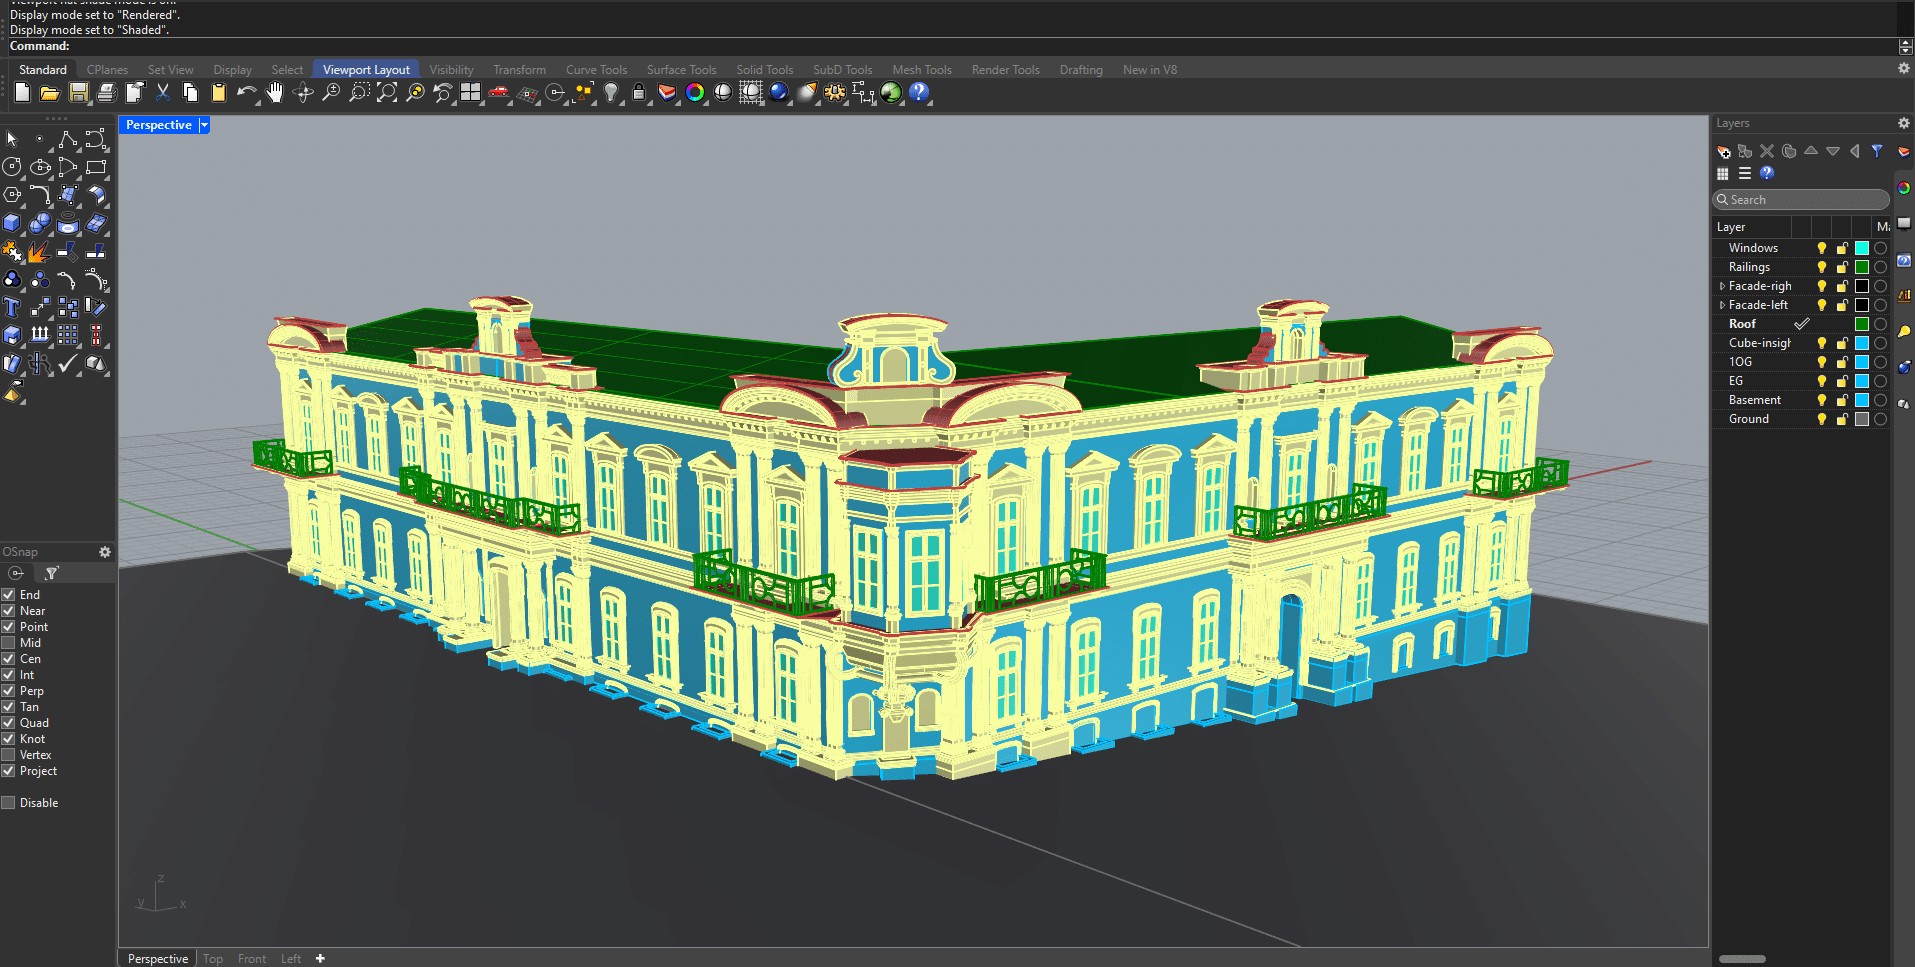
Based on the previously defined requirements regarding the level of detail and the elements that should definitely be visible, I was able to start working. I analysed the facades of the model for recurring features and gained an overview of which and how many assets were needed to realistically represent the facade of the museum.
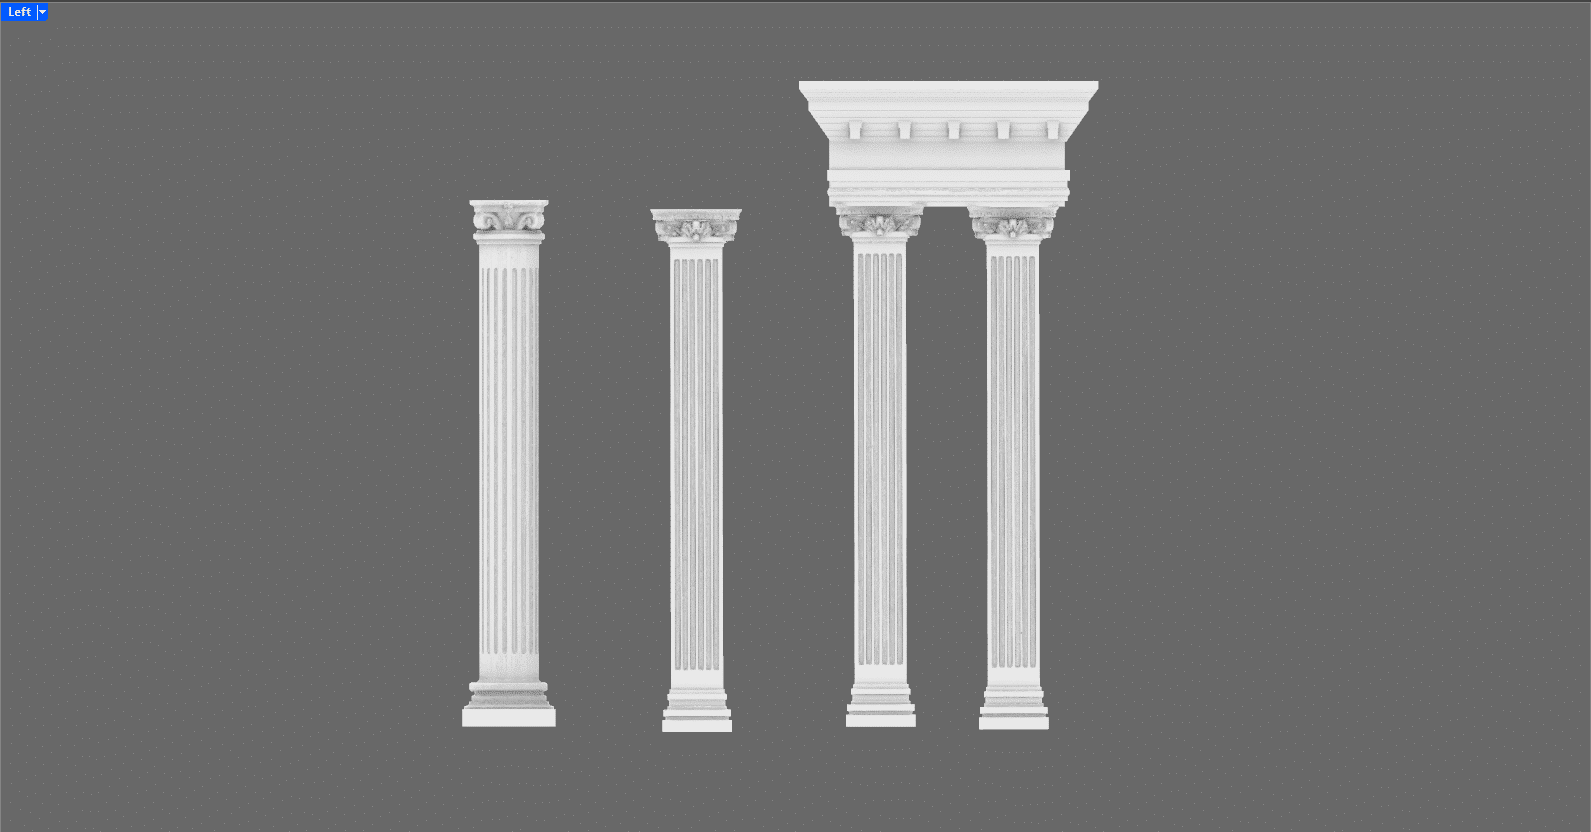
The windows on the ground floor and first floor differ only in height and frame. There were three different types of columns – but the capitals of the columns are the same for almost all of them, despite the different column shapes.
What initially looked like a multitude of different assets became more manageable on closer inspection and I began to better understand the architecture of the museum. Assets that are exposed and would probably also be seen in close-up due to the camera movements, I worked out more precisely to avoid sharp corners and thus create more realism. I only stylised stucco mouldings and frames to their basic geometric shapes. A good balance between detail and simplification still creates realism and saves render time.
I had agreed in advance with the production team on a level of detail that would show the most important elements of the building, but exclude elaborate areas such as stucco decorations and ornaments. It was therefore particularly important to make the assets shown as true to the original as possible. After brief research on the usual asset exchanges such as TurboSquid and KitBash, we quickly realised that we had to manage without external assets in order to achieve a high recognition value. I therefore created all the required assets myself in Rhino.



Defining the camera movements with Autodesk Viewer
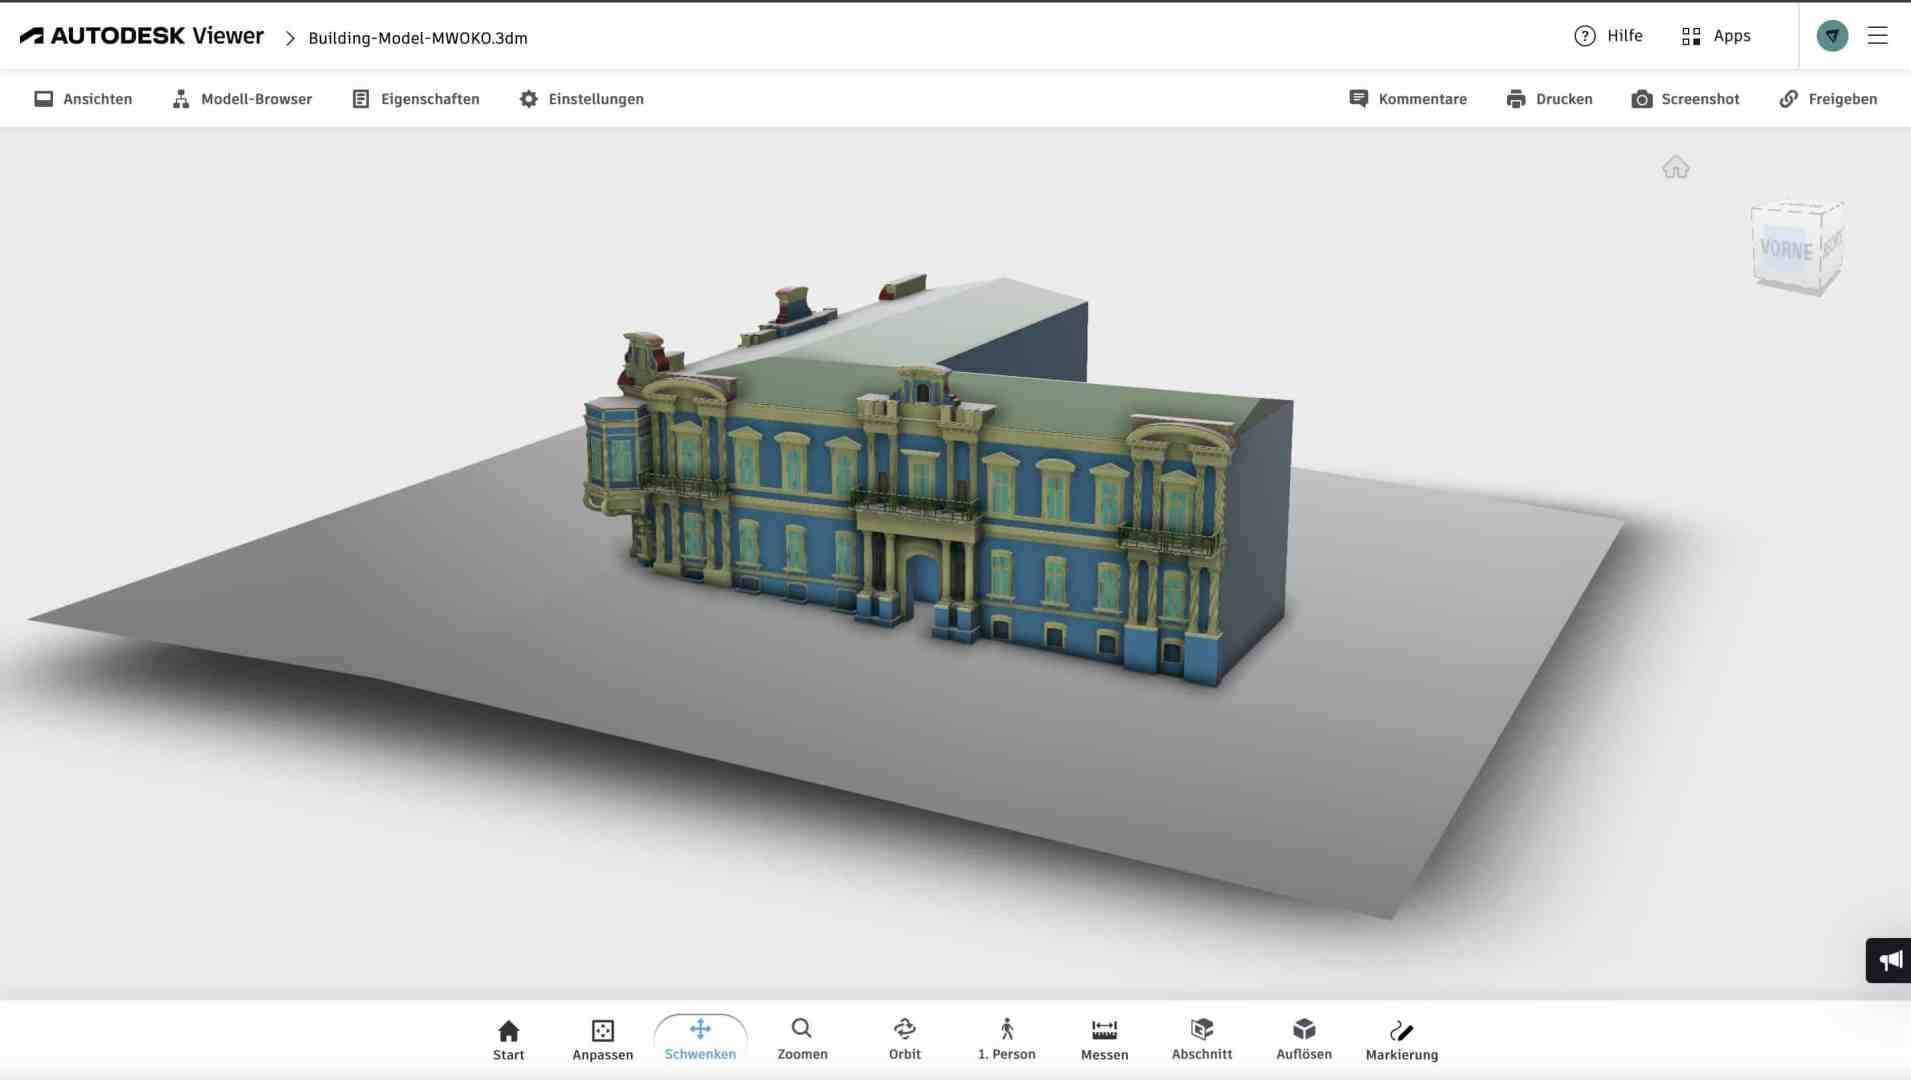
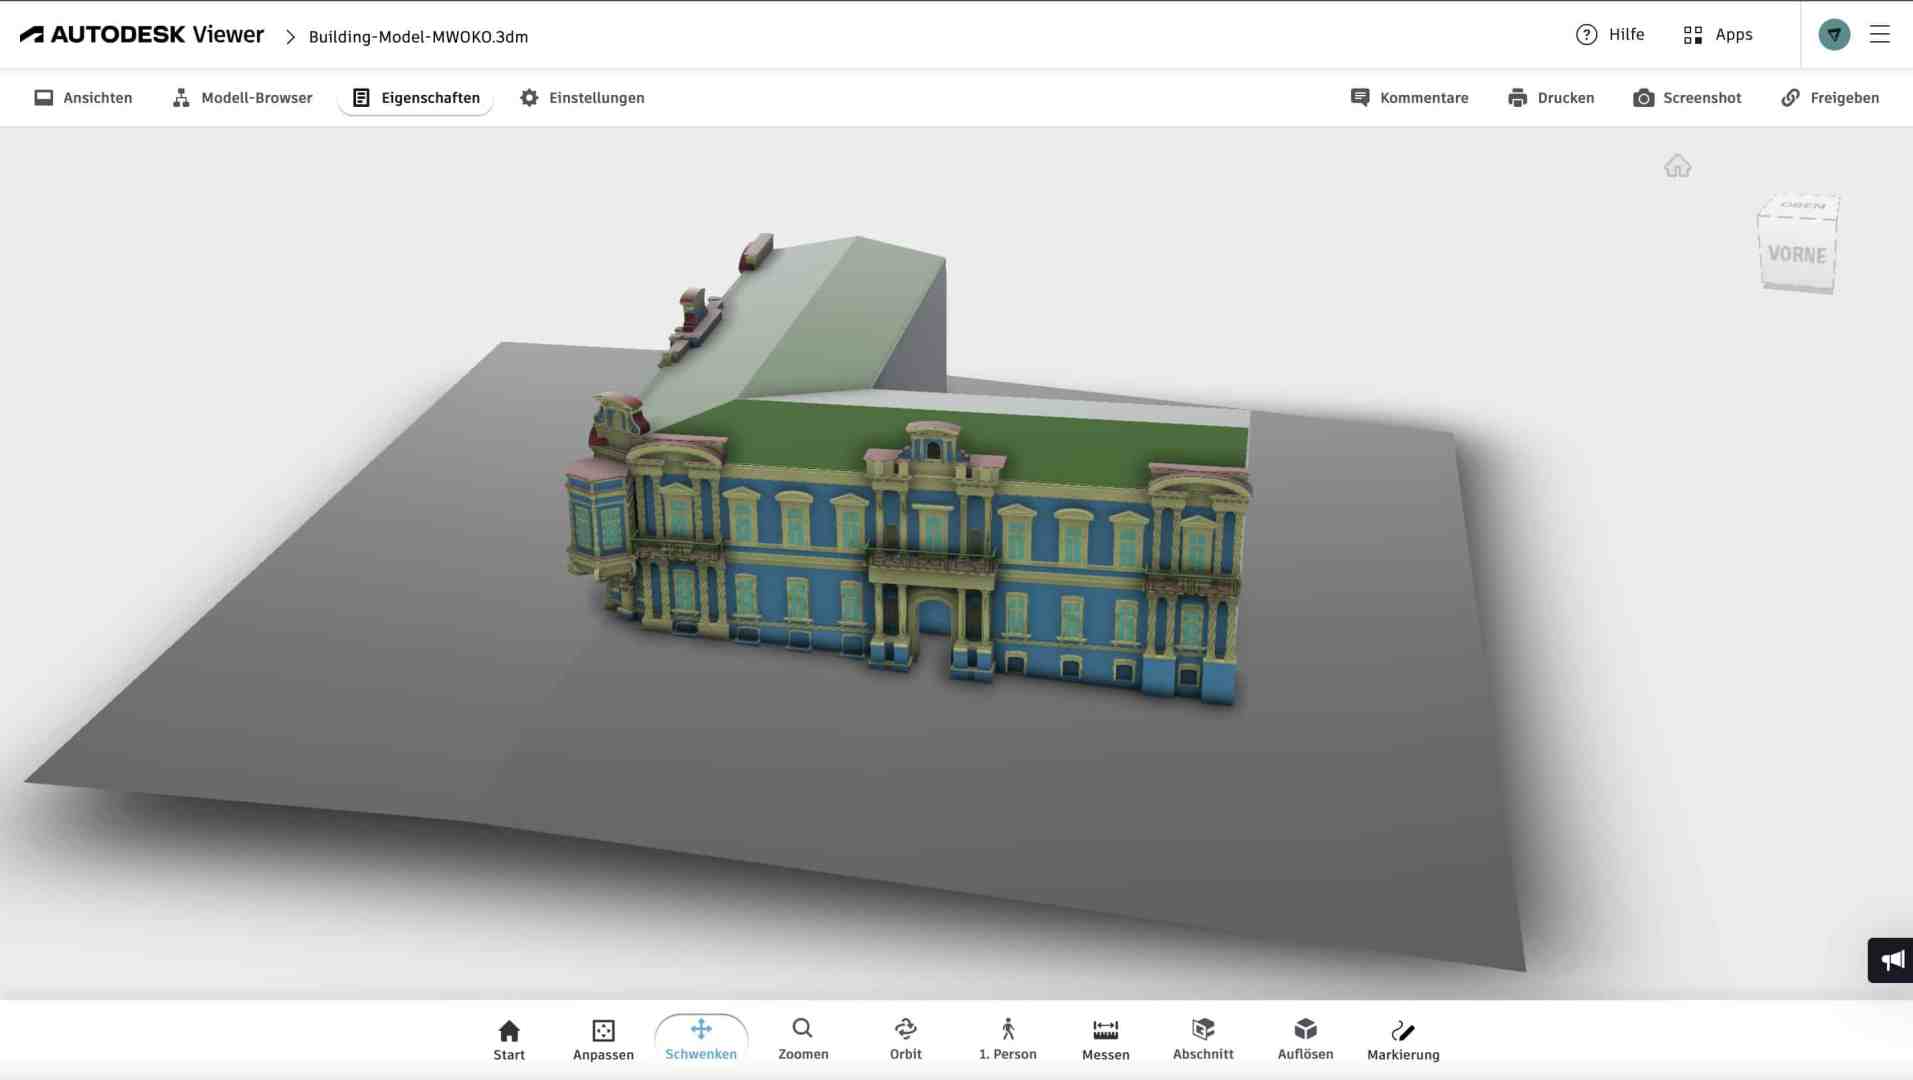
I imported the Rhino file into Autodesk’s 3D viewer so that the production team and, above all, the film’s director could specify which camera movements should be created. Now it was possible to move virtually through the model and specify which areas of the building should be shown.
In this way, we agreed on several journeys that would end in the interior. This type of agreement allowed both sides to plan well. We didn’t have to re-render any rides afterwards and stayed on schedule. We deliberately decided to create the textures in the next step so that we could render test drives in advance without risking long rendering times.
To explain briefly: the Autodesk Viewer is a web-based viewer that allows CAD, BIM and 3D models to be viewed and commented on directly in the browser – without any special software installation. Instead of sending raw files, the viewer offers several advantages: Recipients do not need any special software to view models and can add comments, markups and measurements directly in the viewer. In addition, the original data remains protected as it is only accessed via the web. Large 3D files can be loaded more quickly without being rendered locally, and platform-independent use in the browser facilitates collaboration.


Texturing the model with Blender
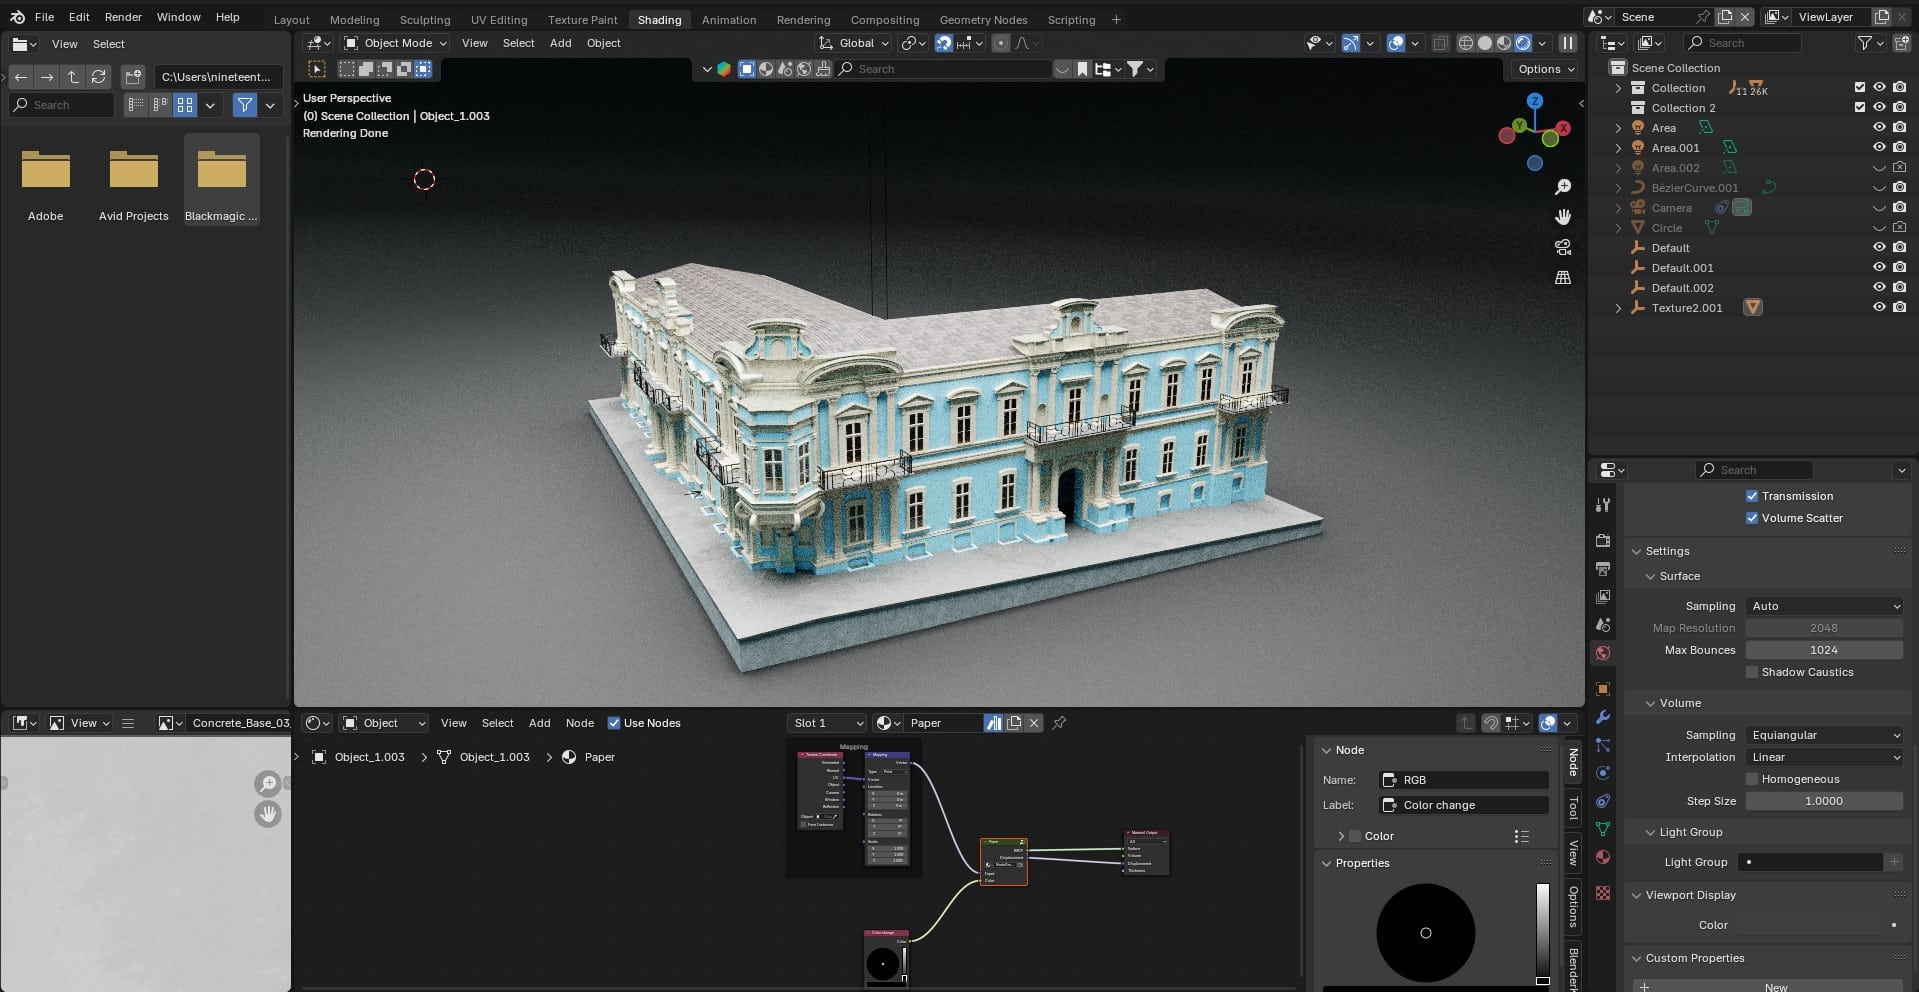
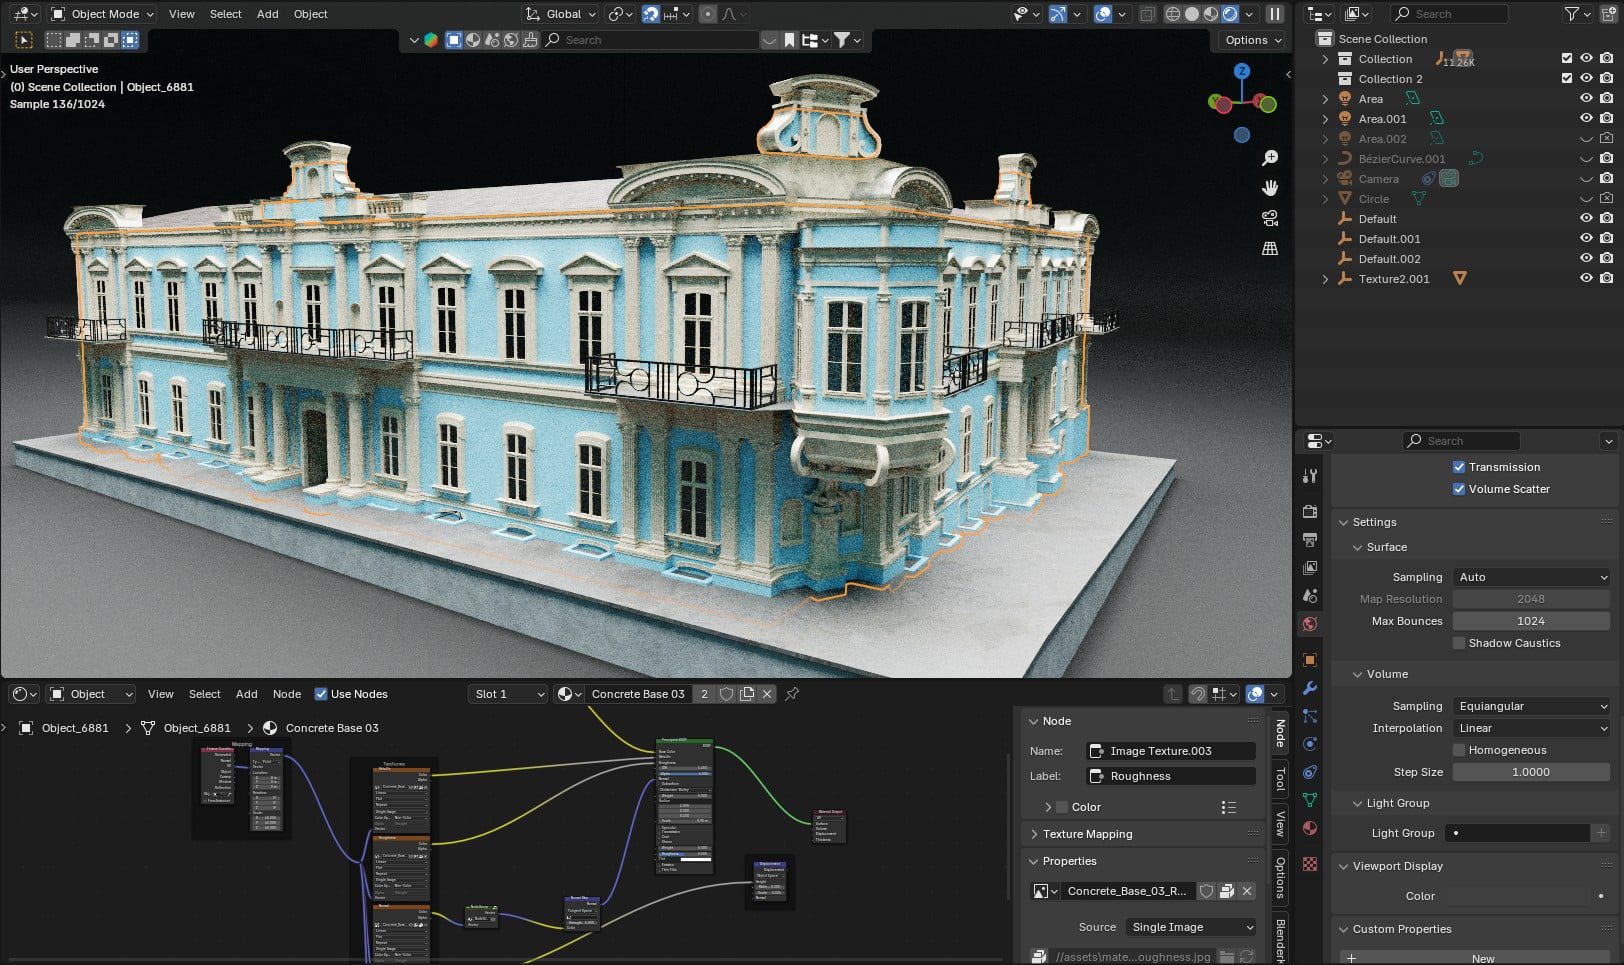
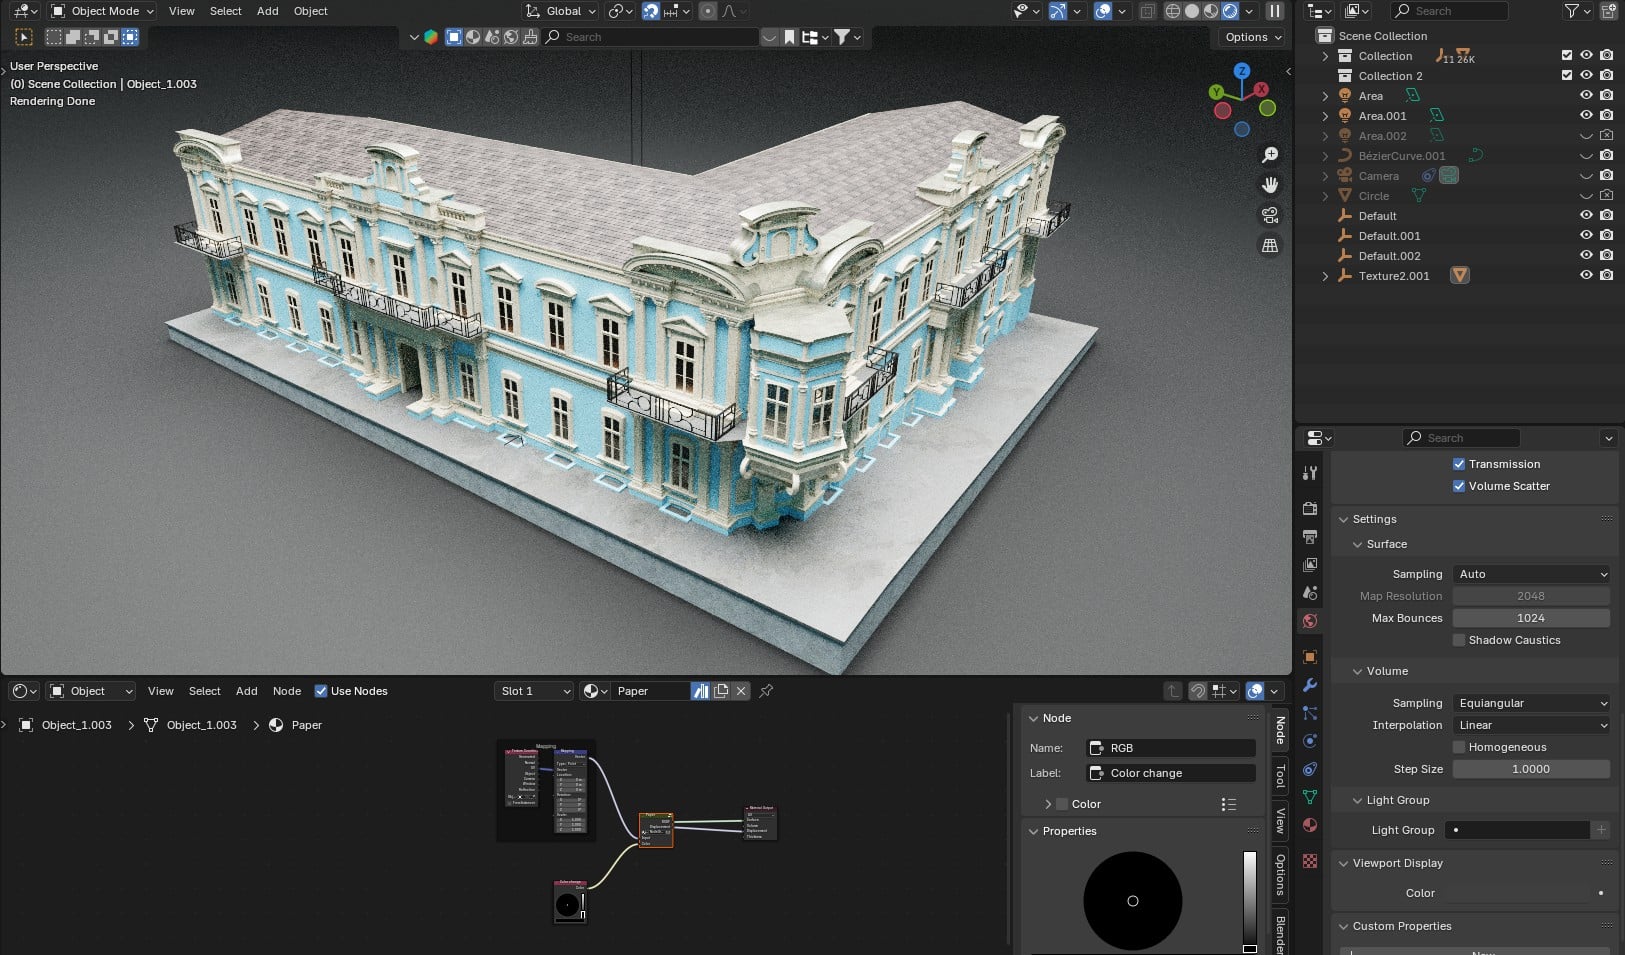
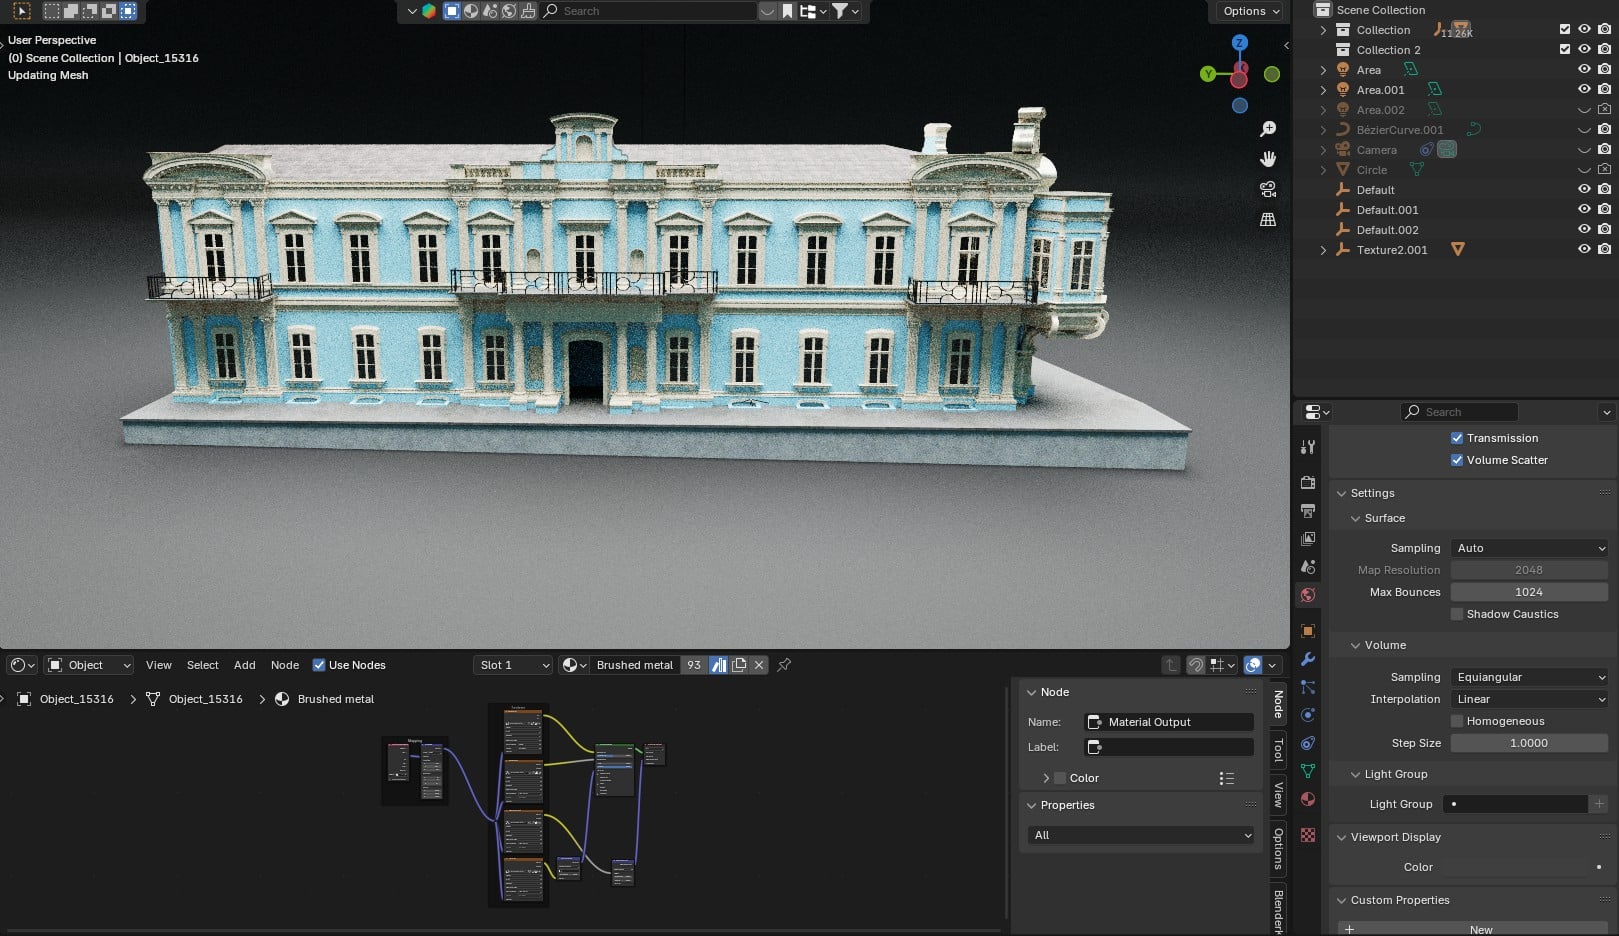
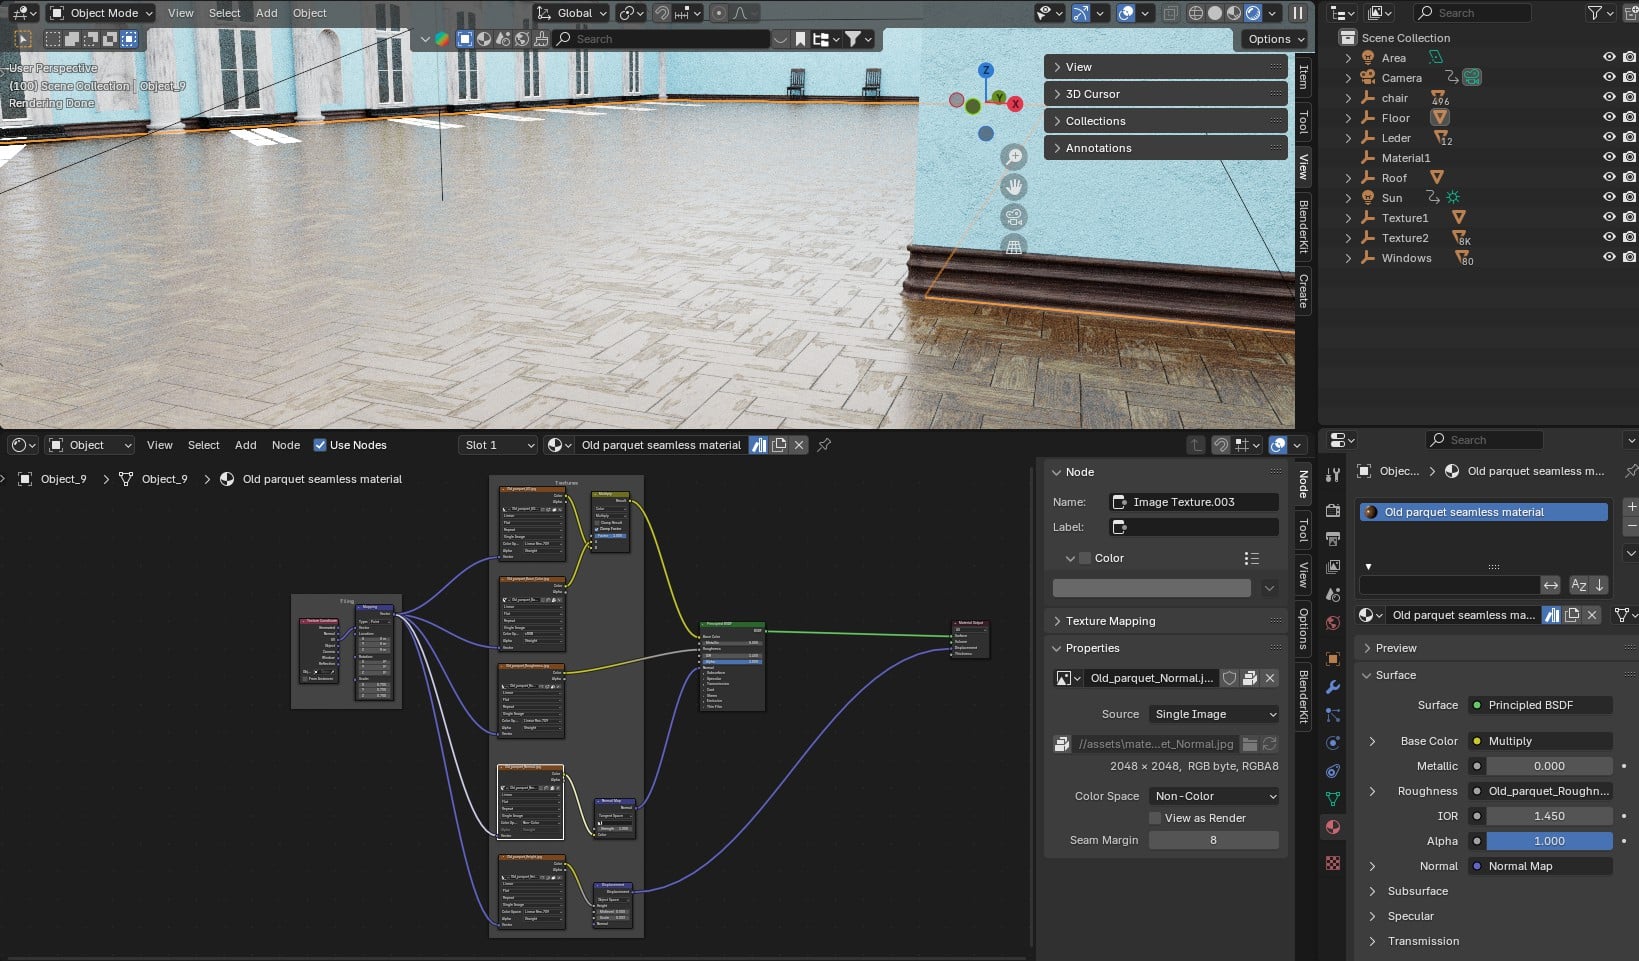
Once the model was finalised in Rhino, I started creating the textures in Blender. I imported the entire model as an FBX file, which meant that the layers created in Rhino were available as a hierarchical structure in Blender. This made it easier to assign the shaders. I used the mapping node to adjust the size of the textures in the X, Y and Z dimensions.
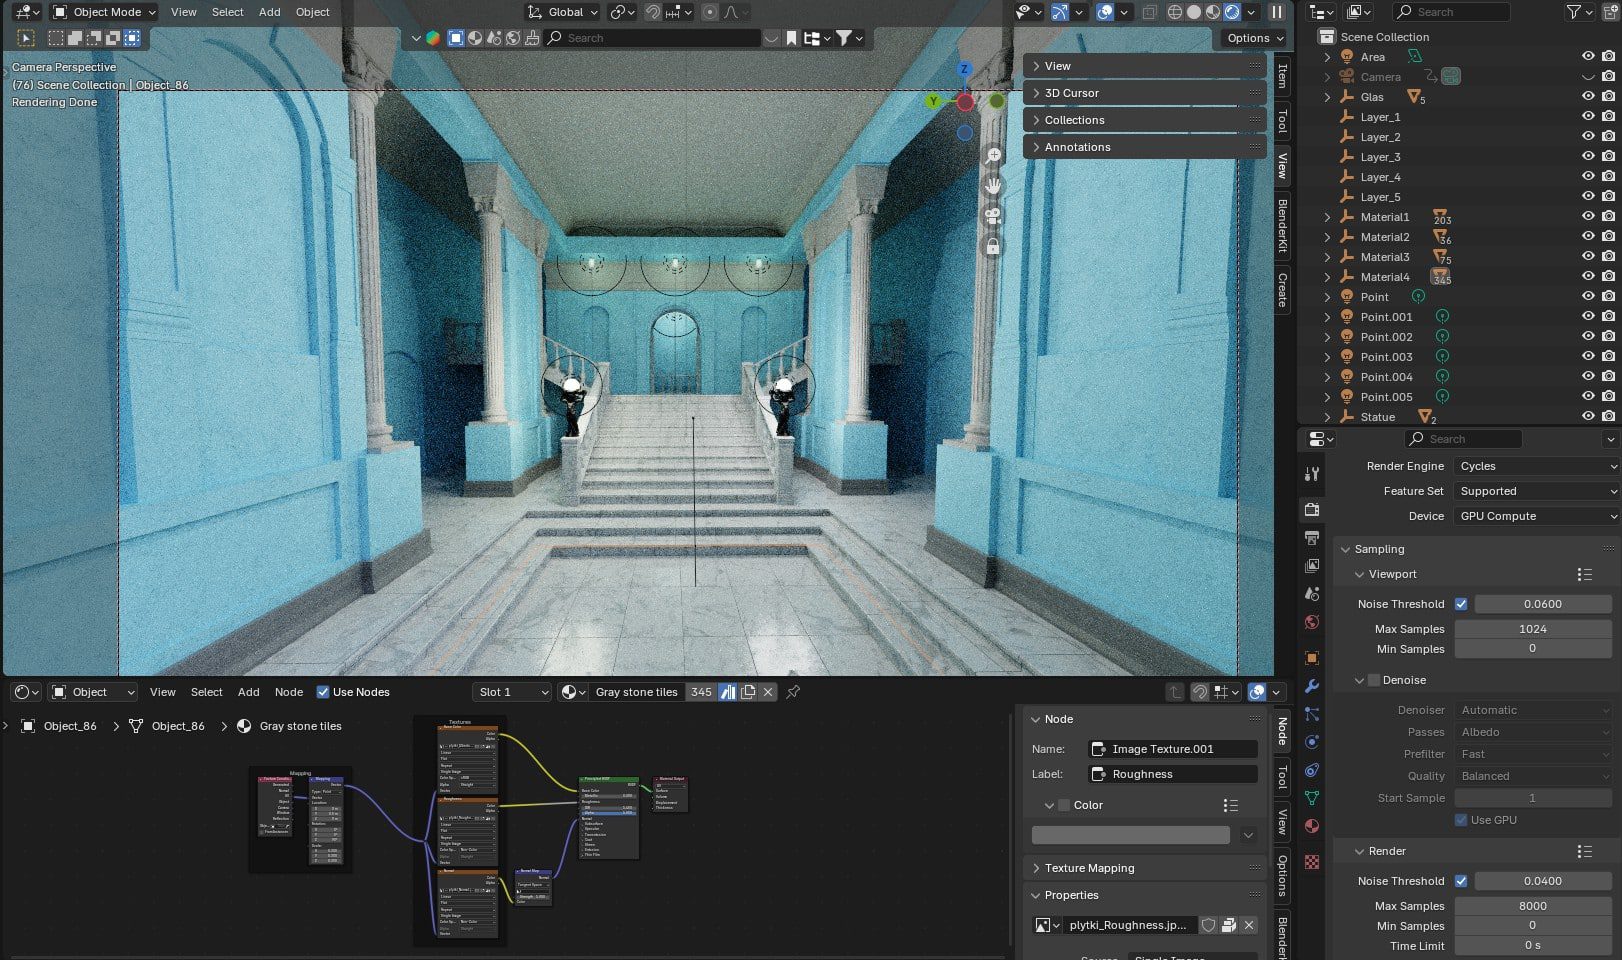
I used the BlenderKit library as the basis for the textures, but customised and modified them as required. Together with the production team, we coordinated and defined the desired look and lighting mood. It was important to us to convey the striking features of the building via the textures in order to create a high recognition value.
Textures that were used as a basis
Fassade | Columns, windows and decorations | Metal | Glas
Textures used as the basis for the interiors
Mouldings | Fassade | Columns and decorations | Floor Ground Level | Floor Upper Level
Creating the tracking shots in Blender
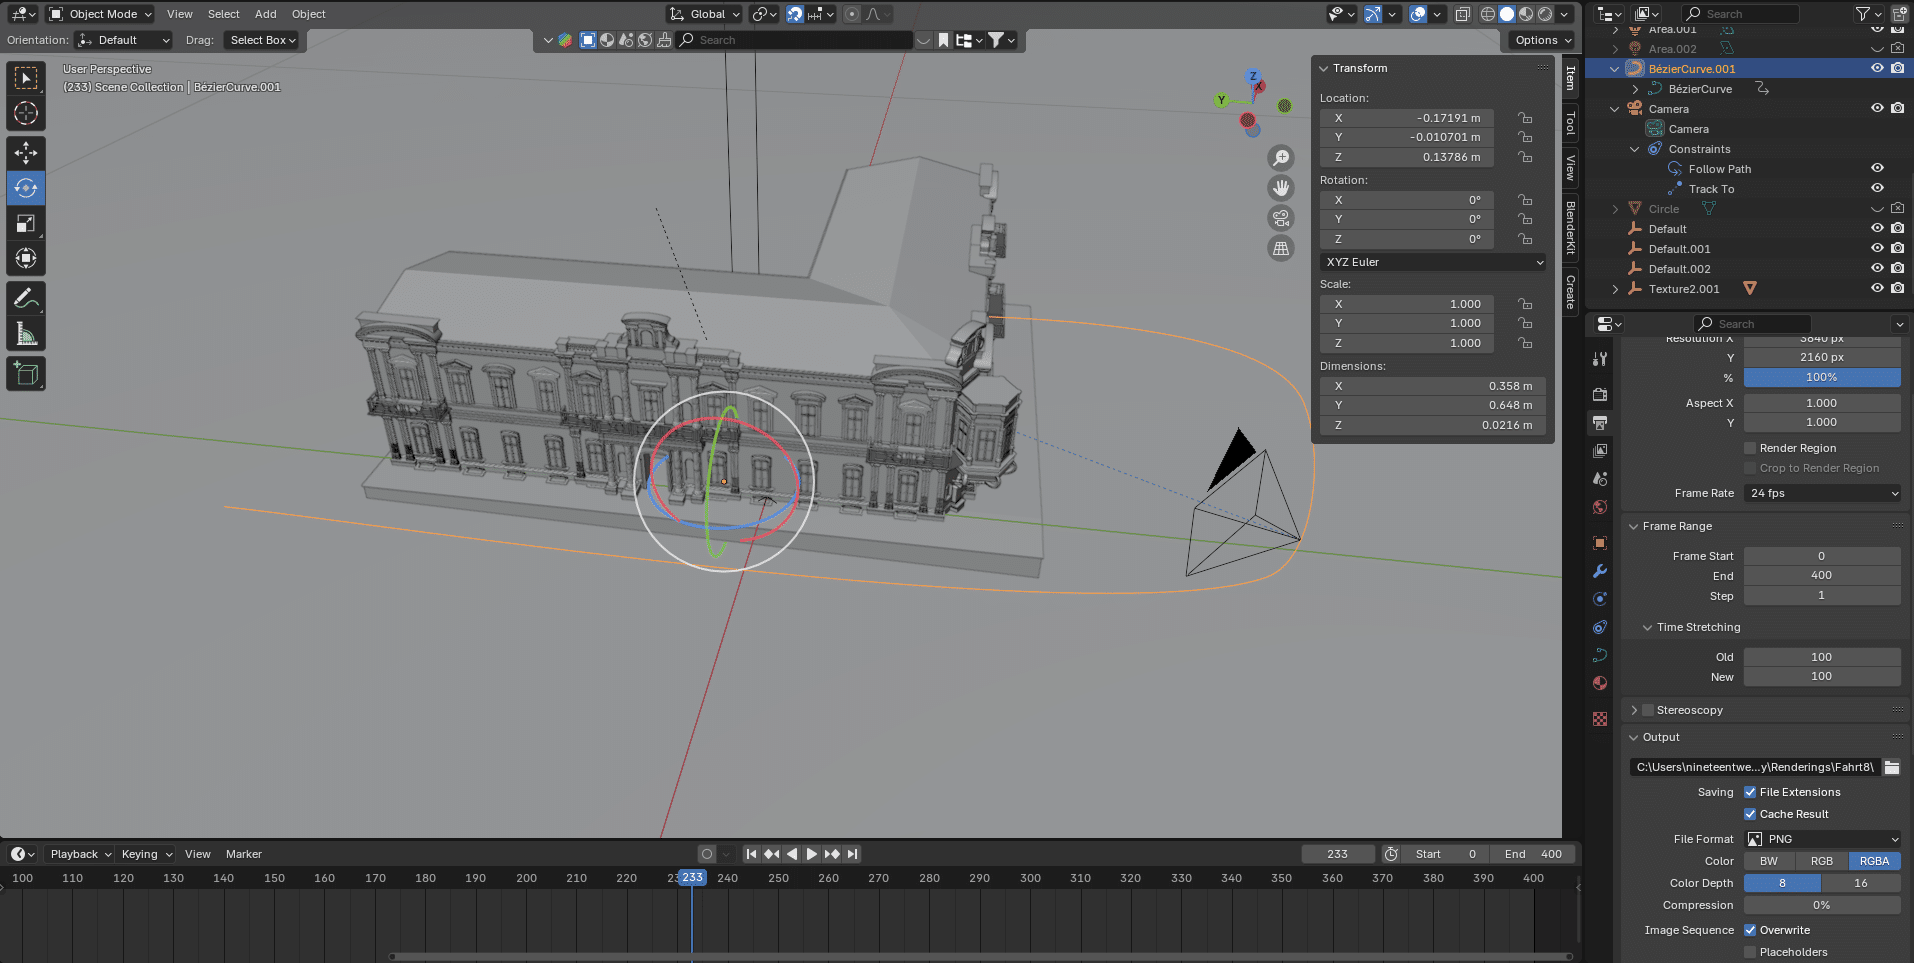
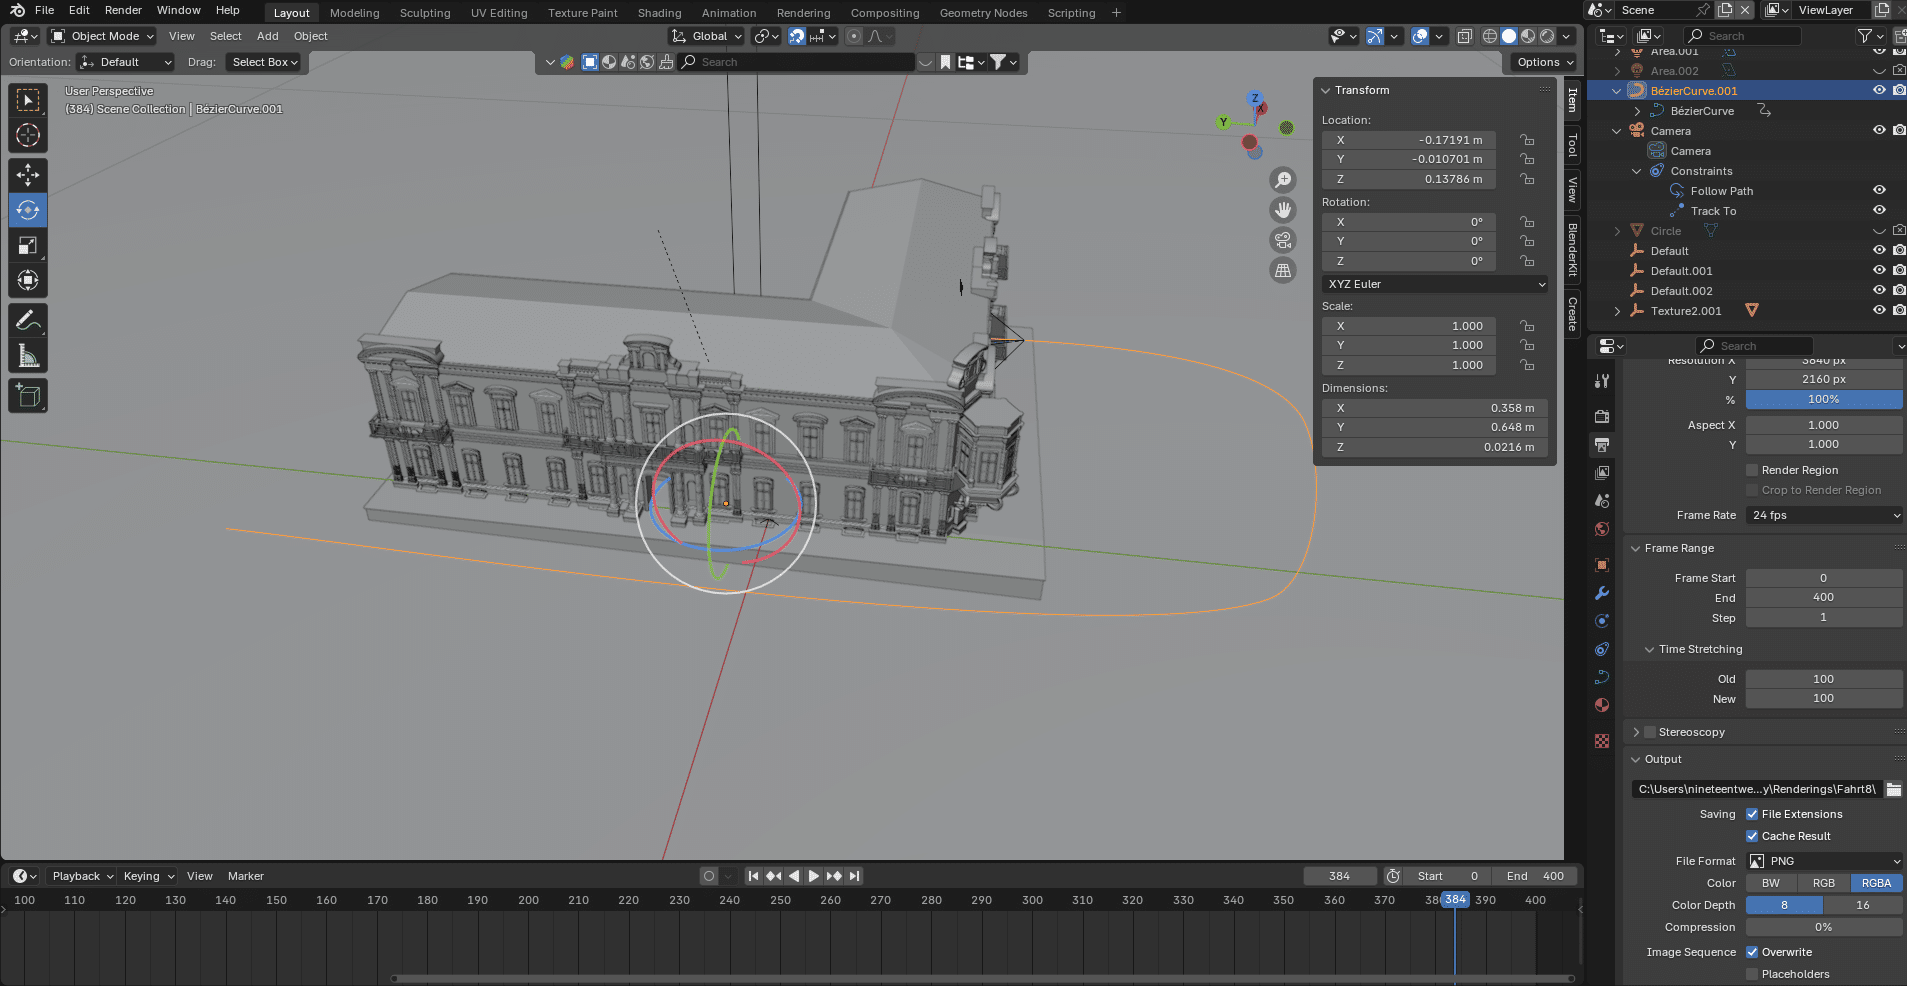
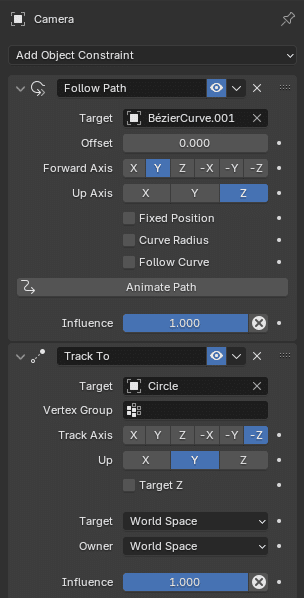
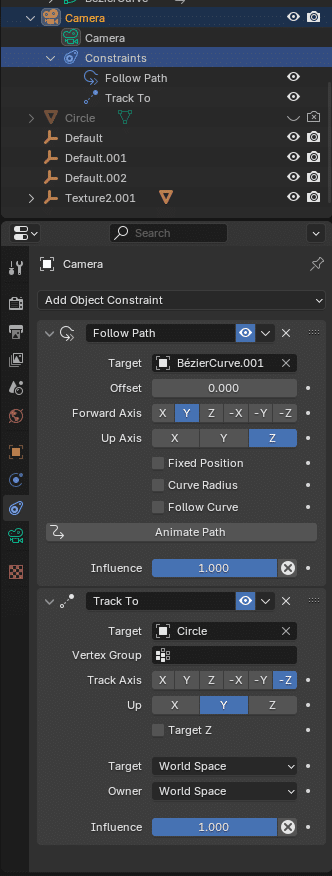
The views for the camera movements were defined, now it was time to implement them in Blender. Blender offers the Track To Constraint function for this, with which the camera is aligned to a specific target object. I had previously created the path that the camera should take as a spline. Because the camera always remains focussed on a previously defined object, regardless of its position, I only had to determine the speed and start and end point of the camera movement using keyframes. Thanks to this approach, I was able to create the camera movements flexibly and edit them later if necessary.


Reconstruction of the interiors
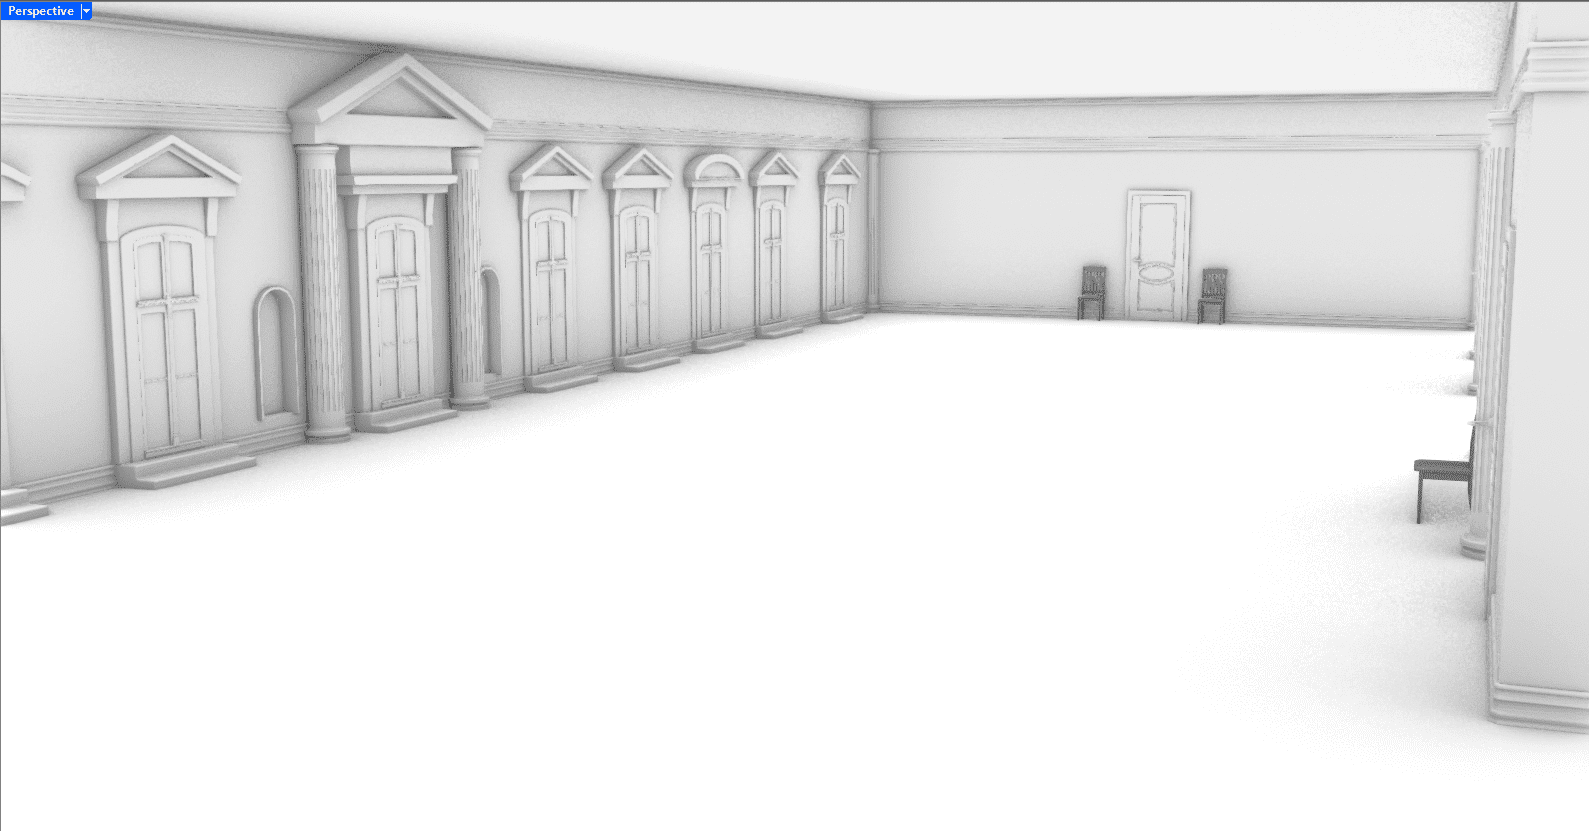
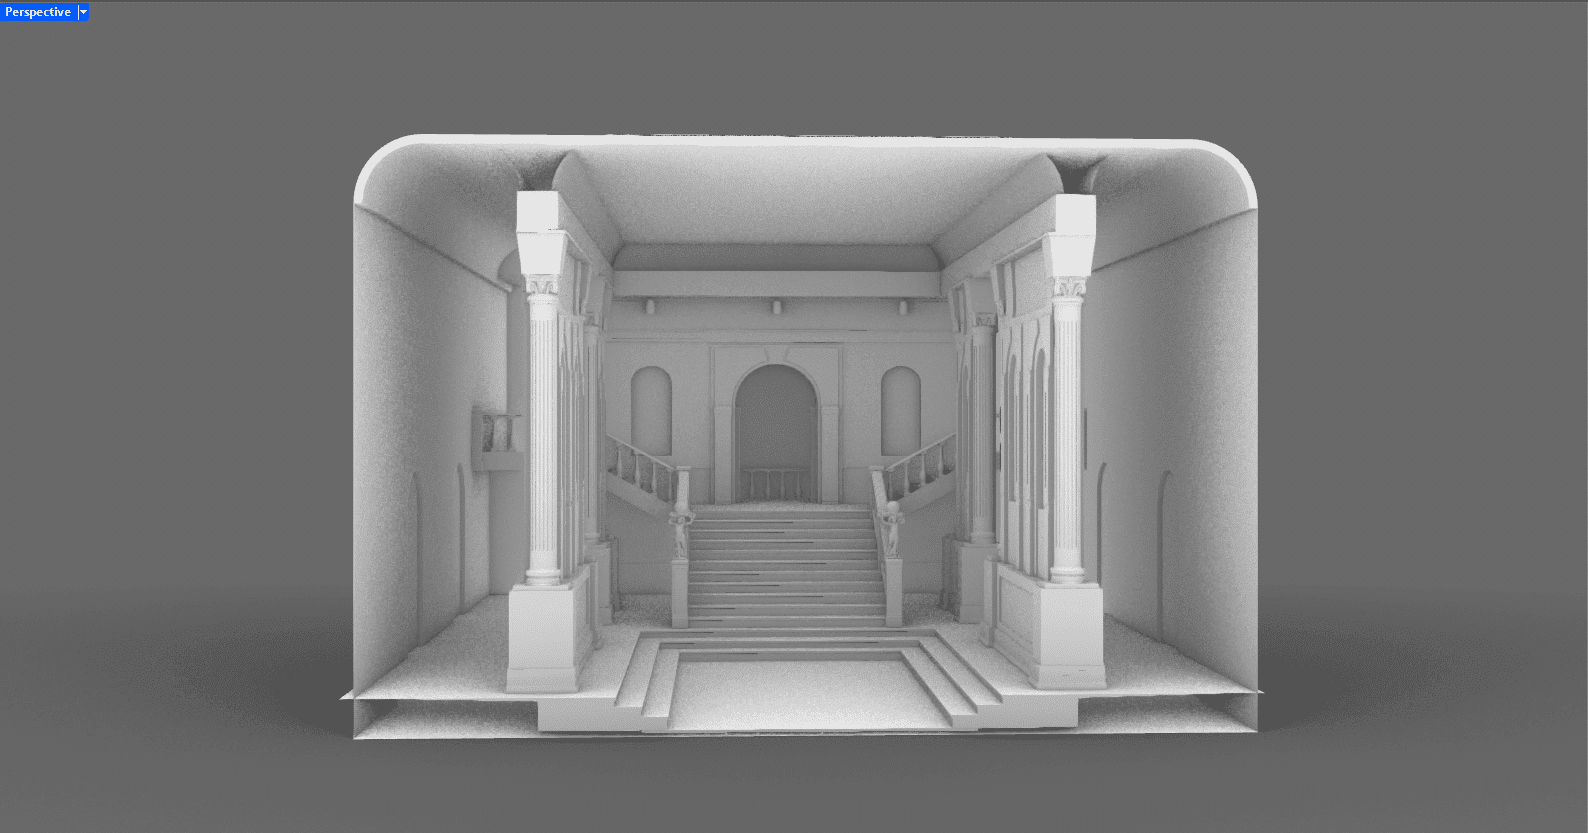
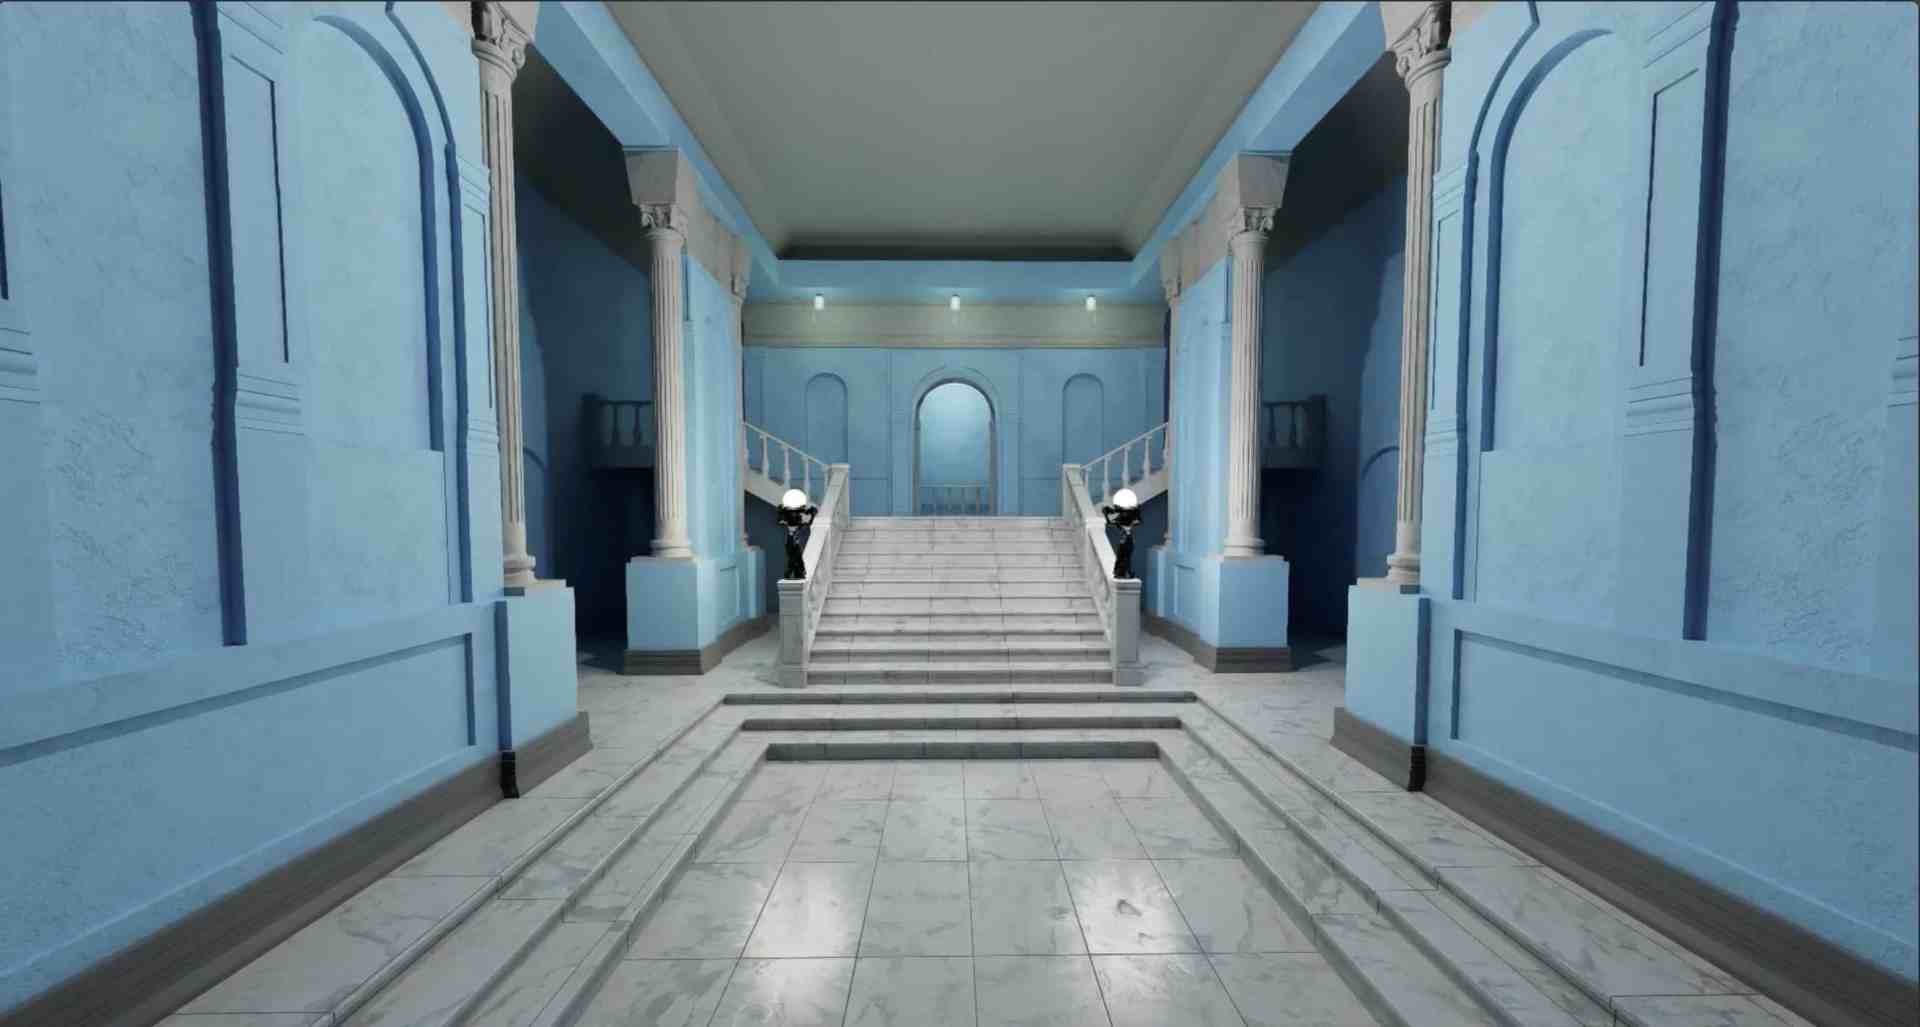
By defining the tracking shots for the building, we decided to also provide insights into the interior. We chose the reception hall on the ground floor and the large gallery on the upper floor as the end point for some of the tracking shots. Unlike the exterior views, we were unable to use image data from Google Maps for this. The reconstruction of the interiors therefore had to be based on a few archive images. As the camera panning into the interior of the building is crucial for the atmosphere of the scenes, we also focussed on a simplified environment and placed the striking features of the rooms in the foreground. For the construction of the interiors, I used existing assets from my library or modified them to get as close as possible to the original image.


Assembly of the scenes
After the final rendering of the sequences in Blender, they were edited in Premiere Pro. Each tracking shot, which filmed the exterior of the building, ended in the interior of the museum and served as an introduction for a subsequent sequence in the documentary. The transitions combine architecture, light and movement and create an atmospheric bridge between the locations. The result will be shown as a contribution in the documentary Masterpieces from Odessa – A Museum between Art and War in the Arte media library from February 2025.


Who is Mimicry / Aljosha Apitzsch ?
I am a 3D generalist from Hamburg and founder of mimicry. My entry into the 3D world began with Cinema 4D R16. With an increasing focus on product visualisation, I also became more involved with Nurbs modelling in Rhino. Although I’m still a big fan of Cinema 4D and have occasionally tried my hand at LightWave, I now prefer to use Blender for visualisation and rendering – also because I think the open source concept is worth supporting. I use Rhino to create assets. LinkedIn | Instagram
CGI @ mimicry – for film, documentary and advertising.
Reconstruction | Visual Production
www.mimicry.team


