Table of Contents Show
With Mari 7.5, Foundry introduces a long-promised feature that fundamentally changes how artists work with texture maps: Multi-Paint. This update lets artists paint or project on up to eight texture streams at once: diffuse, specular, bump, displacement, roughness and more, all from a single node.
The update also integrates a Bakery-powered Texture Transfer system for rapid re-baking between objects and UV layouts. Both systems are built to speed up high-end workflows in film and visual effects, where hundreds of UDIMs and dozens of maps per asset are the norm. The following is a based solely on Foundry’s official release notes and documentation. So, take it with a grain of salt and test fpor yourself, we didn’t have the time to update Mari yet.
Multi-Paint: simultaneous control of eight texture streams
Until now, Mari’s paint engine supported one RGBA image stream per paint node. Artists could paint colour (diffuse) directly on a model, but each additional surface channel such as bump, specular, roughness or subsurface required a separate node, layer or bake.
Mari 7.5’s new Multi-Channel Paint Node eliminates this bottleneck. A single node can now carry up to eight streams (texture channels) simultaneously. Each stream corresponds to a channel in the chosen Shader Model such as Arnold Standard Surface, V-Ray Mtl, or Unreal.
When a Multi-Channel Paint Node is active, the Multi-Paint Palette appears in the Palettes toolbar. The palette lists all streams associated with the shader model such as Base Color, Roughness, Metallic, Normal or Height, and allows enabling up to eight at once.
The active or Primary Stream determines what the viewport shows during painting, identified by a white eye icon in the palette. While you see and interact with the primary channel (for example, diffuse), every enabled channel receives the same brush stroke data in parallel.
The Multi-Paint Palette: command centre for channel management
The palette acts as a live editor for channel configuration. Artists can:
Select active streams (up to eight).
Set individual Blend Modes per stream (multiply, overlay and more).
Assign foreground and background colours or load image inputs.
Define Primary Stream visibility and quickly swap preview targets.
Reset, batch-edit or clear streams.
Adding textures is drag-and-drop from the Image Manager or file browser. When an Image Group is dropped into the palette, Mari auto-assigns textures to shader channels by matching filename patterns such as “_rough” or “_disp”.
Mari 7.5 introduces Multi-Paint Presets, stored as reusable configuration files in the Shelf palette. These presets capture stream layouts, colour and blend settings, allowing consistent setups across multiple assets or shader models.

Painting tools rebuilt for Multi-Paint
A large portion of Mari’s paint engine was refactored to handle the multi-channel context. The following tools are now compatible: Paint, Paint-Through, Roller Brush, Blur, Clone Stamp, Warp, Slerp, Tow Brush, Pinup, Paint Buffer Eraser, Select Tool Fill, Marquee Select and Paint Buffer Transform.

Each of these tools operates through the Multi-Paint layer stack. Brush properties, projection masks and painting palette parameters are now multi-aware, ensuring that texture projection or cloning behaves consistently across all active streams. Mari supports both colour and image input per stream. For procedural workflows, users can feed channel-specific images or colour corrections before committing to a bake, maintaining Mari’s hallmark non-destructive approach.
Image Groups: intelligent texture organisation
The Image Manager was redesigned to handle large datasets typical of production texture packs. The old tab system is gone, replaced by hierarchical Image Groups. Image Groups can be created manually or automatically when folders are imported. Inside a group, images can be sorted, renamed or reassigned. When dropped into the Multi-Paint Palette, Mari matches textures to shader streams using internal Material Ingest Presets (*.mip files). These presets store naming conventions and expected channel mappings for common vendors such as Texturing XYZ or scanned materials.
If automatic assignment fails because of unconventional filenames, artists can open the Image Group Properties table to manually link each image to the appropriate shader stream. A Lock Streams feature prevents reassignment of locked mappings during auto-assign. This makes Multi-Paint particularly suitable for texturing workflows using large texture libraries or vendor-supplied scan sets with predictable naming conventions.

Shader Model Context and Node Integration
Each Multi-Channel Paint Node must be initialised with a Shader Model. Supported shader contexts include:
Arnold Standard Surface
Autodesk Standard Surface (1.0.2.x)
3Delight Principled
Principled BRDF
USD Preview Surface
Unreal
VRay Mtl (5 and 6)
The shader model defines which streams are available in the Multi-Paint Palette. The palette updates automatically when switching between nodes in different contexts. The node can be merged into existing node graphs via a Multi-Channel Merge Node, integrating seamlessly with existing layer stacks. Artists can switch between single-channel and multi-channel painting by simply selecting the desired node in the graph. Resolution and bit depth can be defined per node such as 4K 16-bit, or the node can inherit channel settings downstream using the Use Channel Settings toggle.
Preset Workflows and Shelf Integration
Preset workflows address one of Mari’s historical pain points: repetitive setup across large asset sets. Once a Multi-Paint Palette configuration is complete, it can be stored as a .mpp file (Multi-Paint Preset).
Presets can include colour values, blend modes and stream assignments, and can be batch-applied to new paint nodes from the palette’s dropdown. Hovering over a preset reveals thumbnail previews for verification before applying.
In large-scale productions, this allows technical directors to define standardised setups for shader models and distribute them via the Shelf palette to all texture artists.

Bakery-powered Texture Transfer
The second major technical upgrade in Mari 7.5 is the Texture Transfer system, powered by Foundry’s in-house map-baking engine The Bakery. Previously, transferring texture data between models relied on a particle-based method that could be slow and sometimes inconsistent. The new Bakery system replaces it with a GPU-accelerated baking approach that can reproject paint data across topologies and UV layouts far faster and more accurately. In practical terms, Texture Transfer enables the reuse of existing texture work when:
Retopologising a model
Updating UV layouts
Creating LODs (levels of detail)
Transferring look-dev setups between asset variants
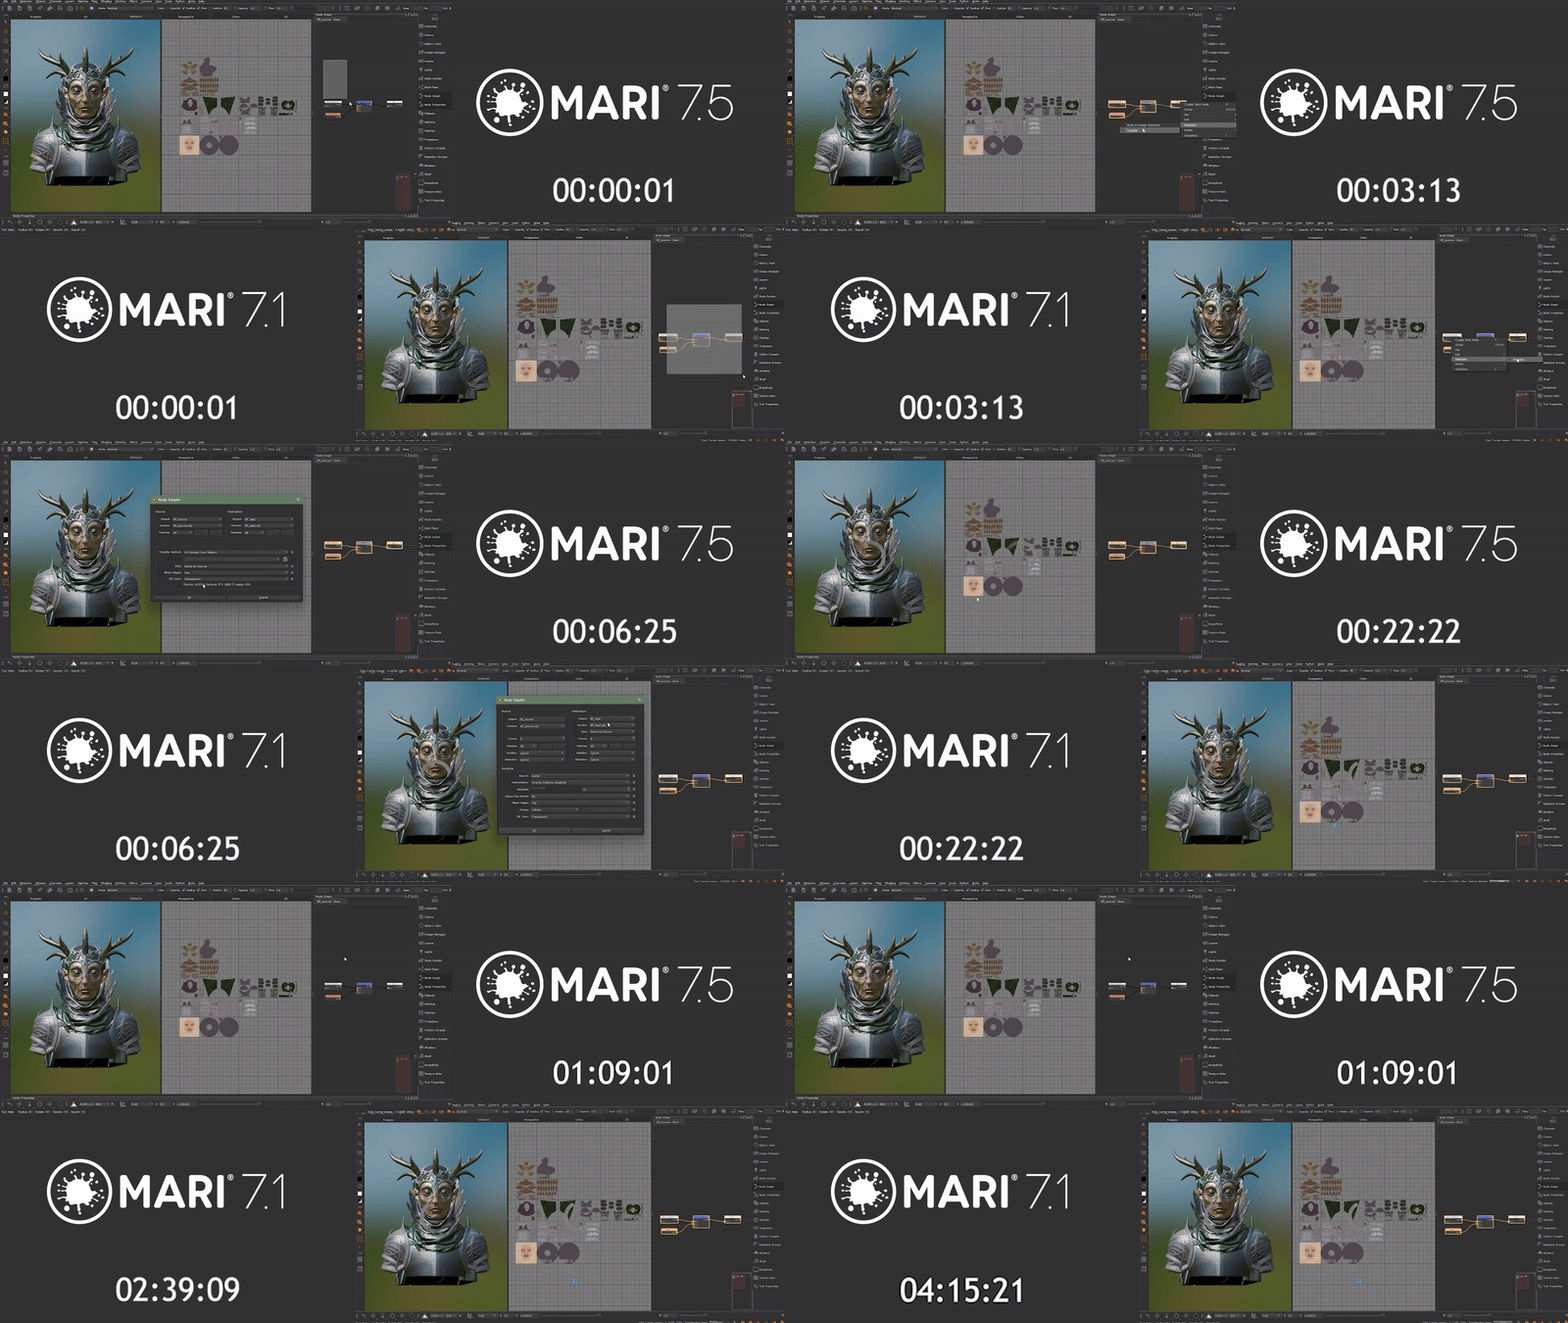
Users can select one or more nodes in the Node Graph, right-click, and choose Selection > Transfer. The system opens a dialog allowing specification of source object, target object and patch (UDIM) mapping. Foundry’s documentation cites an internal benchmark: transferring three 28-UDIM 4K 16-bit Paint Nodes into a single 4K UDIM in roughly ten seconds, a significant speed-up compared to the previous generation.

The Bakery supports transfer of Nodes, Layers or Channels. Transfers preserve topology-based alignment where possible, and a Patch Fill Color option highlights untransferred areas, allowing manual correction afterwards. The legacy particle transfer system remains accessible through Mari’s Python API for backward compatibility, but Foundry now recommends the Bakery workflow for all new projects.
Workflow Example: Multi-Paint and Texture Transfer in practice
- Setup: Create a Multi-Channel Paint Node, select a Shader Model such as Unreal, and define resolution and bit depth.
- Import assets: Drag vendor texture packs such as Texturing XYZ into the Image Manager. Mari auto-creates an Image Group.
- Assign channels: In the Image Group Properties, map each texture to the correct shader stream or use Auto-Assign with an ingest template.
- Activate Multi-Paint: Open the Multi-Paint Palette, enable desired streams such as Base Color, Roughness, Normal, set the Primary Stream, and start painting using any supported brush tool.
- Preview and bake: Use the Paint-Through tool to project images while previewing the Primary Stream. All enabled channels are painted concurrently.
- Transfer: Once the asset evolves, for example a new UV layout, select relevant nodes, choose Transfer and re-bake textures to the updated geometry.
This workflow shortens iteration time between concept, look-dev and final asset while preserving fidelity across multiple texture channels.

Performance and scalability considerations
While Multi-Paint greatly improves efficiency, painting multiple 4K or 8K 16-bit streams simultaneously significantly increases GPU memory demand. Each stream is stored and processed independently, so large UDIM sets can quickly saturate VRAM.

Foundry’s release notes do not specify new memory optimisations beyond the core multi-threaded backup system, suggesting artists may need to monitor GPU load closely. Using lower-resolution previews or fewer active streams may be advisable on mid-range hardware. Texture Transfer performance depends on The Bakery’s compute configuration. Transfers are faster on multi-core CPUs with high disk throughput.
Compatibility and industry formats
Mari 7.5 continues to support standard exchange formats: FBX, OBJ, Alembic, OpenEXR and USD. The new systems integrate with UDIM workflows and scale comfortably beyond one million polygons in a single topology. Shader-model-based mapping ensures compatibility with renderers such as Arnold, V-Ray, Unreal and 3Delight without custom remapping.
Final notes and caution
Foundry’s documentation emphasises that Multi-Paint is a complementary workflow. Artists can combine it with traditional Paint Nodes without breaking compatibility. Existing projects can adopt it incrementally. However, the complexity of eight-stream painting introduces new edge cases in performance and layer management. Artists should benchmark Mari 7.5 on representative assets before integrating it fully into production pipelines. As with any major feature update, test before committing, particularly in environments with shared asset libraries.
Conclusion
Mari 7.5 marks a structural evolution of Foundry’s texturing toolset. With Multi-Paint, texture artists can finally paint multiple channels in perfect alignment, directly within a single node. The Bakery-based Texture Transfer complements this by making map reprojection effectively real time.
Together, they shift Mari’s focus from per-channel micro-management to holistic, multi-stream surface authoring, a change that may redefine standard practice in VFX texturing.


