Table of Contents Show
Many tasks in Houdini are carried out in the network editor and not in the viewport; every single step, whether bevel or extrude, for example, creates a new node. So it’s all purely procedural, isn’t it? The overview goes to zero in parallel with the working speed and the user goes to other DCCs that can be modelled directly.
Modelling directly in Houdini has some clear advantages. In addition to the obvious saving of export/import loops, Houdini offers wonderful opportunities for automation, experimentation and endless iteration (or quick non-destructive customer feedback rounds) with its basic, but not exclusively, procedural approach.
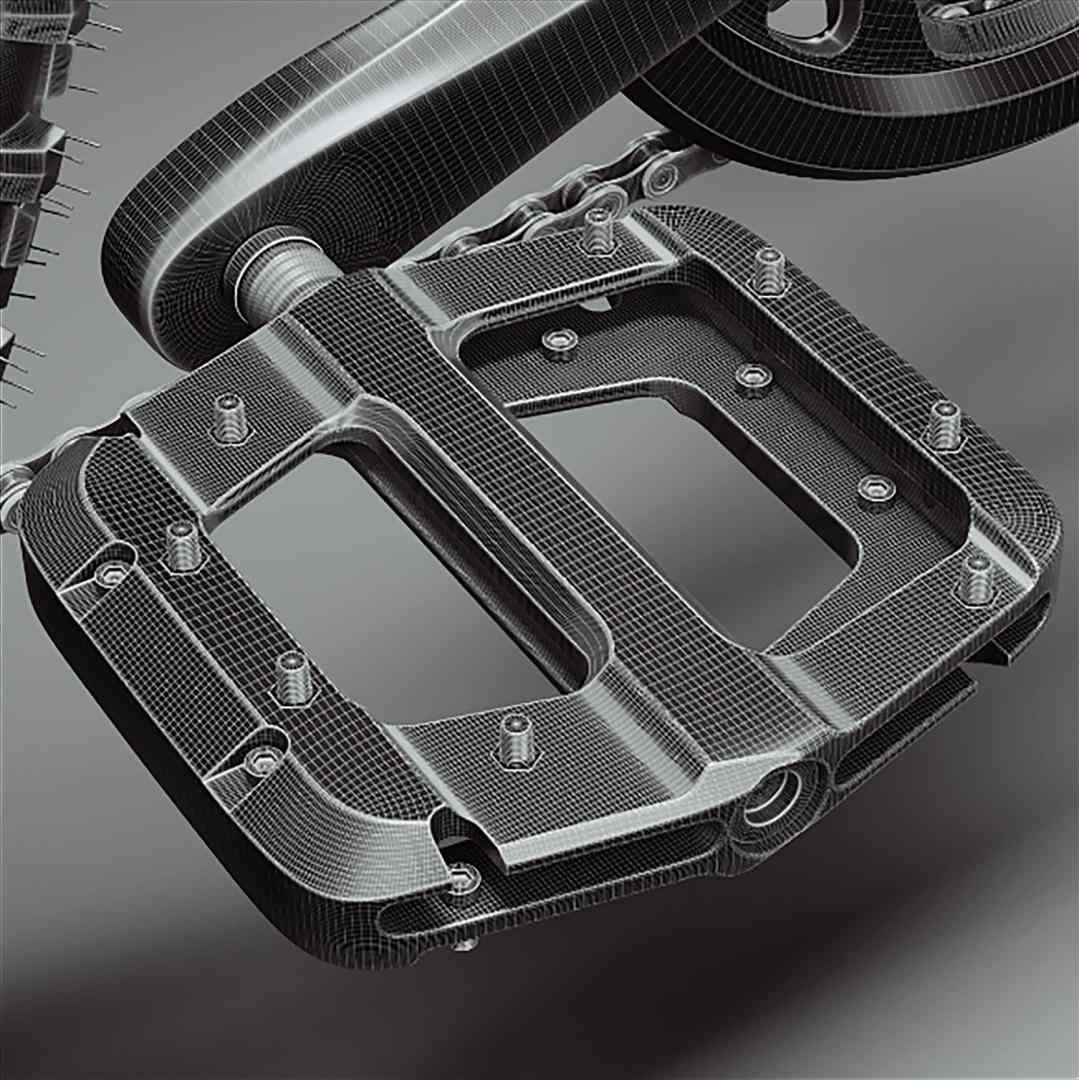
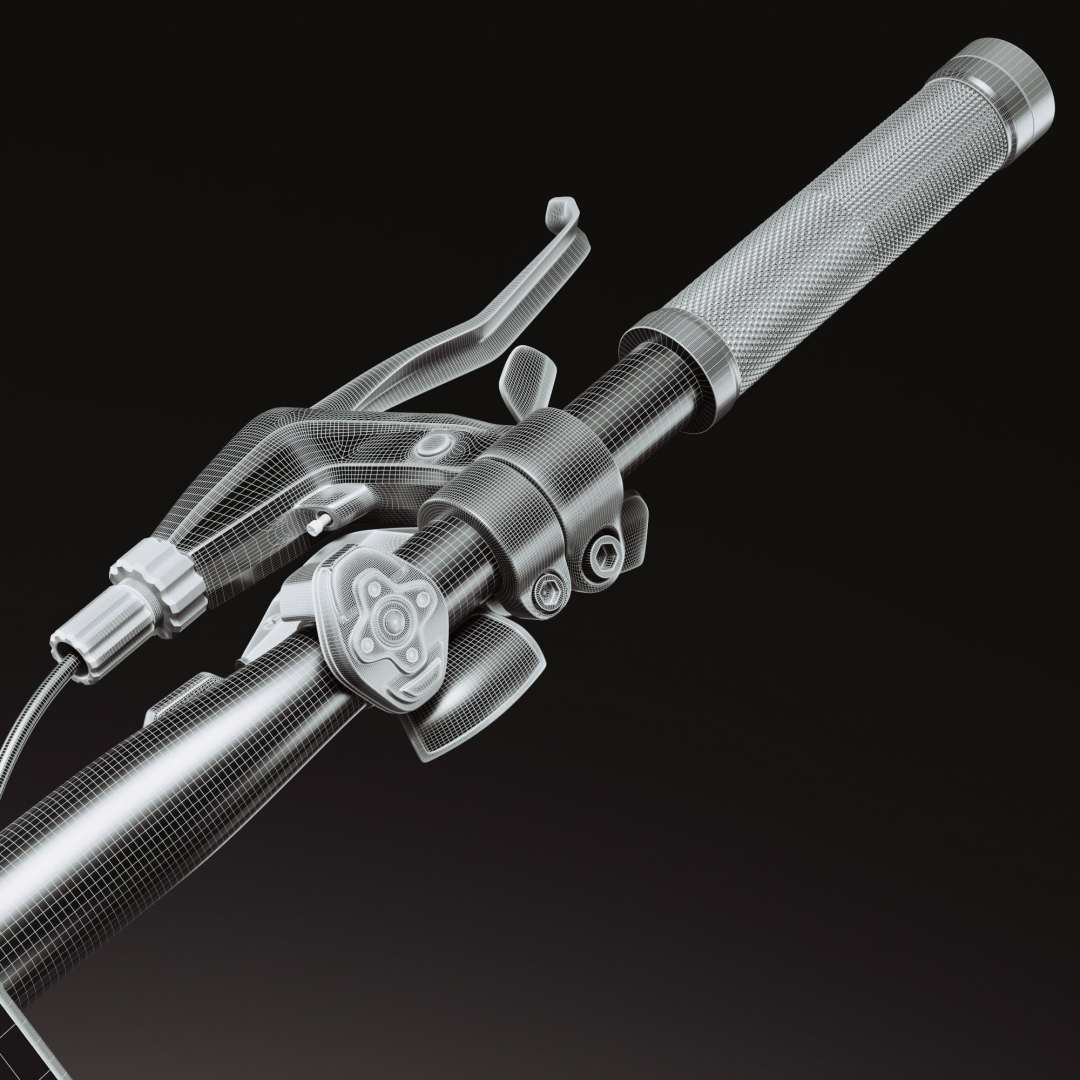
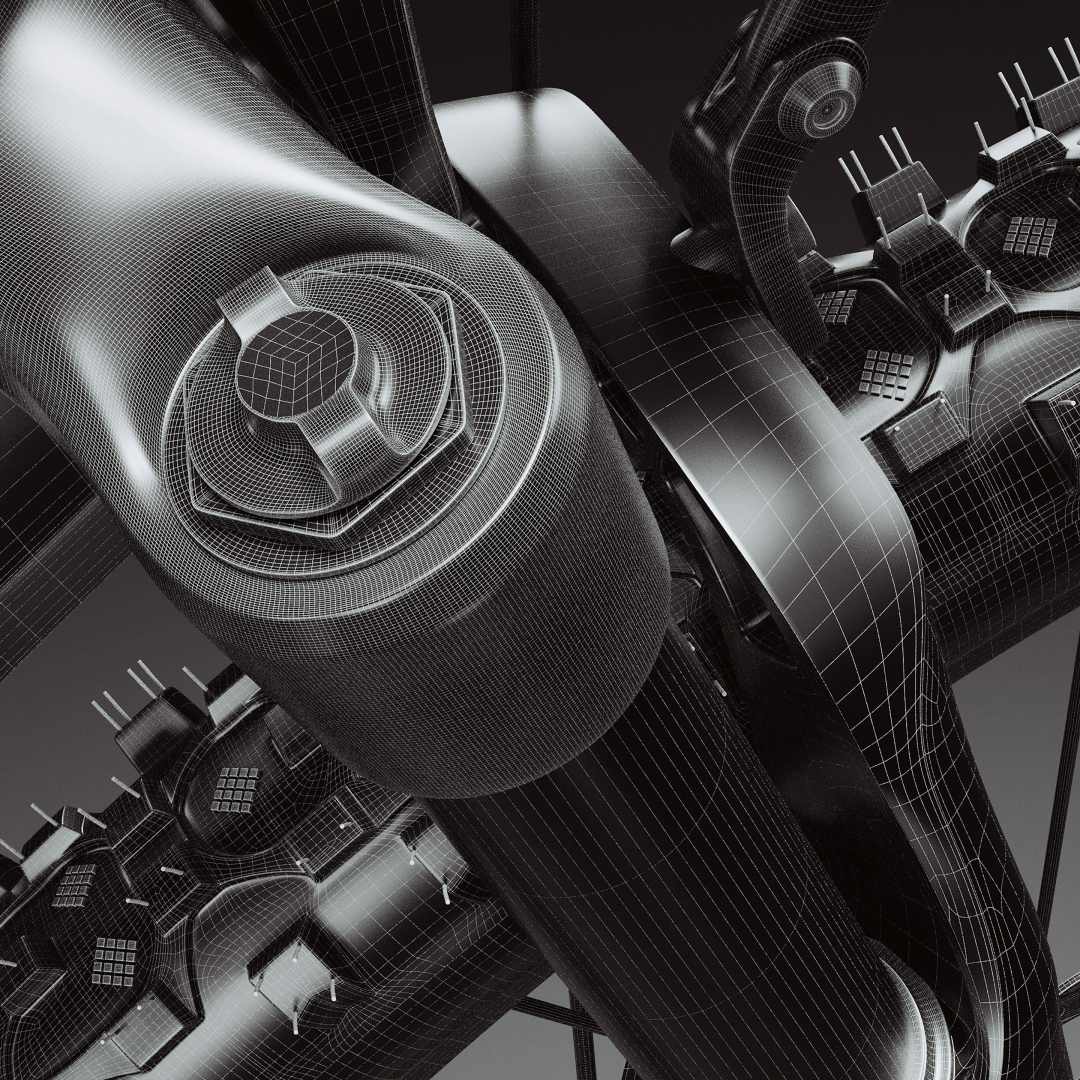
Add to this a bit of VEX coding at the right time and the conversion of complex modelling setups into simple shareable or sellable HDAs, in which the artist simply has to adjust given parameters to create countless variants of the model, and you have a gigantic arsenal of creative possibilities. Unfortunately, Houdini is not always particularly intuitive or user-friendly and some tools are a little awkward to use.

SideFX has recently been trying to address this with exciting new features. There are more interactive tools, many nodes have been given a tidier UI, more Quality of Life nodes from the Labs or the Tech Art Challenges, where users can submit their own HDAs of all kinds (some of which are permanently integrated into Houdini), plus Quicktips and, of course, more tutorials. Basically, modelling in Houdini is better and more interactive than expected. Nevertheless, there are some areas where we would like to see a better flow and easier ways to achieve the goal.

Direct Modelling!
And this is exactly where Alexey Vanzhula’s solution for direct modelling with the plausible name “Modeler for Houdini” (version 2023) comes in. The talented developer’s inexpensive tool aims to model quickly, intuitively and above all interactively, primarily in the viewport, to compensate for missing tools and generally to simplify and streamline the workflow. Alexey defines his work with the following words: “Modeler is designed to quickly create and edit polygonal\subd meshes. This plugin allows to concentrate only on editing polygons without unnecessary manipulation of Houdini nodes. It has a full set of mesh editing tools, like in other classic 3D programs.”
The centrepiece of the current version 2023 is the launcher, a global menu that opens at the mouse position and from which the artist can quickly and clearly select the desired tool, even faster of course via hotkey.
A bit like Maya, but with its own new ideas and – this is important – seamlessly linked to all the powerful on-board tools of Houdini itself. Modeler is not a black box, but is wonderfully integrated and can be controlled in many places – if required – with attributes or outputs useful groups such as the extrudeFront known from the vanilla Extrude and thus builds the urgently needed bridge between direct and procedural modelling.


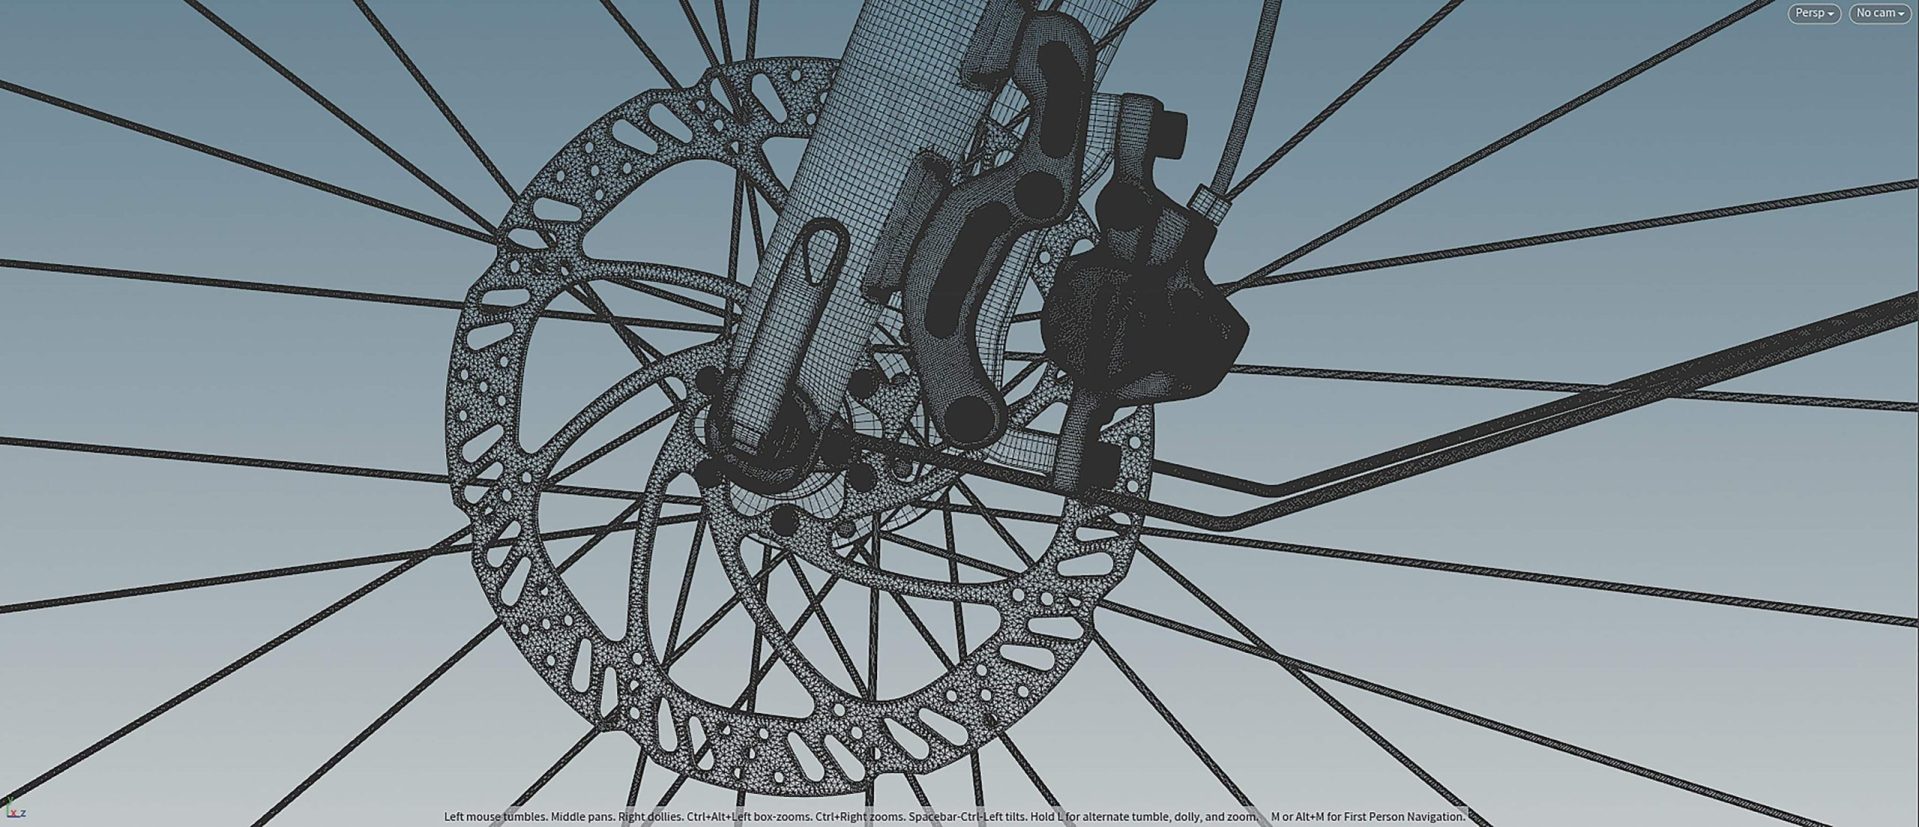
It is important to understand that Modeler still creates nodes in the background for many tools, but you can safely ignore them in the interactive flow (tip: hide Network Editor) or send them to nirvana. With the latter, however, the procedurality also disappears. A typical example of remixing the Houdini and Modeler workflows is shown in the following project, in which the various plants were created as individual assets with Modeler and its companion Z (more on this later), partially refined in ZBrush per Z or with Houdini tools such as the Voxelmesh and then scattered onto the basemesh with various procedural tools. Or the complex elements of a bicycle, which can easily be created using Modeler and then welded together using Houdini’s on-board tools. Or the furnishing of a graphically stylised room, created with Modeler and then brought to life with Houdini’s RBD plus classic CHOPS animation (with the exception of characters).

The tools, workflow and launcher
Modeler is activated via the shelf tool of the same name. A yellow line in the viewport shows that Houdini is now running in Modeler mode (and some vanilla shortcuts will now be used by Modeler elsewhere). Let’s take a closer look at the launcher and the most important tools. Viewport with Alt-B in fullscreen mode and off you go!
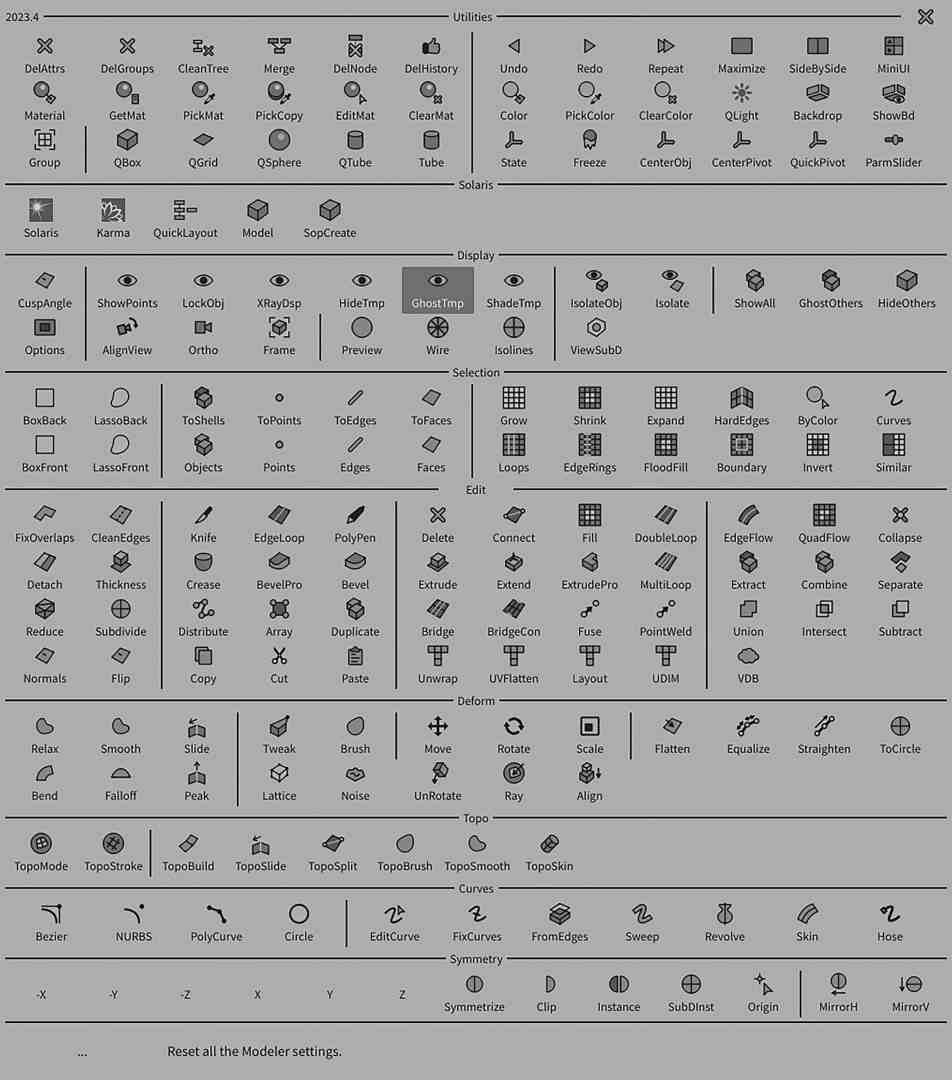
The heart and control centre of the entire tool is opened in the viewport via a tab (hotkeys are of course customisable). Categorised according to logical use cases, all available commands can be quickly selected here or the associated shortcuts can be learned. A tooltip for the current tool can be found at the bottom.

PolyPen
With this probably most innovative and versatile tool from Modeler, you can interactively move, slide, cut, remove and add any components (points and edges) with a single node (!). You can add any number of loops (including interactive subdivision), adjust the loop flow, slide the entire loop and, of course, delete it again. An inset face and bridge function rounds off the package. All these commands are – and this will blow the mind of any Houdini user – easy to implement interactively in a single node (a subnet is generated in the background, but you won’t notice this).
Brush Tool
Fancy a bit of basic sculpting? Interactively move geometry/points and then smooth them? You can do this without ZBrush and without any edit node cramping using the tool of the same name. Points can be moved freely or along their normal with a freely adjustable radius. The counterpart to ZBrush’s Move Brush and therefore a much-needed tool with which you can even work with axis symmetry..
Symmetry
Oja, Modeler allows interactive axisymmetric work for everything based on the edit node, i.e. moving, scaling, rotating and the brush tool including helpful tools such as beaconing, instantiating or clipping the symmetry. In addition, there is also the Simple and Vanilla Tool-like Mirror Node.
From Extrude to BevelPro
Extrude and Inset actually work in exactly the same way as in Vanilla Houdini, only more interactively and faster via shortcut or “Repeat last” command. The addition of the Extrude-Pro tool, which works a bit like ZBrush’s qMesh and allows you to “punch through” geometry, is exciting.
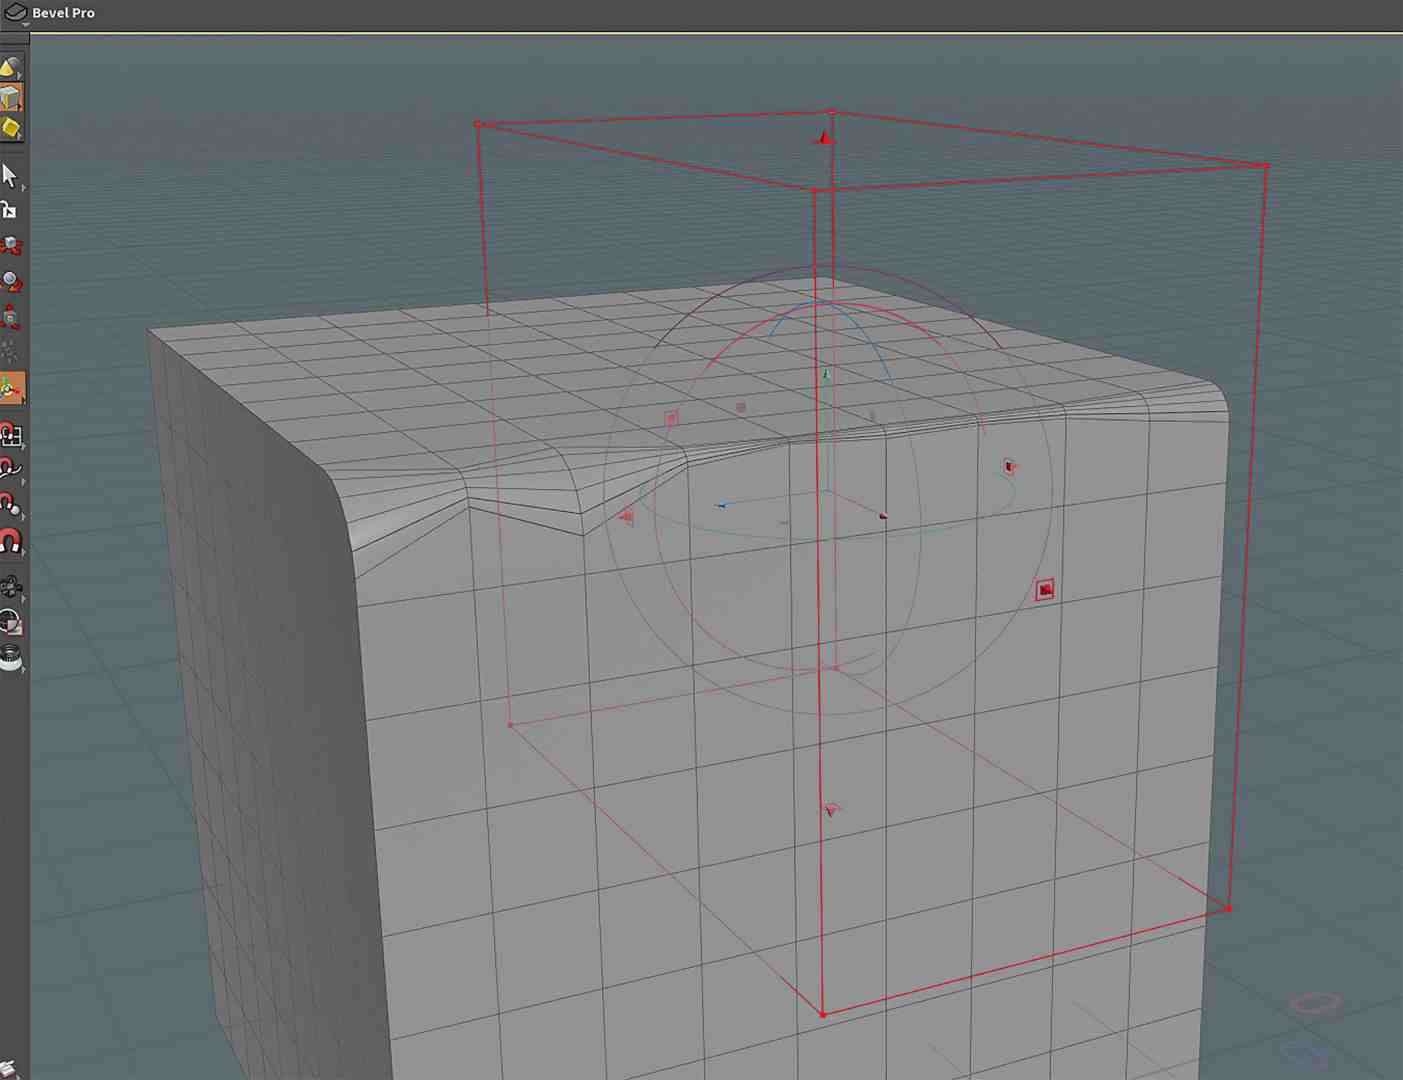
Another “Pro” tool is the addition to the classic bevel (also interactive and wonderfully fluid), which allows interactive “magnet-based” changes to the respective bevel radius at point level – without the use of attributes. Bevelling with interactive falloff, which can also be fine-tuned with a ramp.
Knife Tool
Unfortunately, Houdini’s own Knife Tool is not exactly flexible, which is why the Modeler version, which allows any number of cuts through the selected faces in a node, is incredibly helpful. The cutoff function, which immediately removes cut polys, is particularly time-saving.

Other useful tools
- Falloff transforms selected elements, but with a falloff defined by ramp or freely settable.
- The array tool works very similarly to ZBrush and is a quick alternative to copy2Points or offers a little more than Copy&Transform.
- Lattice is a simplified version of the Houdini tool of the same name.
- To Circle transforms selected elements into a circle. Straighten aligns selected elements in a line.
- Flatten aligns selected elements on a plane or free axis defined by a construction plane.
- The Crease tool is characterised by its own subdiv preview.
- Quickpivot is a quick and interactive way to position the transform handles of each tool faster than before.
- The CurveTools thank you for FixCurves, which prepares the input for further processing (aka conversion to clean polygonal curves) and avoids a few problem areas of the native workflow, as well as the HoseTool, which lets you quickly create all kinds of cables and hoses.

Parm Slider
This is not a tool as such, but rather the ability to adjust various parameters such as loop subdivisions or extrude divisions at the touch of a button and mouse or pen drag. Information on this can be found in the tooltips of each supported tool.
Align View
Also not a tool in itself, but very time-saving and welcome: Modeler simplifies viewport navigation by aligning the camera rotation to the next global view plane when the Shift key is pressed. Pressing Space-1 to -4 thus becomes obsolete.
Display Options & Material Workflow
For even faster work, Modeler comes with a few desirable functions on the subject of “What do I actually see and what don’t I see?”. For example, selected faces can be easily hidden or all non-selected faces can be hidden. Assigning and editing or copying and pasting materials on a polygonal level is also accelerated or made possible with a few useful tools.
Further utilities from the launcher
If the nodetree does become too large, a bold click on “DelHistory” packs the entire geometry without attributes into a single node and deletes the now superfluous nodetree.
The DelAttr and DelGroups commands help you to get rid of unnecessary data clutter. Of course, you can also remove groups and attributes as before, but this makes things a bit faster again – and that is the basic idea behind the entire tool. Speed up what already exists, add what is missing.

Companion Z
Alexey’s dedication to simplifying modelling in Houdini can also be seen in the two smaller siblings of Modeler, which add even more functionality as separately available tools.


“Z for Houdini” connects ZBrush with our beloved Houdini and allows the artist to quickly and easily exchange and process geometry between the two programmes. Simply send the basemesh from H to ZBrush via Shelftool (unbelievably good: even groups from Houdini are transferred as polygroups), sculpt and otherwise modify it as required and retrieve it again with a click of the Shelftool. Incidentally, fibre meshes are also interpreted as curves and blend shapes and layers are supported. What’s more – and particularly tasty – the powerful zRemesher can be started and adjusted with a node from Houdini.

Soft Boolean
“Softboolean” does exactly this task with flying colours and saves a lot of work steps required in vanilla Houdini. A few useful tools are included to make the workflow as interactive as possible, such as quickly extracting the seamcurve or subdividing the meshes.


Community, resources and development
Modeler benefits from an active community centred around the Discord channel. In addition to official how-tos and highly helpful users who can answer almost any question, there is also the opportunity to report bugs or directly express new feature requests and discuss the best ways to implement new tools with the developer. Modeler is also regularly updated with new functions and bug fixes. Sneak peaks of new functions and helpful, detailed tutorials can be found on the official YouTube channel.
Setup and purchase
Modeler is sold for 99 US dollars via the Gumroad Store and is very easy to install: “Copy the modeler and packages folders to the Houdini user preferences folder.” A preconfigured *.json file is used.
Conclusion
Of course, almost a hundred euros is not a small sum, but measured against the gain in speed, fun and convenience, the tool is inexpensive and a really good investment. Modeler belongs in every well-stocked Houdini collection and makes the assembled DCC competition look even older..
Links
Gumroad Store alexeyvanzhula.gumroad.com
Discord Channel https://is.gd/discord_hm
Youtube is.gd/houdini_modelers


