Table of Contents Show
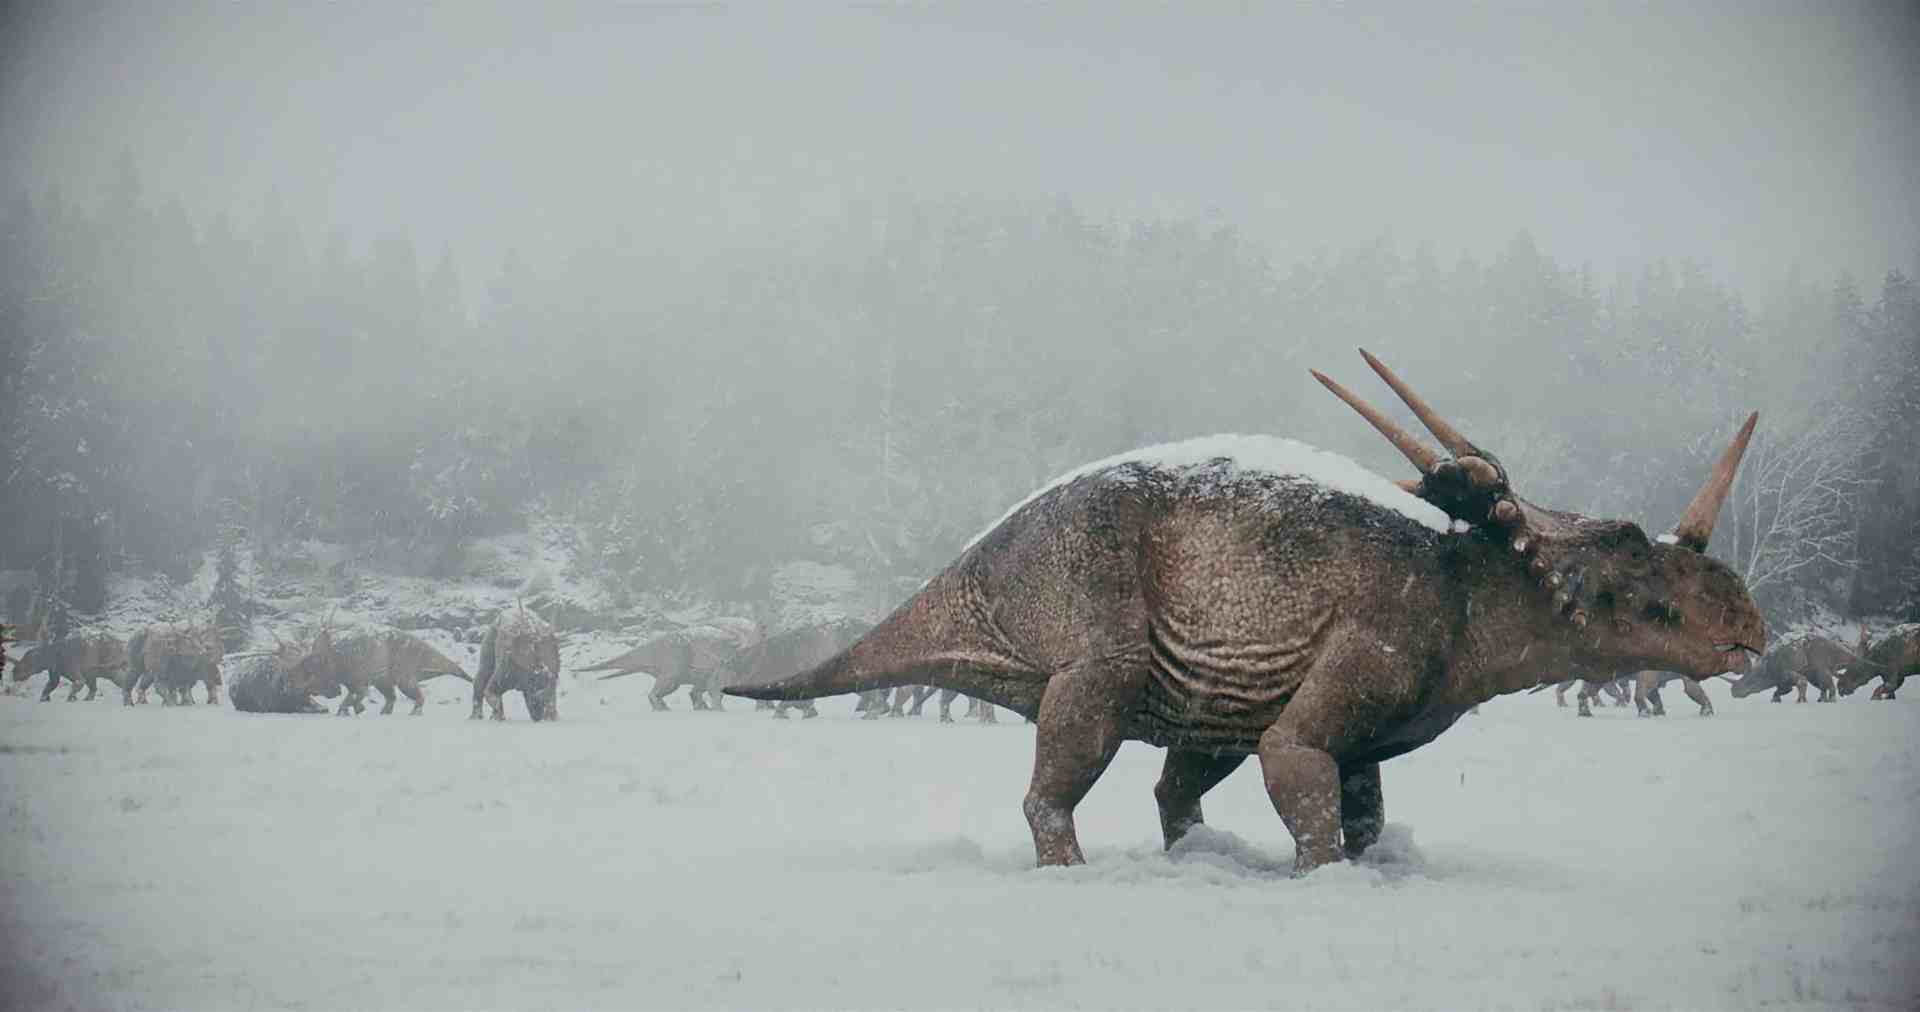
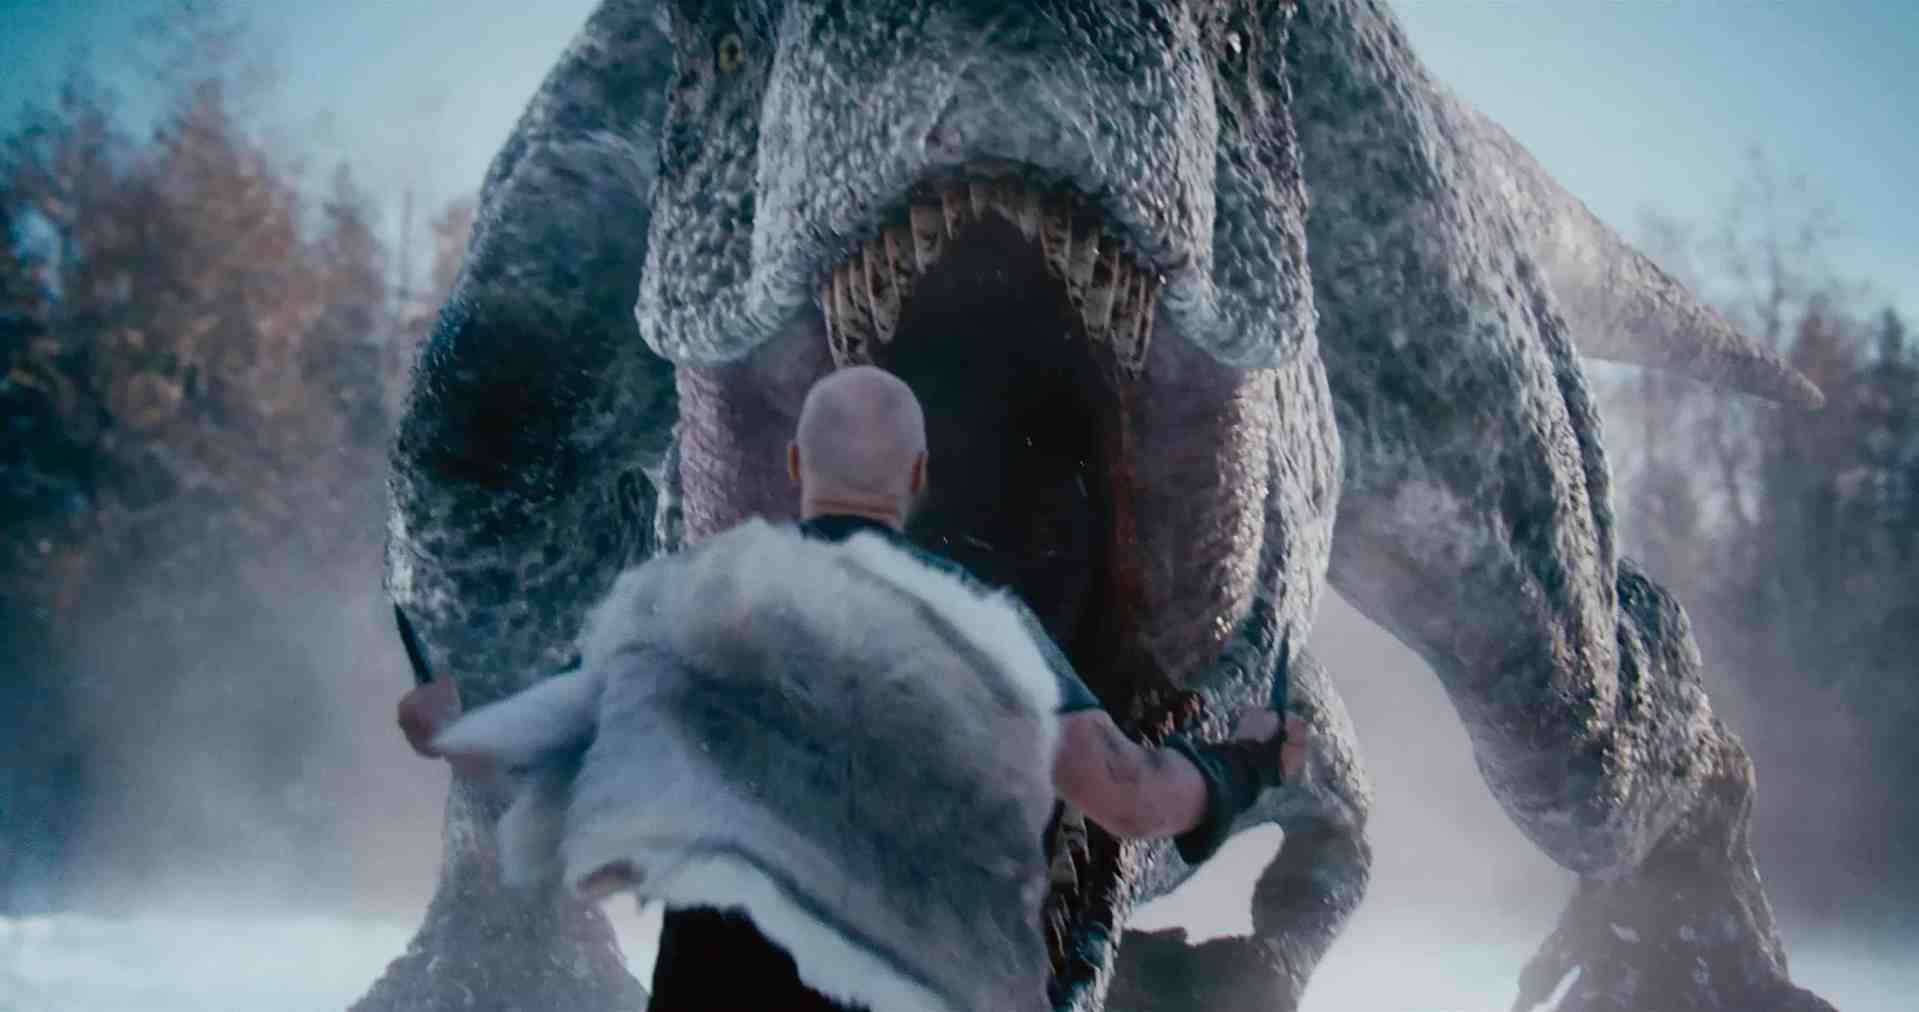
A wild, prehistoric landscape – herds of dinosaurs roam the frosty plains, or sail through the snowstorm over the mountain ranges. In the undergrowth stirs a completely different, small group – primitive humans, but in this world they are among the hunted. They lie in wait for a creature that haunts their tribe, hoping to defeat it once and for all. But nature has other plans: they are surprised by a gigantic T-Rex and are forced to fight. However, they are powerless against the monster; their primitive weapons have no effect. In the end, only one of them remains, who bravely confronts the giant with his daggers..
This is how the short pilot film “We Hunt Giants” ends in terms of content; but the production began much more harmlessly.

The beginnings

Towards the end of 2021, Swedish director Titus Paar contacted me to make me a special offer: At the time, he had seen several of my past dino works online; and now he was hoping to develop another prehistoric short film with me. In this way, he wanted to fulfil a childhood dream on the side; at the same time, the film would also serve as a possible pilot with which the concept could later be expanded into a longer format. Although the initial reaction to any enquiries was somewhat sceptical, the concerns were quickly dispelled – on the one hand, the VFX work was important enough to Titus that he immediately offered to develop the film as a co-production, which I gratefully accepted. In addition, he already had a high-quality résumé of genre films in short and long format, which indicated that he would have high expectations of the project; and several people from the team were already familiar to me from previous projects, some of which had been going on for 15 years. So the go-ahead was officially given.


Although Titus took the lead on the script, it was important to him to involve me from the first version of the book. On the one hand, I was able to think about the quantity and realisation of the VFX shots at an early stage. At the same time, I was able to give him critical feedback on the contrast with my own perspective on film and offer further creative suggestions from my side. One of these suggestions was, for example, to introduce the film with a vignette of different dinosaurs for a better worldbuilding – even if this would mean creating several additional dinosaurs in CG, which would be counterproductive.


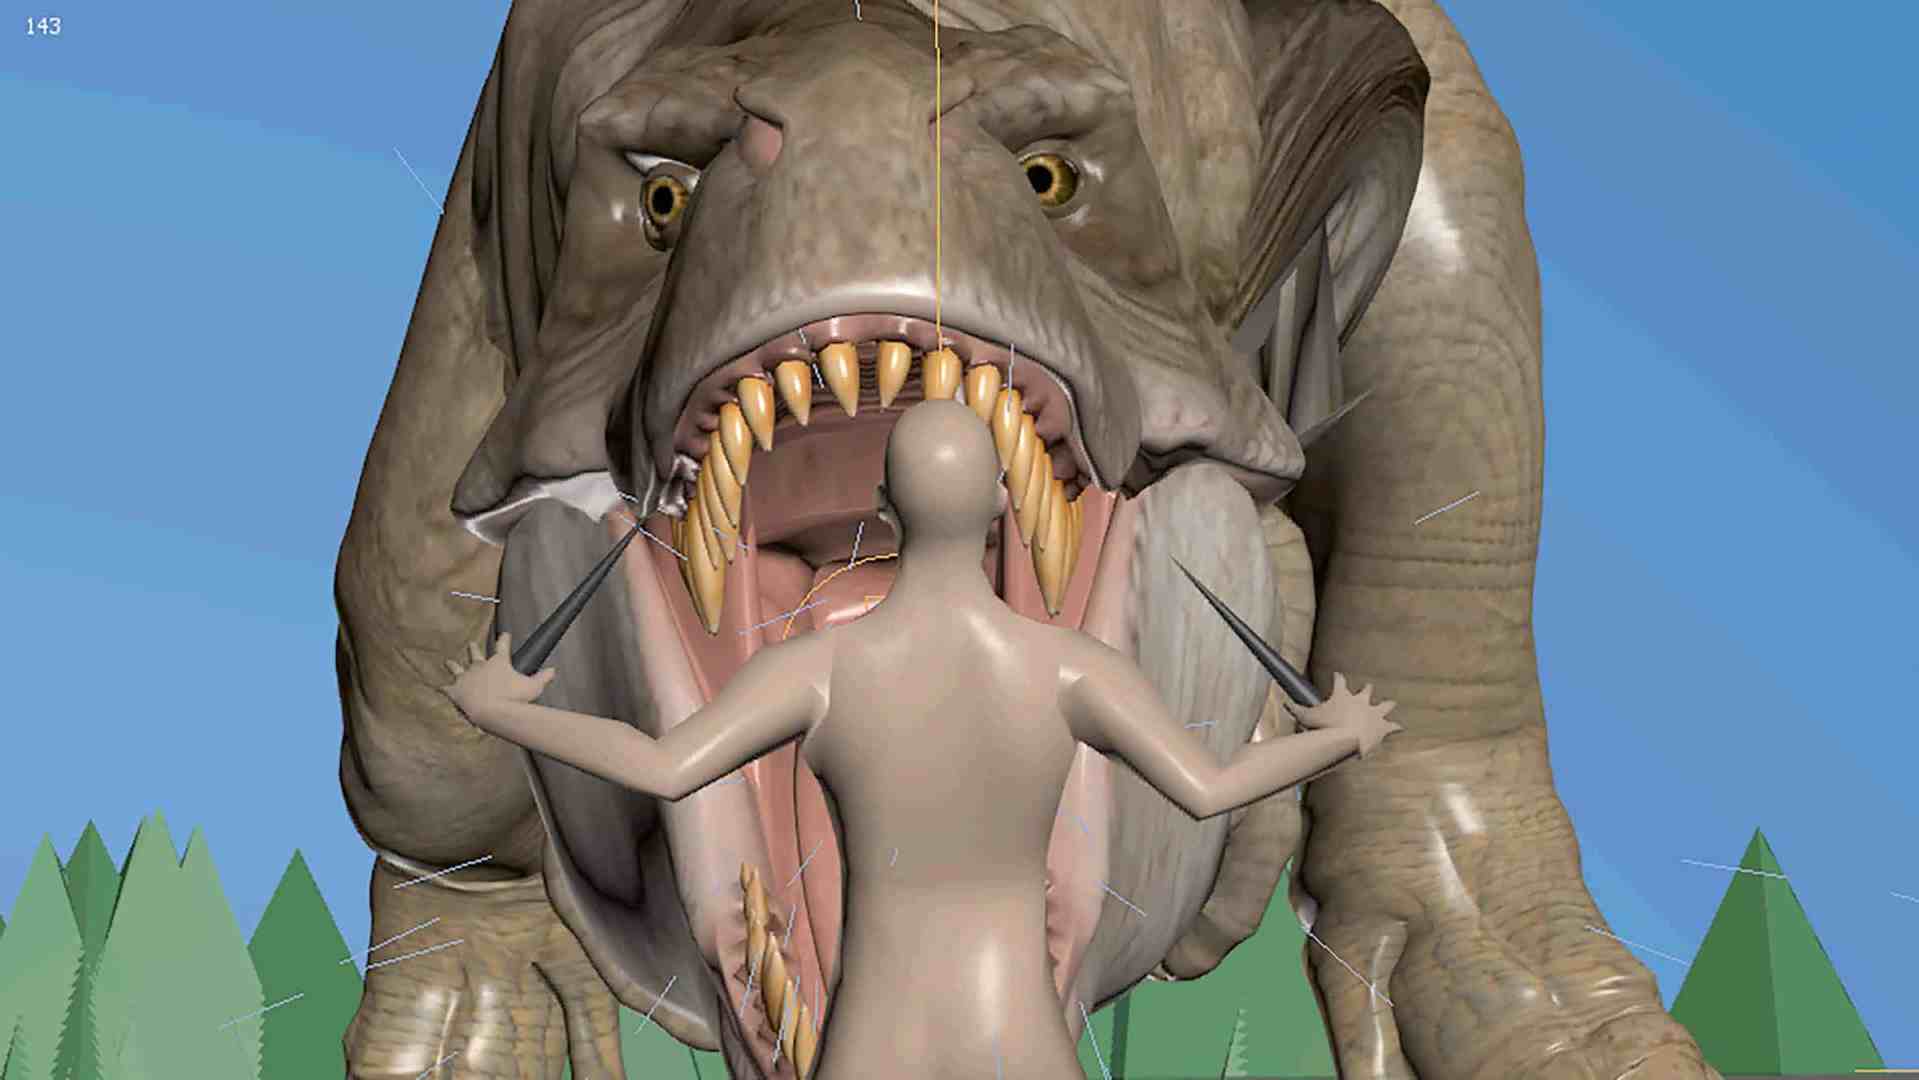
While Titus was making revisions from his side, I began to create the first storyboard sketches and to build and cut a 3D pre-visualisation based on them. This gave me creative freedom to design the resolution & composition, as well as giving Titus the option to plan the shoot in a more focussed way. As the 3D scenes & cameras were scaled to real-life specifications, this allowed us to plan the technical side of the work on set in advance and identify any potential obstacles that could cause problems for the VFX work. This was particularly helpful when talking to cameraman Marcus Möller, as he not only got a better idea for the shoot on set, but was also able to contribute his own expertise. With a finalised 3D previs, shooting schedule and a well-rehearsed core team, nothing should now stand in the way of production.


The shoot
A few days before the shoot in February 2022, cameraman Marcus unexpectedly showed severe Covid symptoms and tested positive. However, giving up was not on the cards, as the equipment and transport had already been booked, and fortunately Andrés Rignell was found at the last minute to stand in for him. He had also already gained experience with VFX as a professional on various shoots and was very familiar with the camera system (RED Gemini). So we found ourselves for a weekend in Tyresta National Park south of Stockholm, and perfect for the first morning we were presented with an untouched winter wonderland, as it had snowed freshly overnight. So deep that even some of the rental cars got stuck in the snow on the last few metres to the film location.
To gain time, Andrés & I went off separately and started shooting various VFX plates while the rest of the crew freed the cars and prepared the actors. This allowed us to find a rhythm on the fly to gather references & camera data alongside the main takes. This was also important as we had to work with less daylight due to the winter season in the north, so some scenes were shot in a rush.

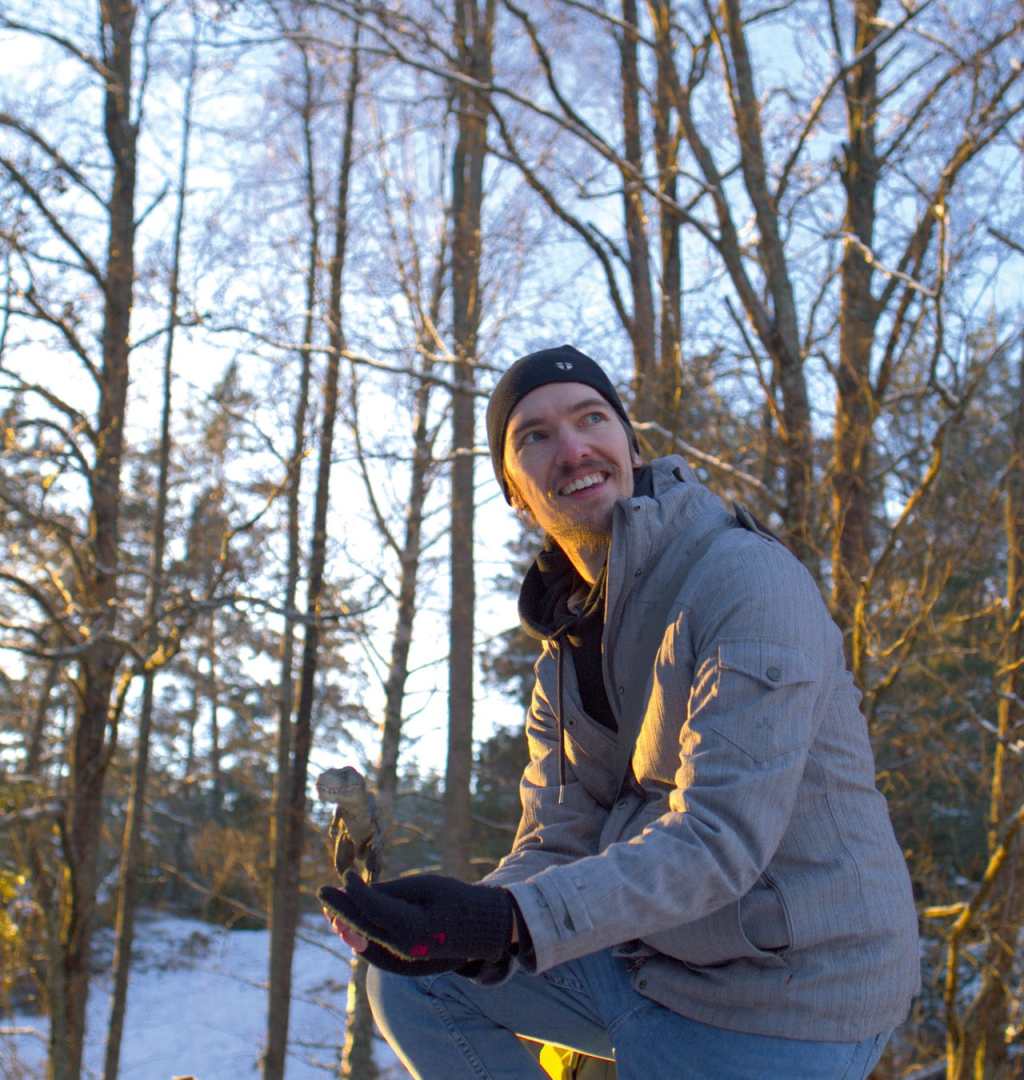
As soon as director Titus & I were happy with the takes of one shot, the actors were prepared for the next shot or recorded sound. Meanwhile, we were shooting quick cleanplates, noting camera specs, taking shots of lens grids, chrome & greyballs and a toy dinosaur for reference. This initially attracted some strange looks, but after a few shots there were always a few interested people around the camera monitor who wanted to catch a first “preview” of the prehistoric star. In every free minute or general break in filming, I also had to take separate photos of all possible references – actors, props, the surroundings & set design (a mini attrape for the dino trap) as well as additional Chromeball photos at different times of day so that an appropriate selection would be available depending on the shot.


Another result of the tight schedule was that almost all the shots were shot on location without any additional equipment – a blue screen was only used for a few specific shots where the VFX work would otherwise have been enormously complicated. After two intensive days of filming in the snow, I flew back to London to start preparing the VFX, while the material went into editing for the next few weeks.

Plate Prep
Finally, all the footage from the shoot was sent to London in the post as RED raw files, along with the first rough cut. Nuke Indie allowed the EDL of the cut to be imported directly and the individual shots to be exported in separate Nuke scripts. For further processing, the plates were reduced from 5K to 2.5k and saved locally as OpenEXR sequences. As the editing was still in progress in Sweden, the sequences were exported with extra leeway to be on the safe side and all tracked in 3D in Nuke Indie for the matchmoving. Thanks to the quality of the shots and the rich texture of the environment, an automatic 3D track usually produced a high-quality result, and it was rarely necessary to intervene with manual tracks or further manual work.
Based on the 3D track, 3D meshes of the environment could also be generated in Nuke at the same time using point clouds. Fortunately, despite initial fears, only a few shots had to be retouched to remove isolated references to the park such as fences or signs. However, the small amount of bluescreens would mean that every interaction with VFX would have to be rotoscoped by hand – some of the shots would end up spending several days or weeks exclusively in rotoscoping. Luckily, a friend and former colleague, Dominik Platen, stepped in towards the end of post-production and took care of the rotoscoping for some shots.


Dinosaur assets
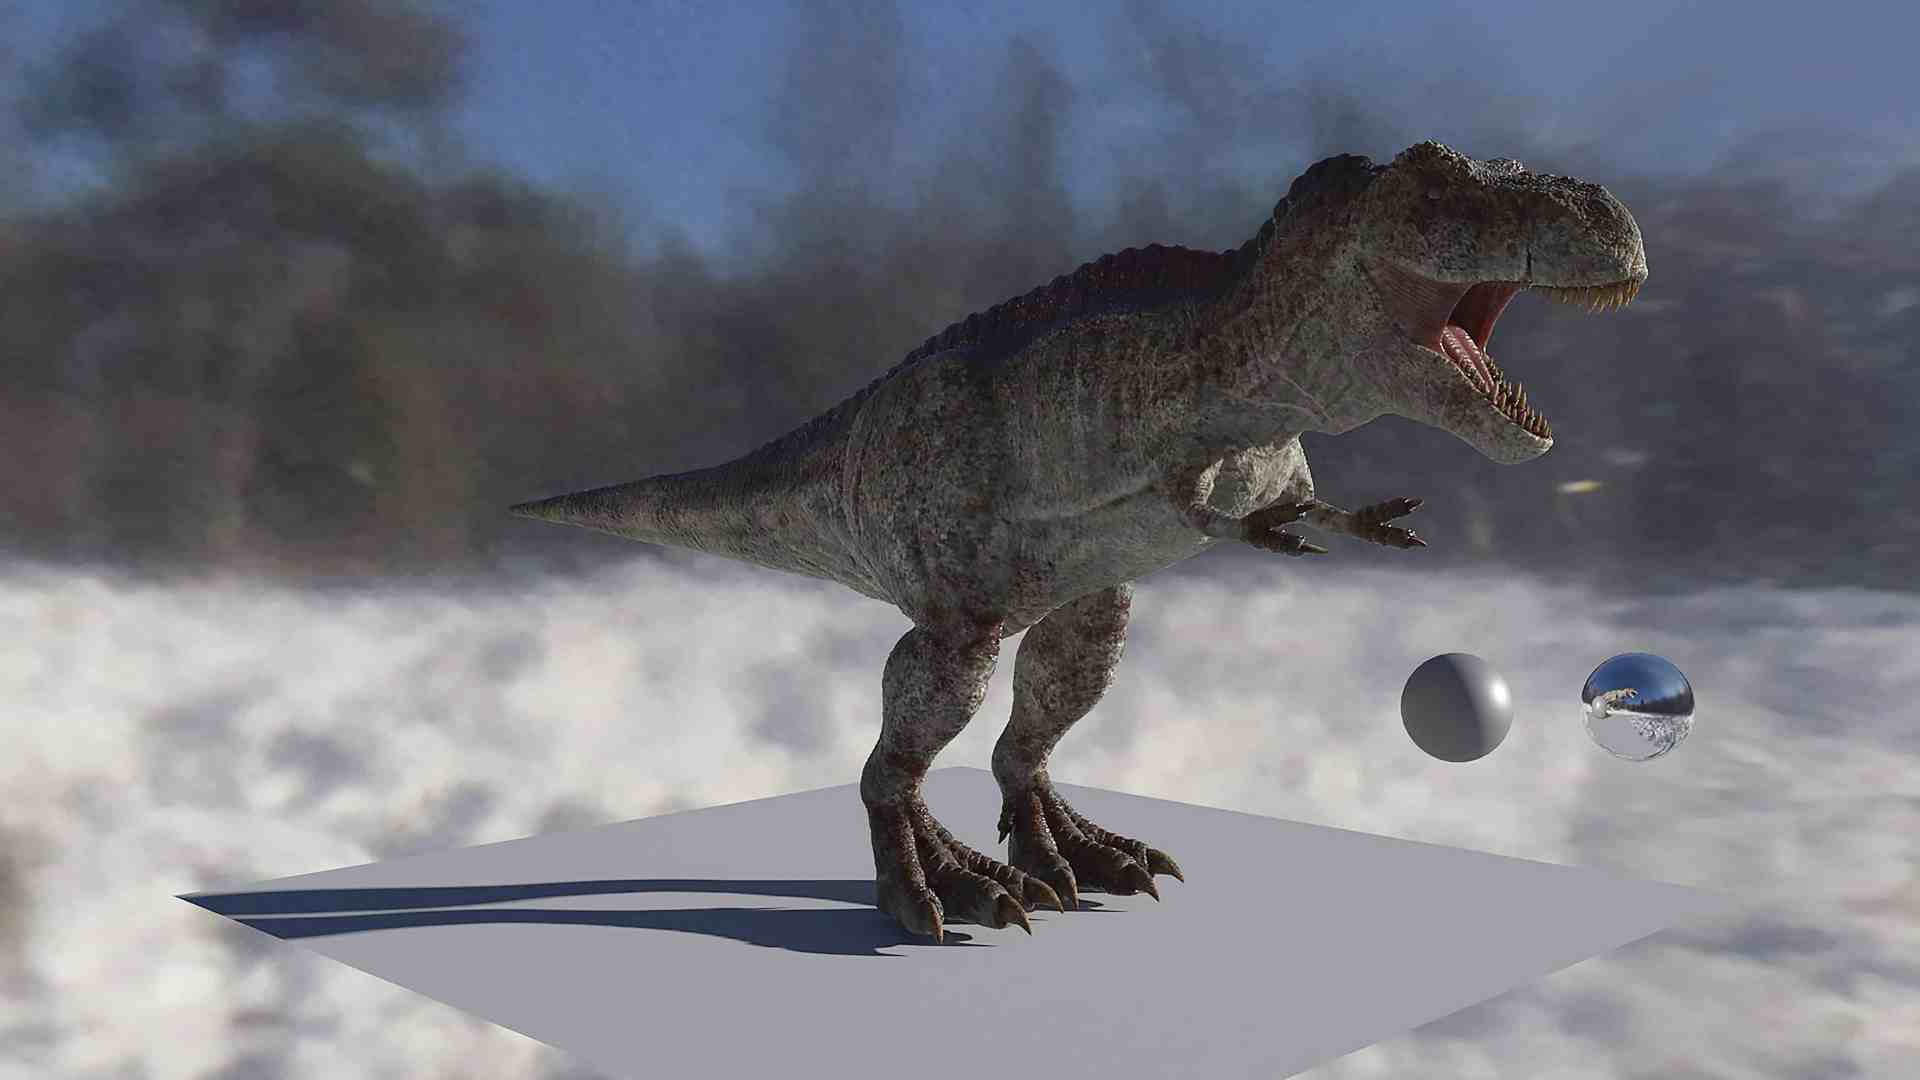
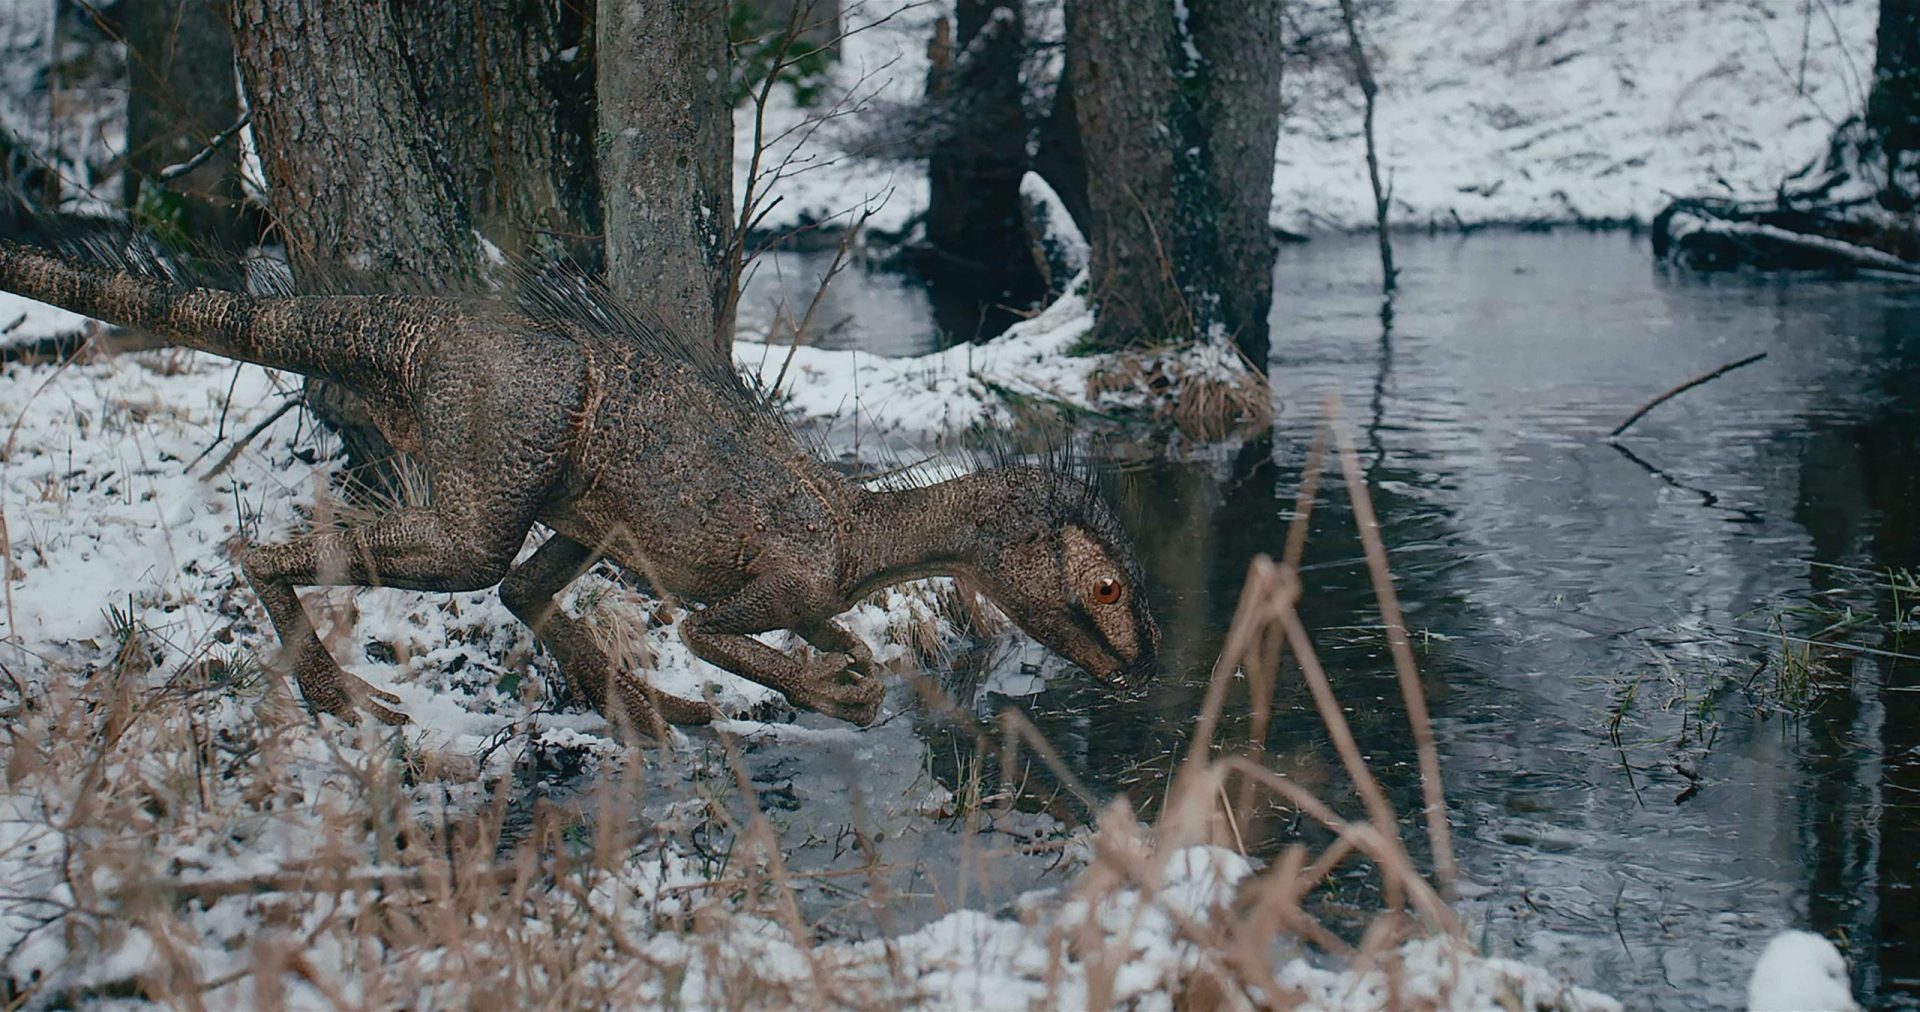
Before filming began, thorough internet research was carried out for each dinosaur. Drawings & photos of skeletons, artistic reconstructions & screenshots from films, as well as material from related species were collected to provide further references. For the main dinosaur in particular, we initially considered a range of large theropods, but Titus was keen to use a T-Rex as a homage to Jurassic Park. In the end, we allowed ourselves a little variation – the bony dorsal crest was inspired by another theropod, the Acrocanthosaurus.
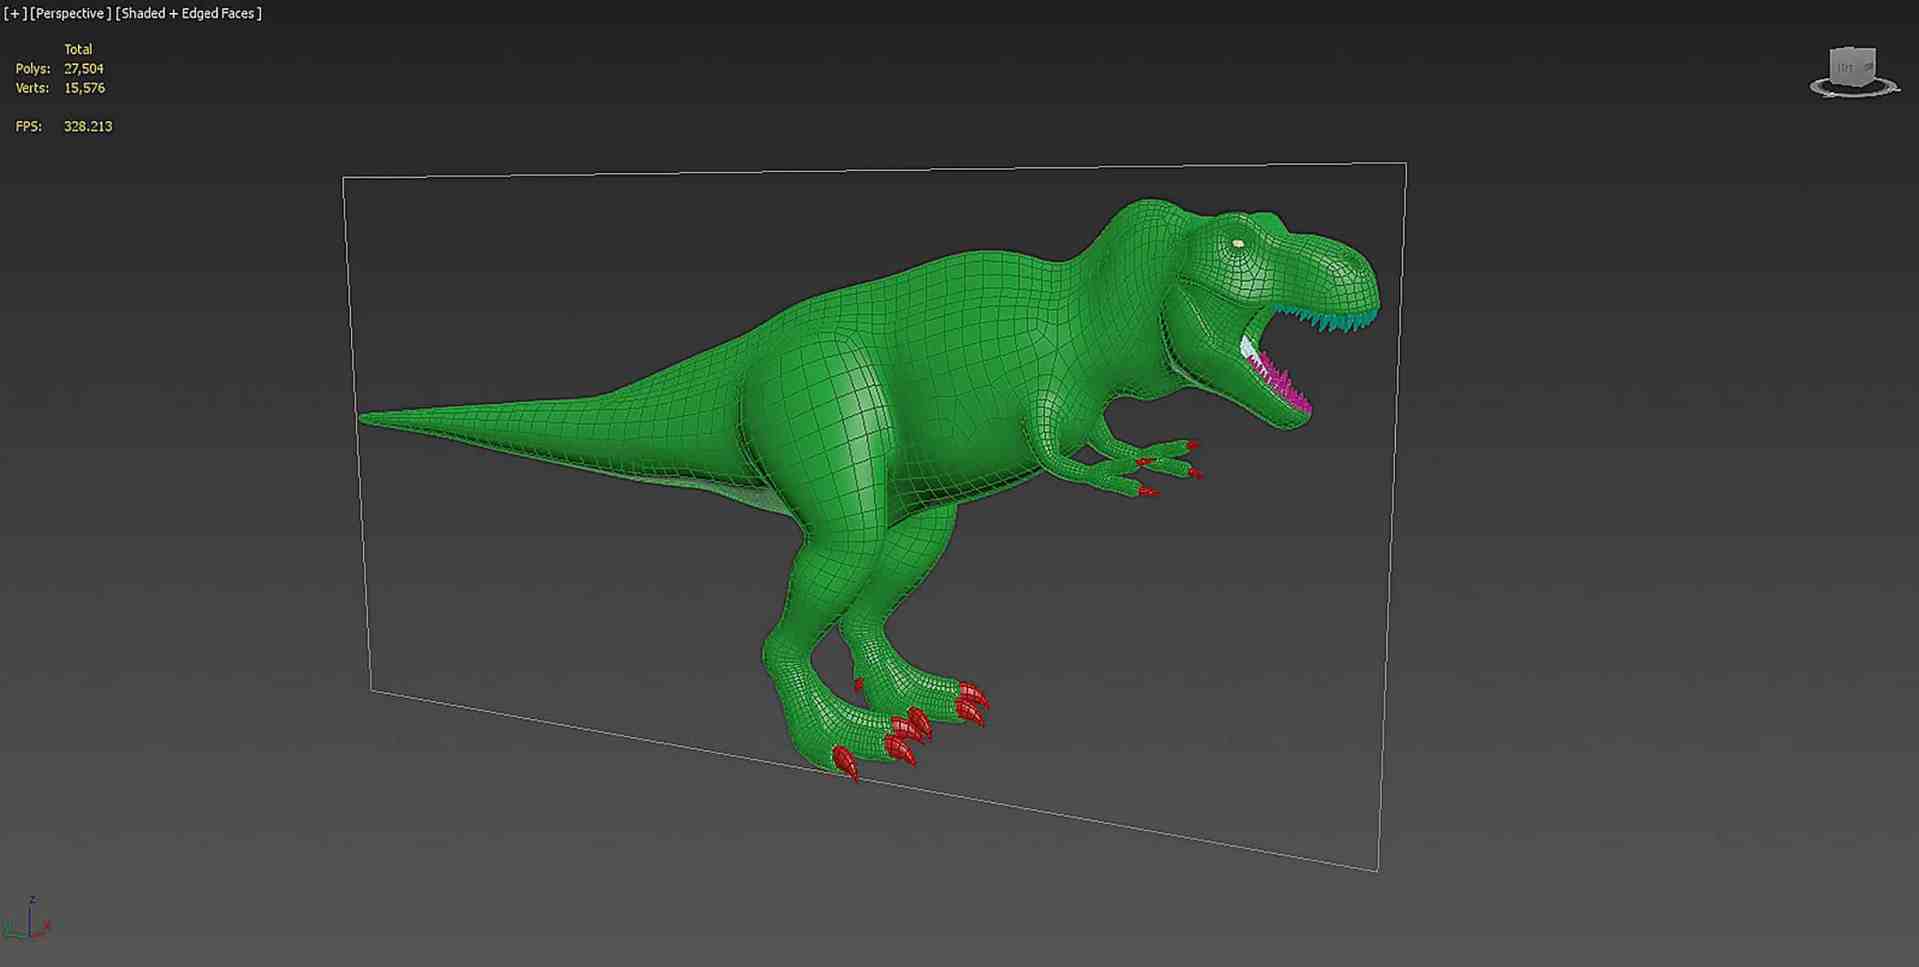
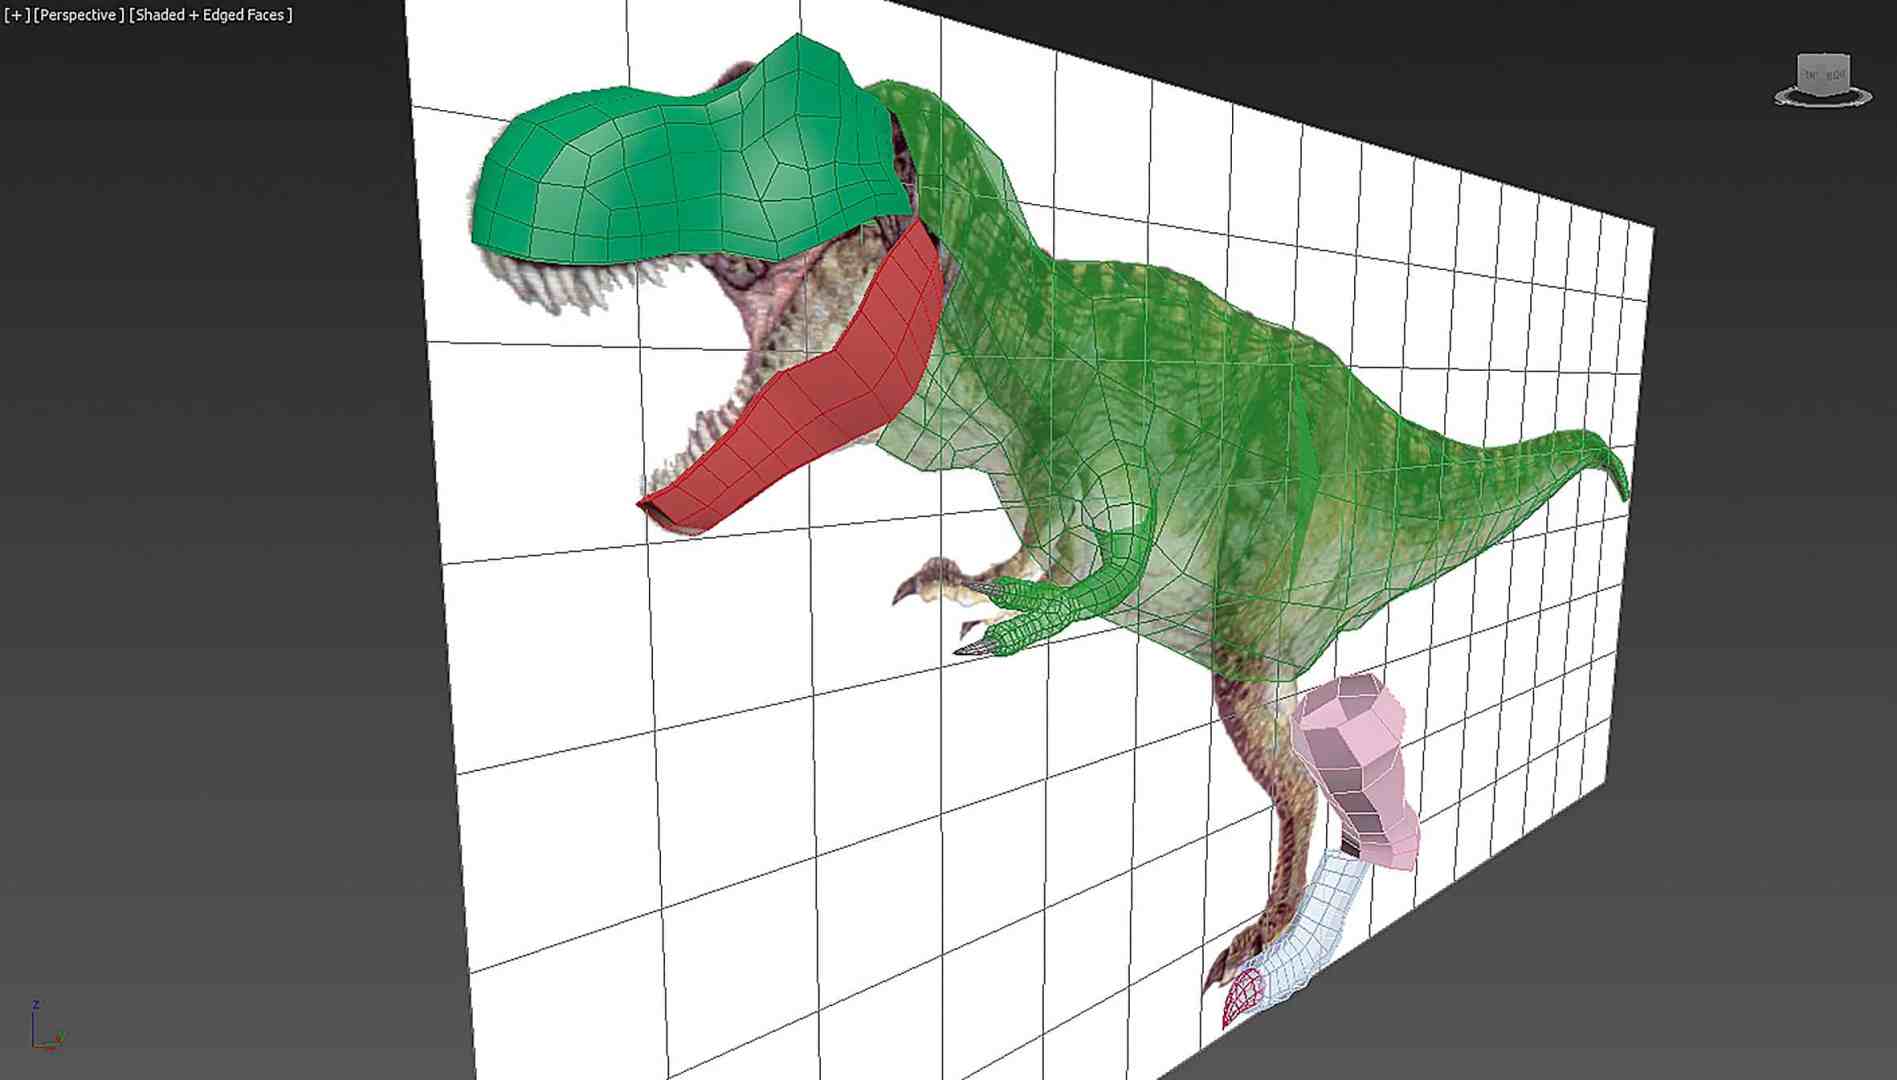
All 3D models were first roughly pre-built in 3ds Max, and then detailed and textured in Mudbox. A method that had proved successful in previous work was again used for the texturing:
For each dinosaur, a small library of base textures, masks and further grunge maps were painted onto the surface, which were then combined together with normal & displacement maps in Nuke via compositing to create a finished texture.


This process, although hardware-hungry, allowed free experimentation with various options & details, all simultaneously on multiple UDIMs in a non-destructive environment. In addition to the main texture, maps for shader attributes could also be “combed” in this way.
This was particularly important for the T-Rex: the model should give an idea that the dinosaur led a rough existence, in the form of scars and wounds from past confrontations. Other ailments such as frostbite & inflammation should indicate that it is actually not welcome as an invasive species in the cold.


With the texture compositing in Nuke, a suitable balance could be found quite quickly over a few iterations. At least one dinosaur was spared all the work, as the CG asset from “Tucki”, a past project, could be directly reused for a small guest appearance. You can read all about Tucki in DP 21:02, or download it for free here is.gd/tucki_pdf.
Rigging & Animation
For the rigging we went back to 3ds Max. As a tried and tested module, each dinosaur was given a special rig in the Character Animation Toolkit, CAT for short, which could be saved as presets for the subsequent animation process.
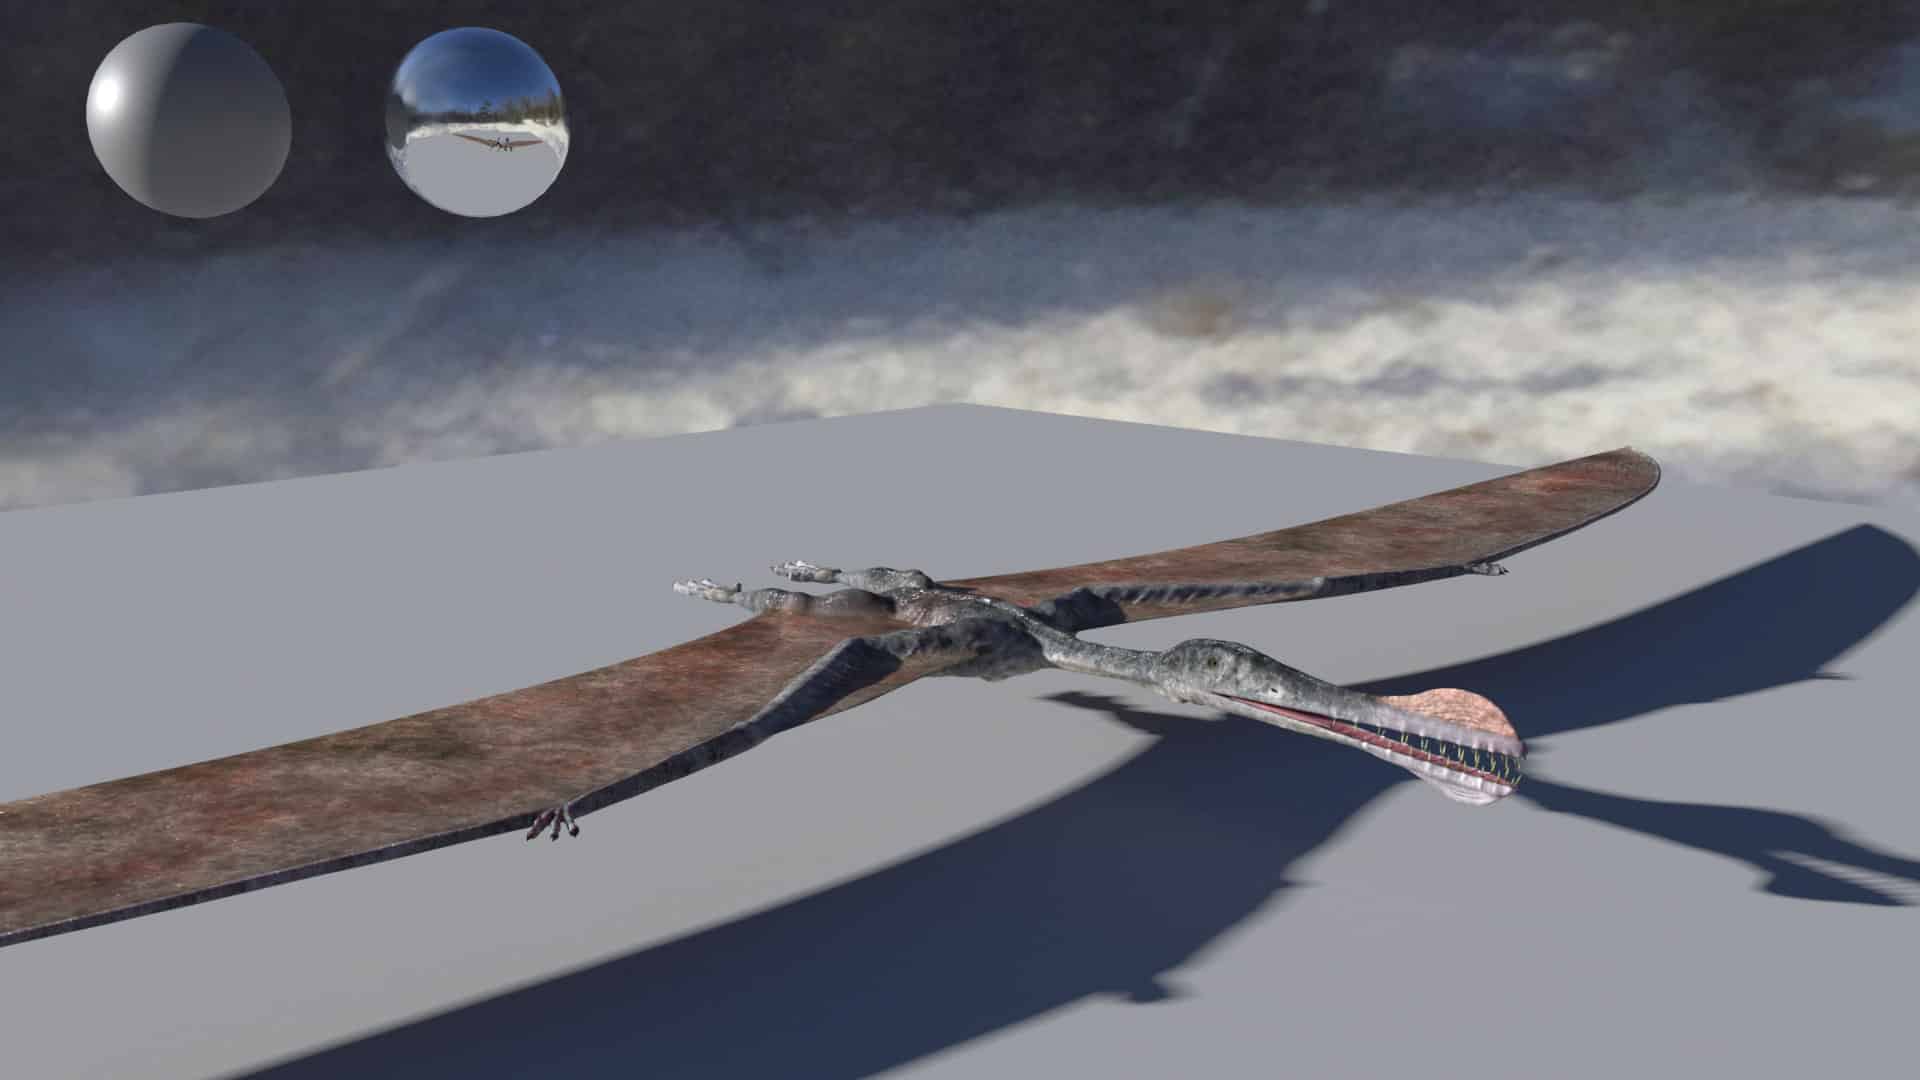
To save time during rigging and animation, shortcuts were built into the rig for each asset. For example, the flight membranes of the pterosaurs were animated using a cloth simulation, and the tails of all dinosaurs were procedurally controlled with spring constraints to create a flowing organic movement without further manual intervention.

In turn, the T-Rex received an additional upgrade due to its presence in the film: a simplified skeleton and part of the musculature were modelled for the asset, which in turn formed the basis for a tissue simulation in Houdini using the newer Vellum-based Tissue System. The result was subtle, but provided better deformation and volume on the final animated asset. One advantage of working via CAT rig presets in 3ds Max was that the animations could be saved as separate clip files and transferred to identical rigs later. In this way, the animation scenes were kept very performant without having to load the entire asset. Possible revisions could also be quickly transferred to the corresponding main 3D scene later using a new clip.
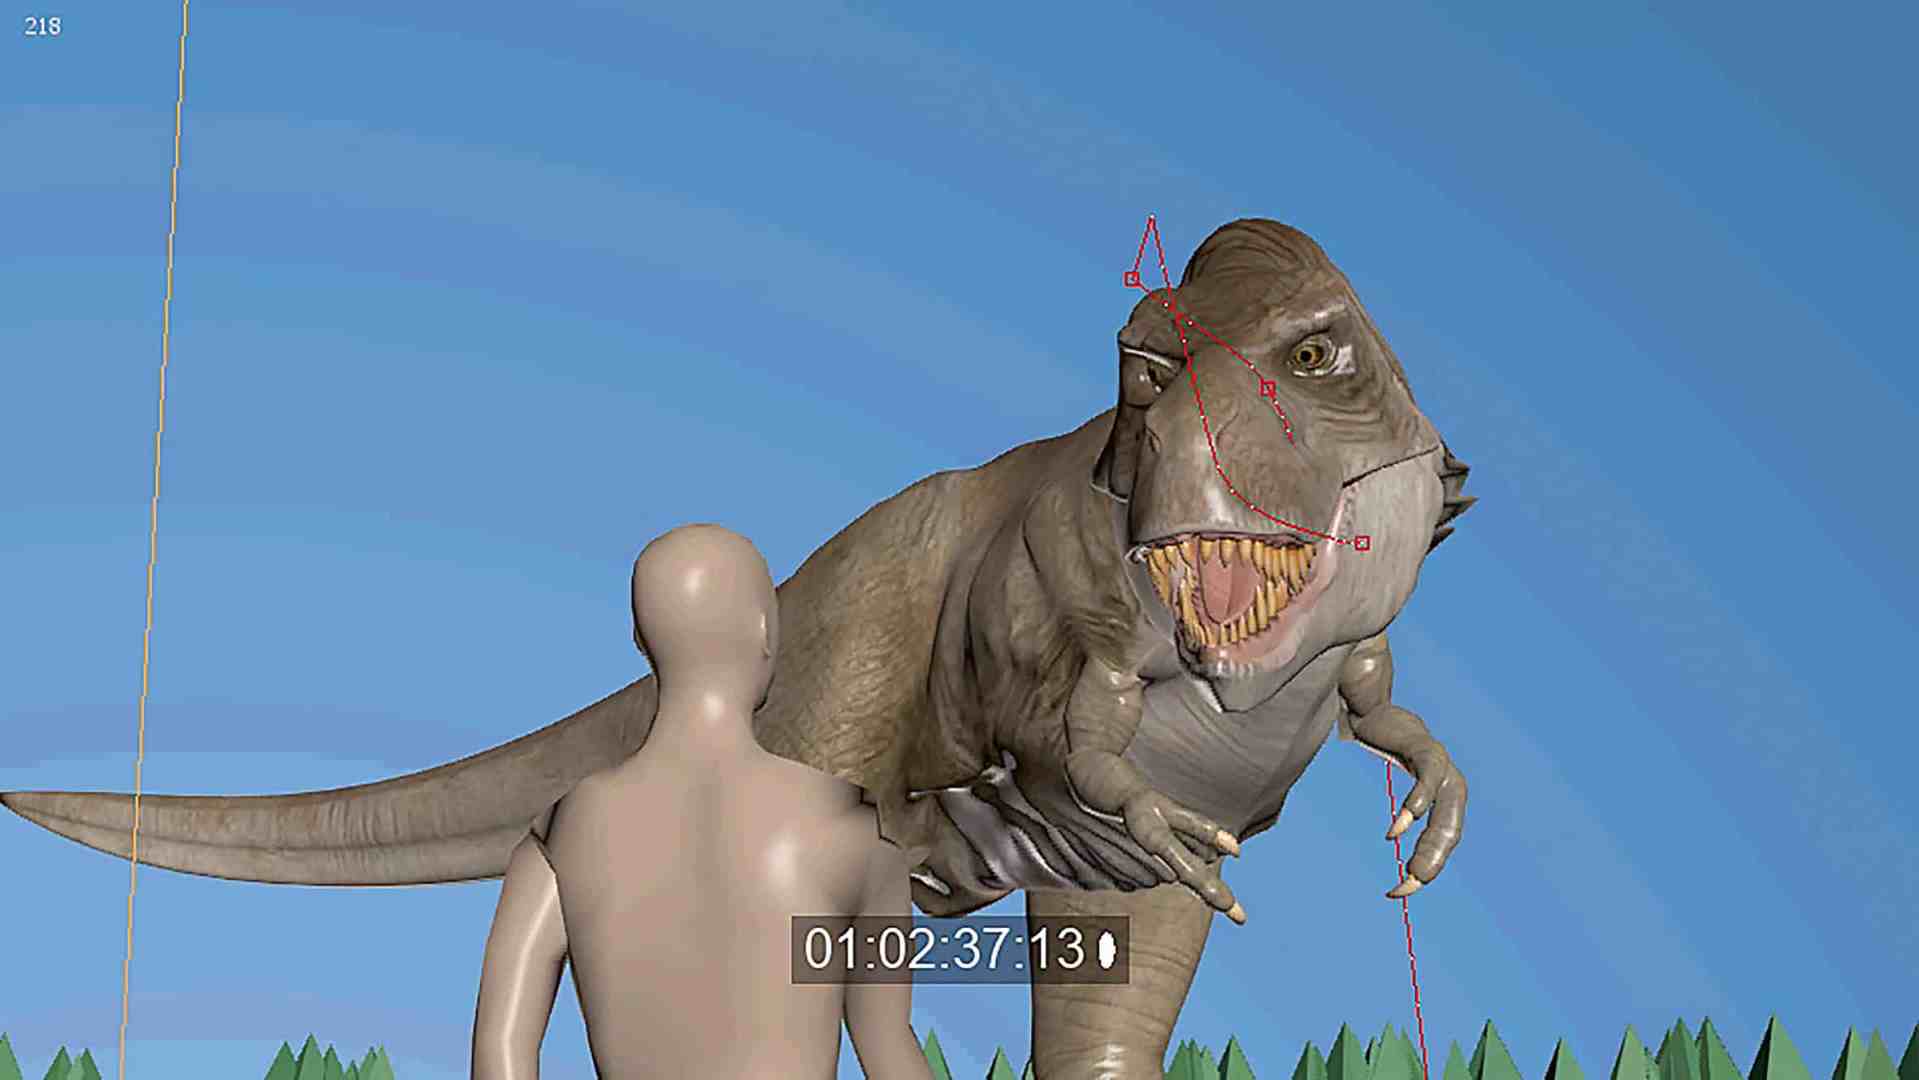
For the animation, which was done exclusively with keyframes, it was important that all dinosaurs should reflect natural behaviour. In addition, the T-Rex should appear more aggressive than usual, which may also be due to the injuries. Smaller tics such as snorting, snarling and more impulsive movements helped with this. The animation would also have a strong influence on the editing; scenes were often extended to give the dinosaurs more time to perform.

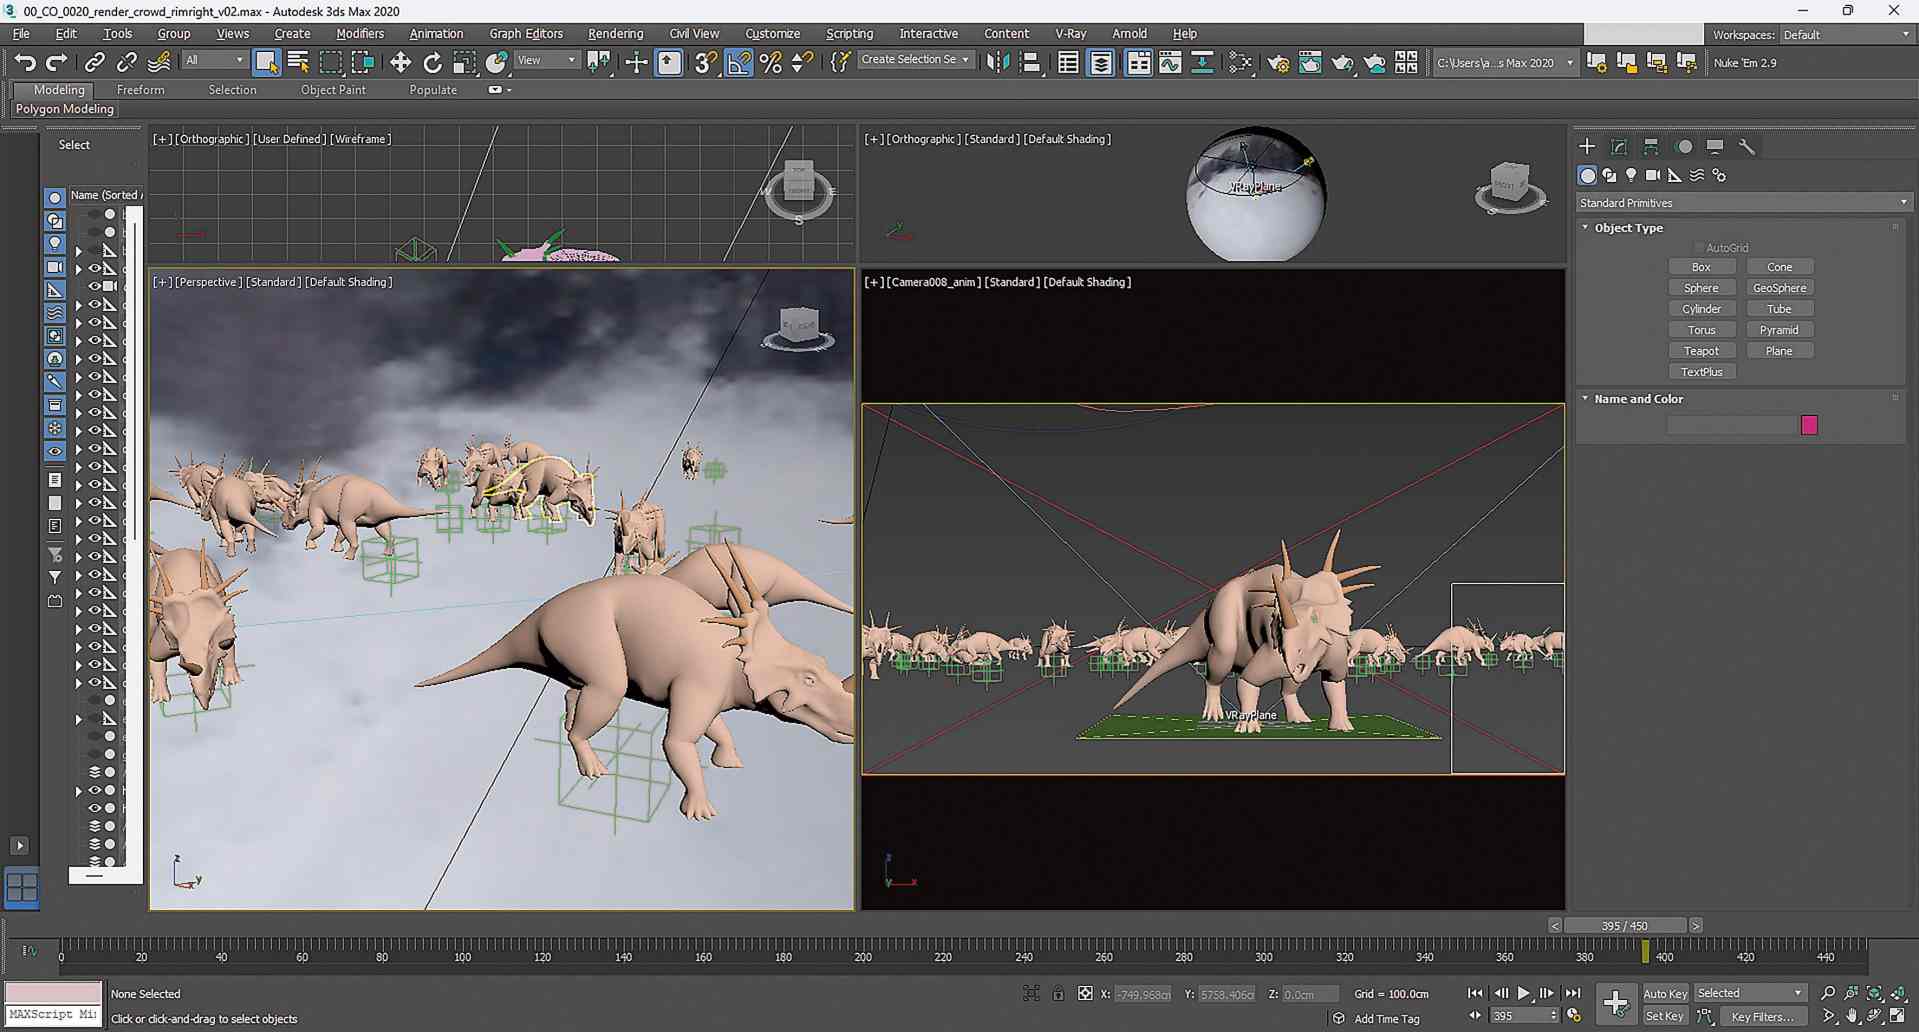
For one particular scene, which features a herd of 20 dinosaurs, a crowd system was not used. Instead, I spent a weekend animating various actions with excess length – eating, head shaking, sleeping, looking out, running, etc. – which were then placed by hand using animation caches and staggered in time to get the appropriate variation. For a quick turnaround, it was advantageous that the individual animations did not have to be too detailed, as they would all blur together in the mass.
FX simulations
A critical point in the project was the FX simulations, as all the dinosaurs had to interact with the cold snow world. A few systems could be prepared directly in 3ds Max & Particle Flow, but Houdini was used for the rest.
For the most part, snow tracks were created procedurally using geometry; a few shots were even given a dynamic simulation with Houdini Grains, insofar as the interaction had to be represented much more subtly. An important component was also frozen breath for the T-Rex and finely swirled snow dust, which were simulated with PyroFX in Houdini. All Houdini project files were created in such a way that, depending on the shot, only the
correct assets for dinosaurs & environment had to be loaded & exchanged, with a little adjustment afterwards.

Otherwise, separate simulations were created for one or the other shot in the respective tool where it was best suited – such as a flock of birds in Particle Flow (3ds Max) or water splashes with fluids in Houdini. For simpler particle effects such as atmosphere, snowflakes, sparks and more, we even used Nuke Particles, which were incorporated as part of the compositing process.

In contrast, the most prominent FX interaction – where the T-Rex violently squeezes through two trees in one moment – was primarily animated by hand. Springs were again used in the rigging so that the bending of the branches did not have to be simulated. A secondary layer of different FX sims from 3ds Max & Houdini combined gave the moment the finishing touches.

Rendering & compositing
All elements were lit & rendered in 3ds Max with V-Ray; caches from Houdini were exported and imported as either VDBs or Alembics. All dinosaurs & snow elements were rendered directly with surface scattering, whereby the intensity of the scattering was slightly exaggerated in order to benefit from the additional details in the shading.
The lighting rig was kept quite simple to limit the amount of render passes – after all, all shots had to be rendered on a single desktop PC. For each CG element there was an average of 3-4 setups, one for each light and a separate data pass with geometric or vector-based render layers such as Zdepth, Velocity & Position.
As each element in this multi-pass setup was rendered separately, this resulted in countless renders, but only in rare cases did a pass exceed a render time of a few minutes per frame. The immense advantage of this setup was the compositing; the lighting & shading could be manually adjusted for each individual CG element without the need for a second render
a second rendering process was required. A comp template in Nuke, which had been refined over the years for V-Ray passes, helped with this, and changes could later be copied directly from one shot to another. Additional details such as dirt, blood and snow were often projected onto the surface of the dinosaurs using the geometric render layers, either as procedural setups or with prepared textures.
Thanks to the references & cleanplates on set, the integration process for the dinosaurs was quite effortless and the compositing template proved to be very robust.
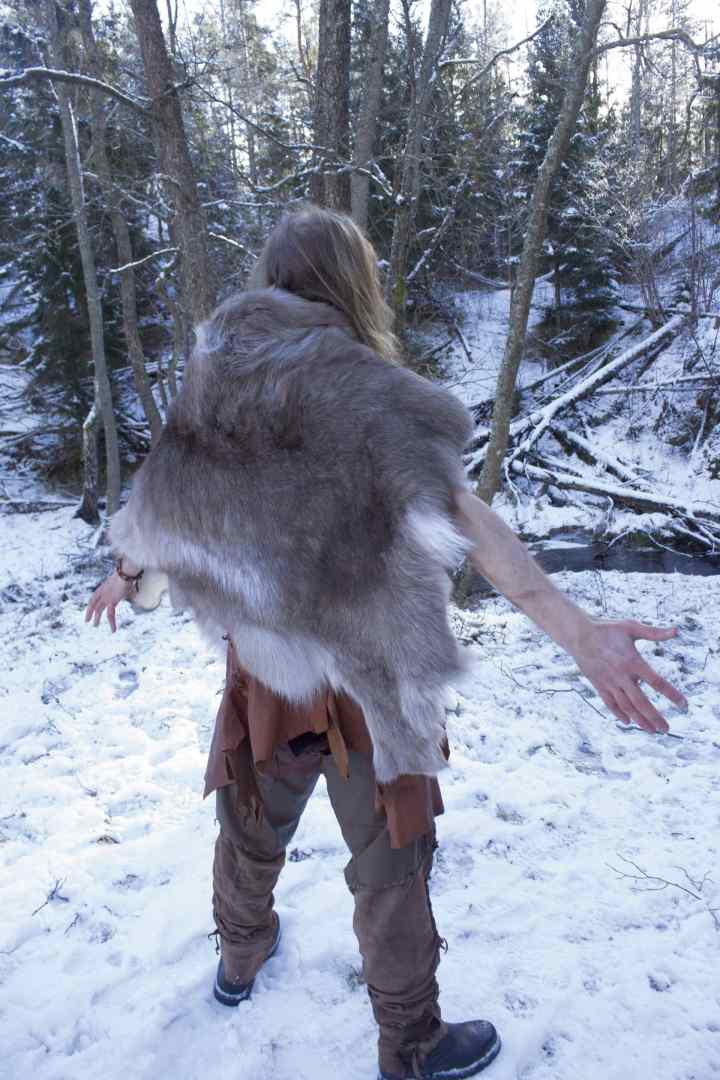
Some shots also required a few more invisible compositing tricks: for example, in the final shot of the film, one of the hunters faces the T-Rex, but it was not possible on set to make the fur jacket flap in the wind as it roared. So a CG plane was generated in 3ds Max via Cloth-Sim and exported to Nuke, where it served as the basis for a 2D projection of the rotoscoped fur. Additional distortion filters created the impression of turbulent fur.


Environments
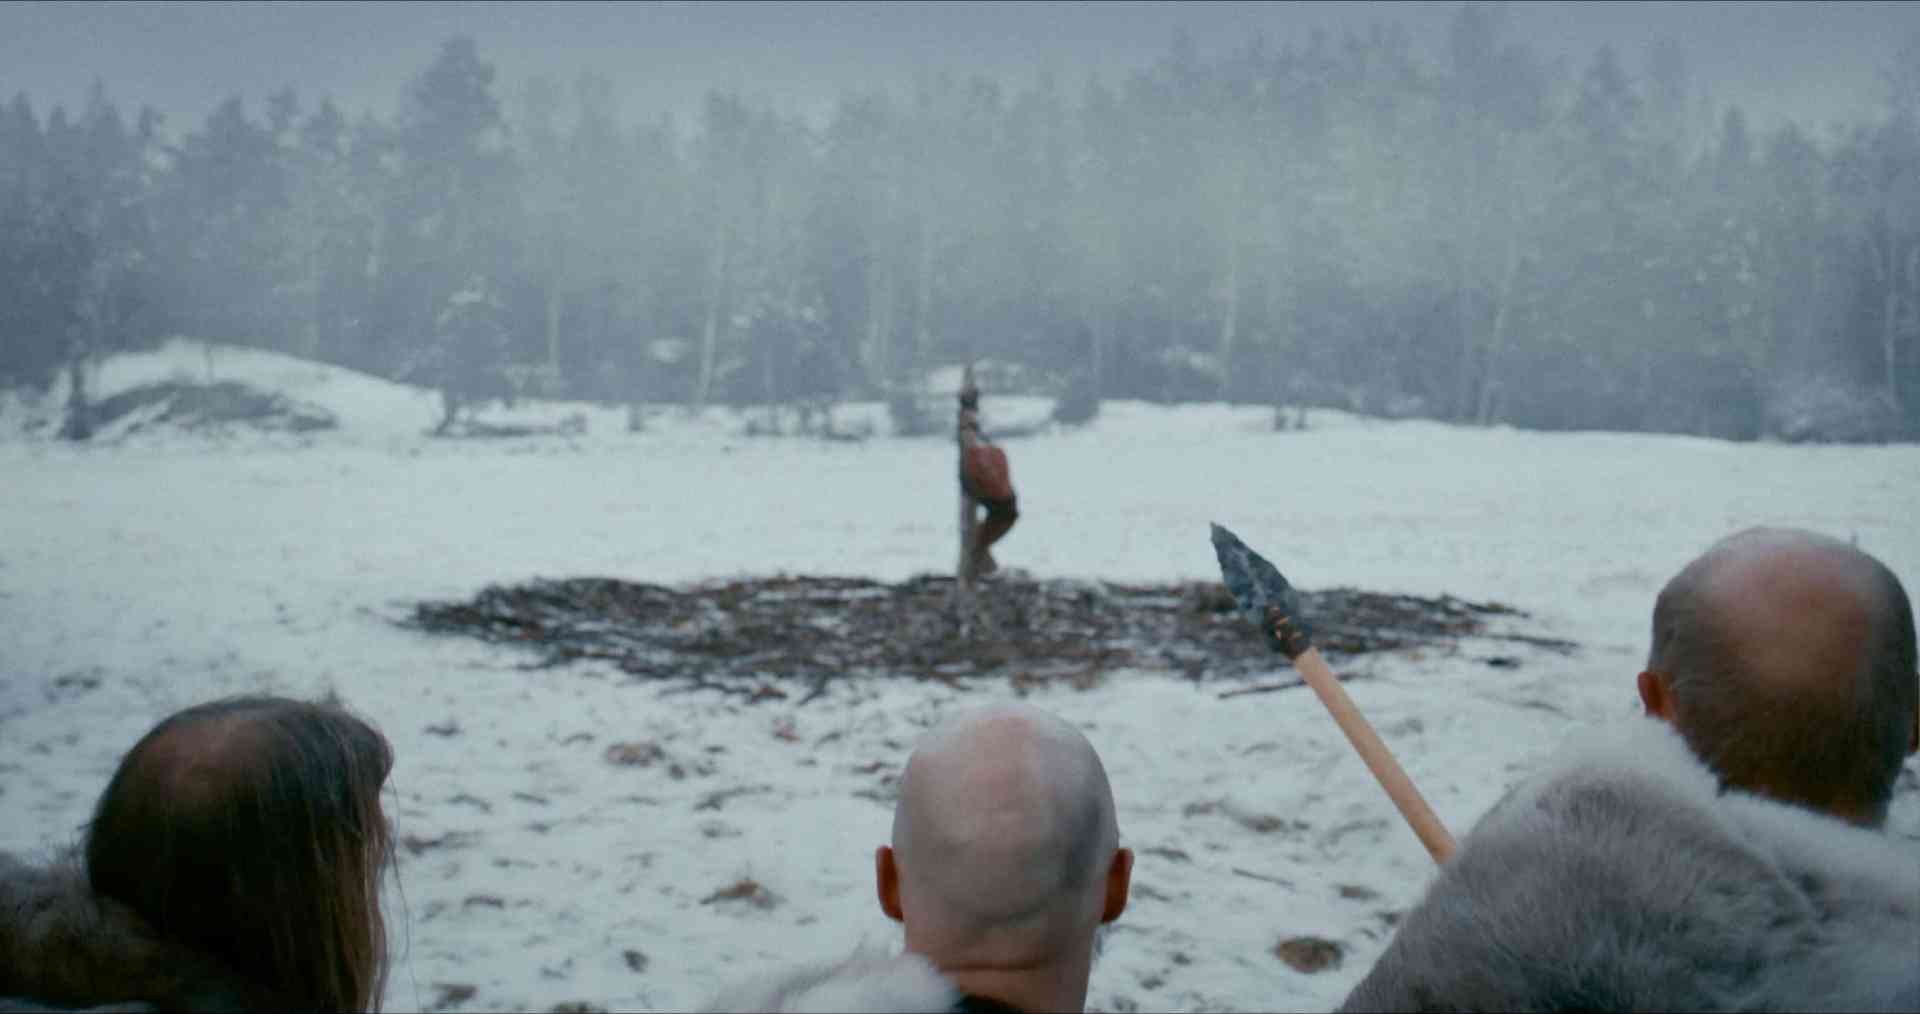
Environments also played a major role in the VFX. To keep the shooting schedule efficient, all shots were filmed in the same location – for example, during the first half of the film, the actors stared at the same hill in the distance where they would later be chased down by the T-Rex.
So with the help of digital matte painting, the hill had to be transformed into a flat plane, which was primarily done with alternative plates & more photographs. In addition, a somewhat more threatening sky and more atmospheric fog from the snowfall were added. The forest in the background, on the other hand, could be partially retained and was merely expanded; plates from the shoot with shaken trees helped to give the impression that a larger animal was in the background
to give the impression of a larger animal stalking around in the distance.
The trap was also collaged together from photographs of the smaller set on set, and a CG pole with a chopped off leg from one of the existing dinosaur assets added the finishing touches. In view of the fact that the DMP would be visible over an entire sequence, it was designed from the outset as a 3D projection in Nuke with simple geometry. Depending on the shot, the Matchmove camera or the DMP could be easily moved into position.

The opening shot of the film, in which a couple of pterosaurs fly through a snowstorm, was based on a drone shot of a mountain range at sunset, and followed a group of sled dogs. A new stormy sky was added, the dogs and other anachronistic objects were painted out, and Nuke Particles were used to generate a completely new atmosphere for the pterosaurs to freely interact with.
Digital double, weapons & wounds
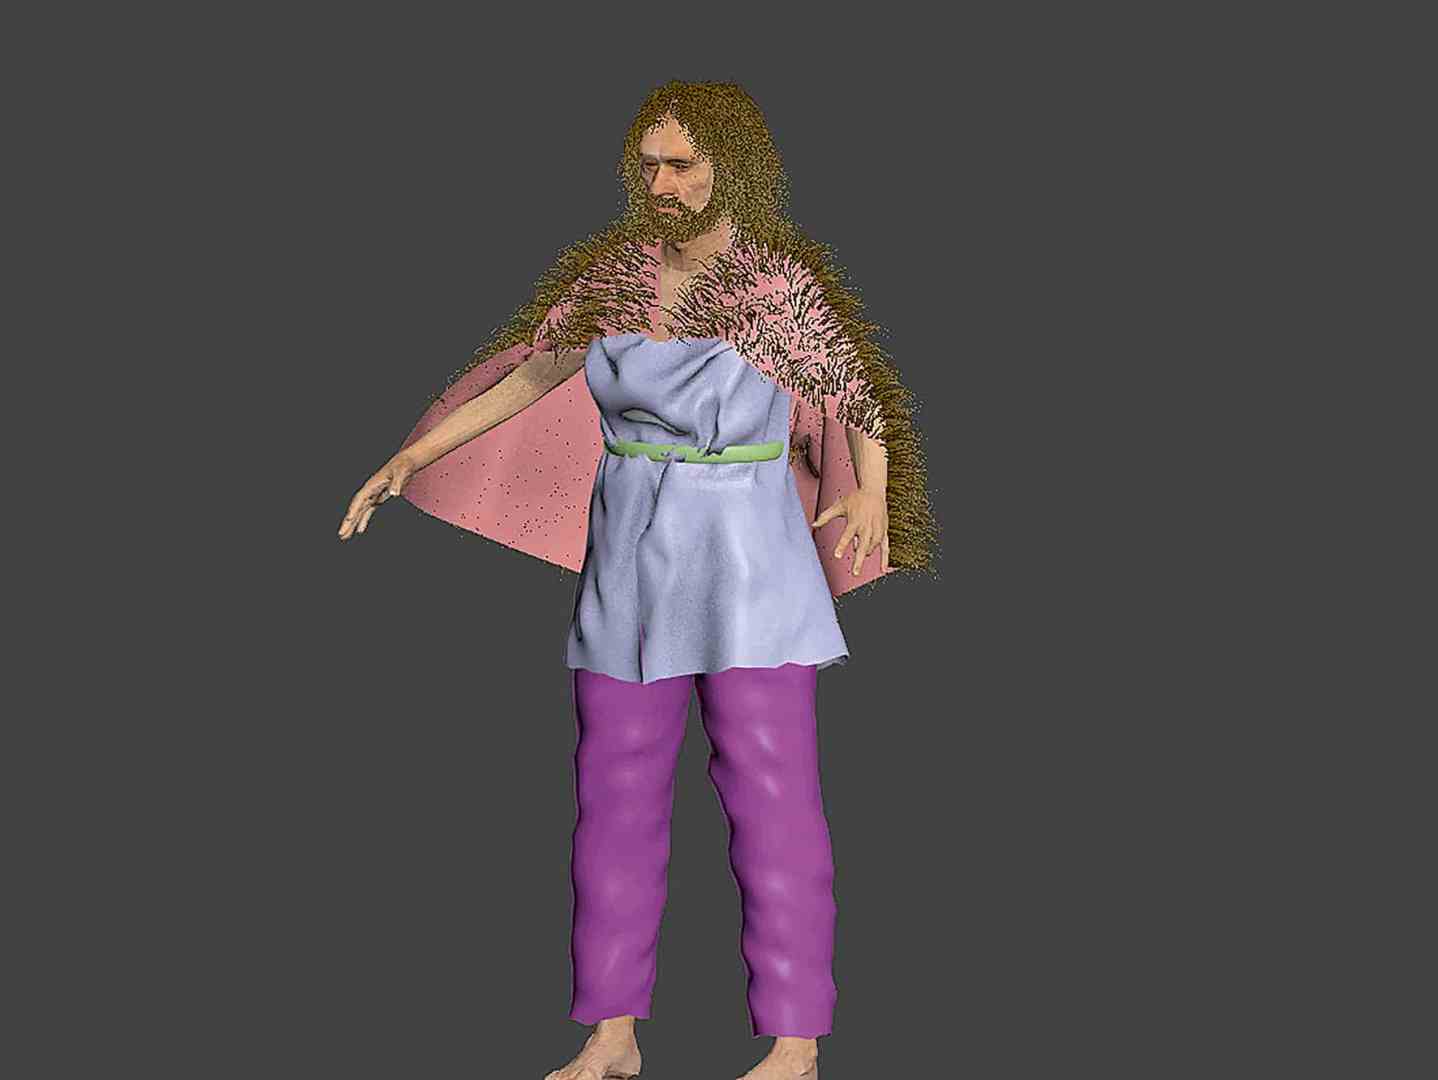
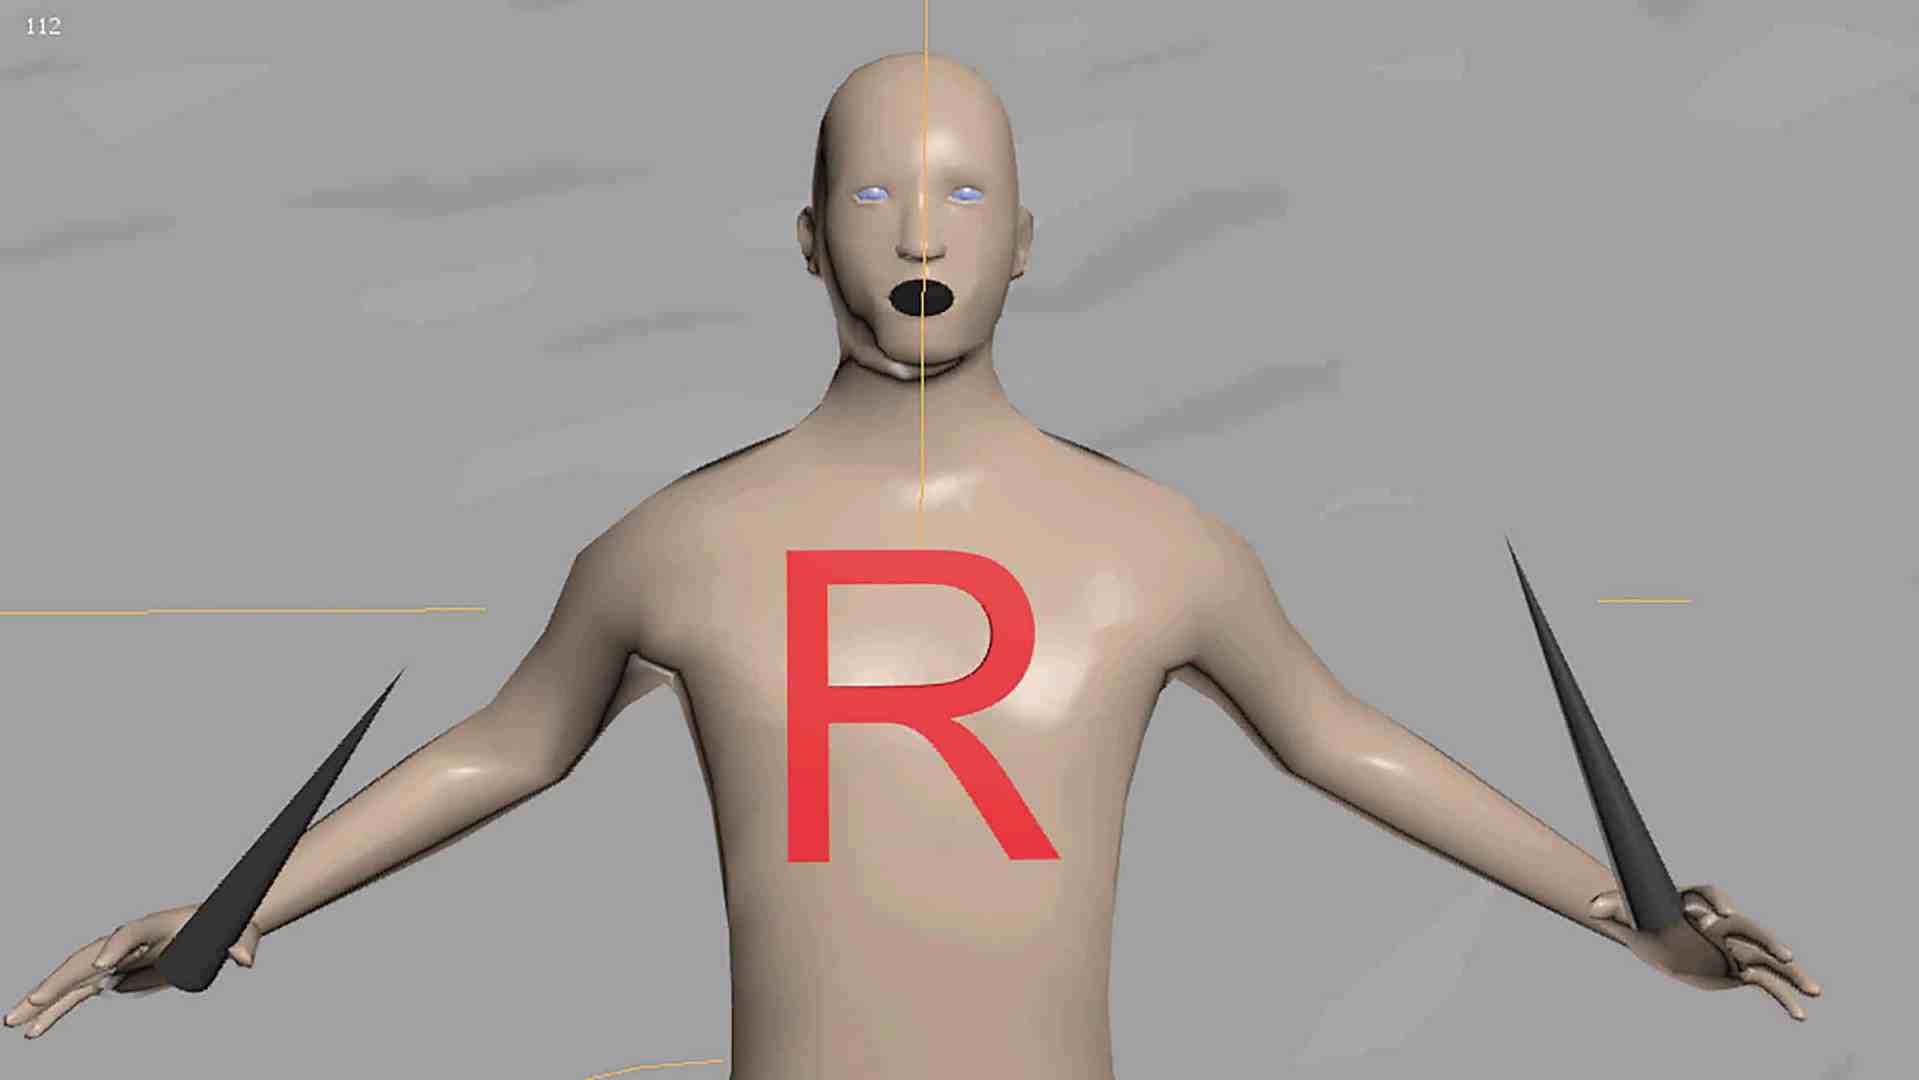
During the confrontation, one of the humans, Hunter (played by Urban Bergsten), is scooped up by the T-Rex and thrown around. It was clear from the first draft of the script that a digital double would be needed for this moment, and during the shoot there was an extra photoshoot with the actor Urban in costume. The corresponding asset was built quite simply, as it would only be visible for a few seconds with a lot of blurring.


A male figure from the open source programme ‘MakeHuman’ served as the basis, with the model being slightly adapted to Urban in advance. The photos from the shoot were projected directly onto the models of the body and clothing; to suggest more details, while the model could remain quite simple. Instead, cloth simulations & a simple hair groom helped to make the character look more organic, animated with keyframes.
All the weapon props were also photographed on set and recreated quite simply on the base. With a little secondary animation, it was possible to create the impression that the weapons were dangling from the body and could be detached if necessary.
The digital props were also used in other shots. In one case, a digital bow was placed in the hand of one of the characters to cover up a mistake in the editing; another time, a spear throw had to be digitally replaced so that it could interact with the dinosaur.
Plates were originally shot for another shot in which Urban is grabbed directly, but because the moment was redesigned in post-production, the digidouble was also used here. With the help of a new camera, an environment assembled from various cleanplates and a few animation tests, the desired shot was found and was now realised entirely in CG. After the high-altitude ride, Hunter/Urban lands violently in the snow, and the (graphic) consequences are clearly recognisable – his body is torn open from the bite & the fall, and he is missing an eye. Despite a bit of practical facial make-up on set, the result wasn’t scary enough, so a bit of a rush job had to be done towards the end. After an initial (stomach-churning) online search for references, digital DMP patches or projections for wounds, blood spatter and torn clothing were created directly in Nuke for each individual shot. Depending on the situation, individual parts of the body were tracked in 3D or analysed using Smartvector in order to project the elements. Small variations were incorporated into the track for each level, giving the impression, for example, that wounds/skin and clothing moved independently of each other as the person squirmed.
The hunt continues.
In mid-May 2023, after around a whole year of work, all the VFX shots were finally finalised and delivered. The film went into colour correction & final mixing for another month, followed by the premiere in early June in the heart of Stockholm.
As the short film was also conceived as a pilot/pitch, they are already striving for higher things – while the film is enjoying initial success at festivals, the makers are already working on the first script version for a feature-length film. It is still far too early to say what the outcome will be. But we can only hope that the journey into this primeval world is not yet over, despite its dangers.


