We took a closer look at “Halation” in DaVinci Resolve (DR for short) and FilmConvert Nitrate. Plus “Scatter“, which digitally replicates conventional diffusion filters.
The term is derived from the greek word “halo”, which in itself means the ring of light around the head of a holy figure or around bodies in the sky under certain conditions. In German this would generally be translated to the same meaning, but in the context of opto-chemical film it is referred to as “Lichthof” (a “court of light”). The incident light, or what is left of it, is reflected by the film carrier on the back (usually polyester, formerly cellulose acetate) and scattered in the process. To minimise the effect, there is even a halation protection layer behind the colour-sensitive film layers. However, this cannot suppress all light emitted by strong, localised reflections or light sources; a certain amount is always reflected back diffusely.


As the last colour layer is sensitised to red, the halo appears primarily reddish. If the light also reaches the middle layer for green, the colour tone shifts towards orange to a warm golden yellow. The halation will hardly become bluish, as there is a yellow filter behind the first, blue-sensitive layer, which suppresses blue to protect the deeper layers. In a more subtle way, however, parts of the incident light can be scattered in the respective film layer itself and contribute to halation. Both of these forms of light scattering do not exist with digital sensors.
Areas of application
So why simulate the technical problem called “halation”? One reason could be a “time piece”, i.e. a film plot that takes place during the era of analogue film and should look as if it was recorded at that time. Another example would be digitally recorded material that is to be combined with archive material. But there are also good reasons to use it for contemporary material. If you allow the diffusion to affect the entire image in a weaker form, it can soften contrasts and create a dreamy, romanticised look – more on this in the part about other filters.


Depending on the camera, digital sensors have the unpleasant characteristic of showing hard clipping when overexposed. The best cameras with a high dynamic range try to conceal this with a very flat transition into the highlights. But at some point, overexposure always reaches the point where only an area of sterile white or a single colour (the opposite colour to the one already clipped) is displayed.

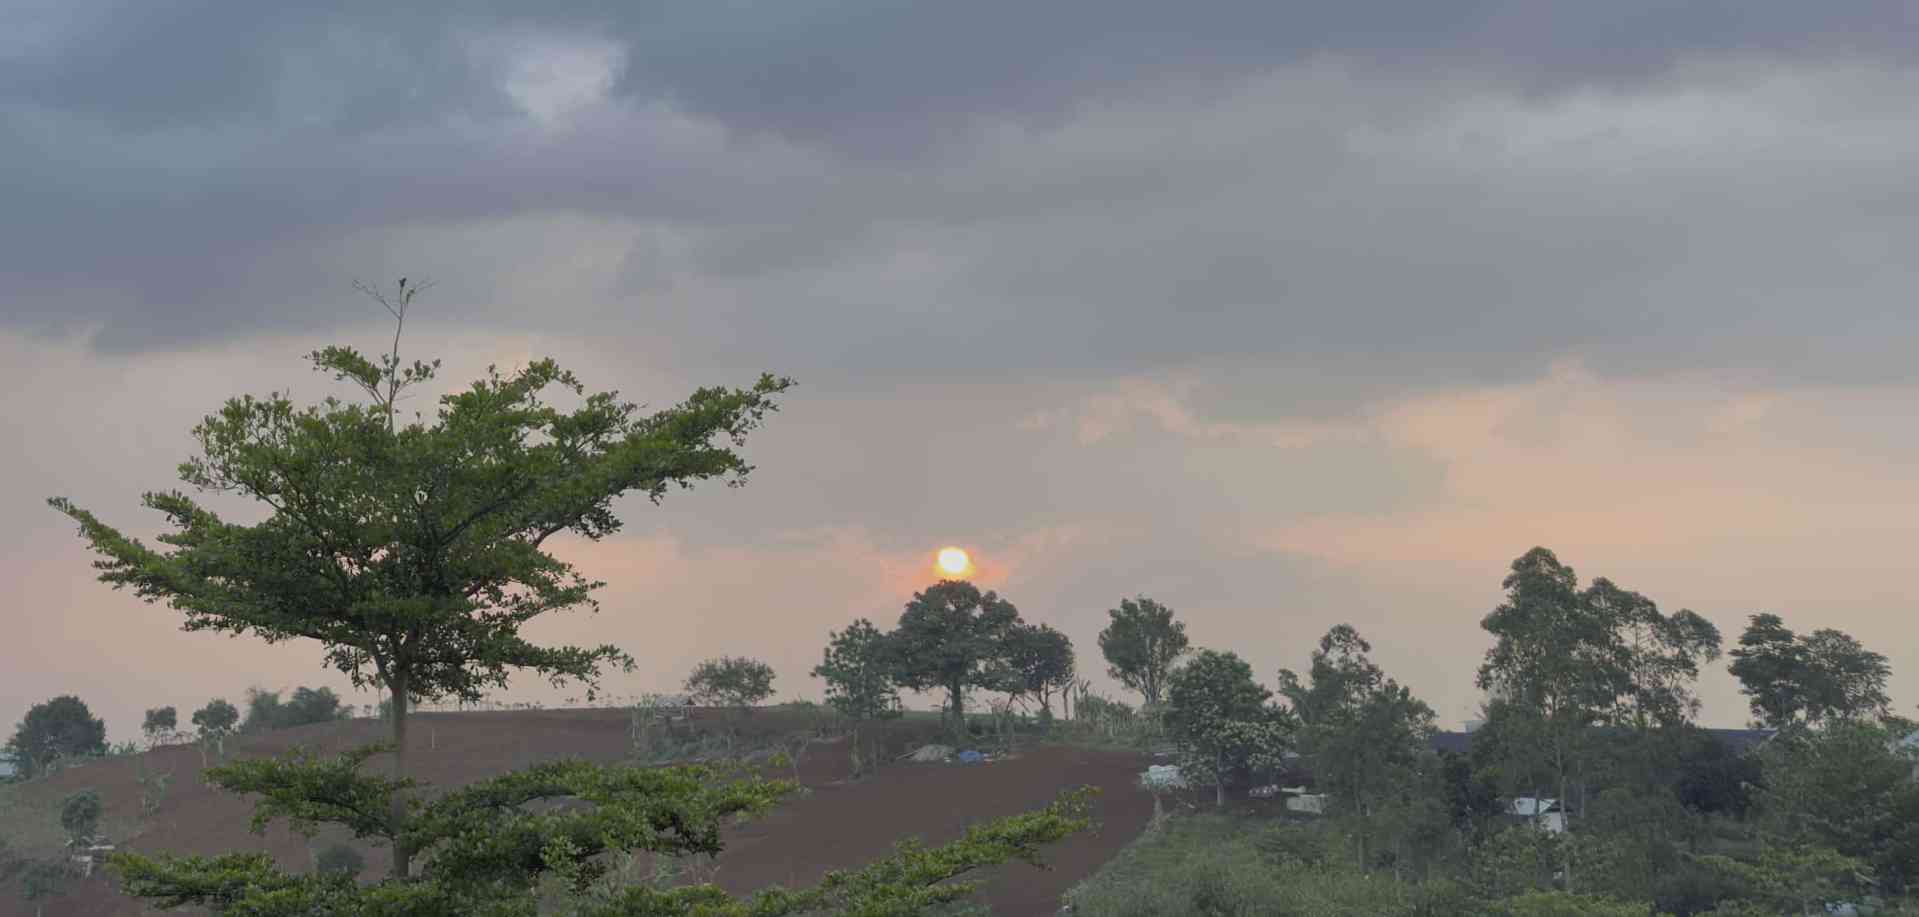
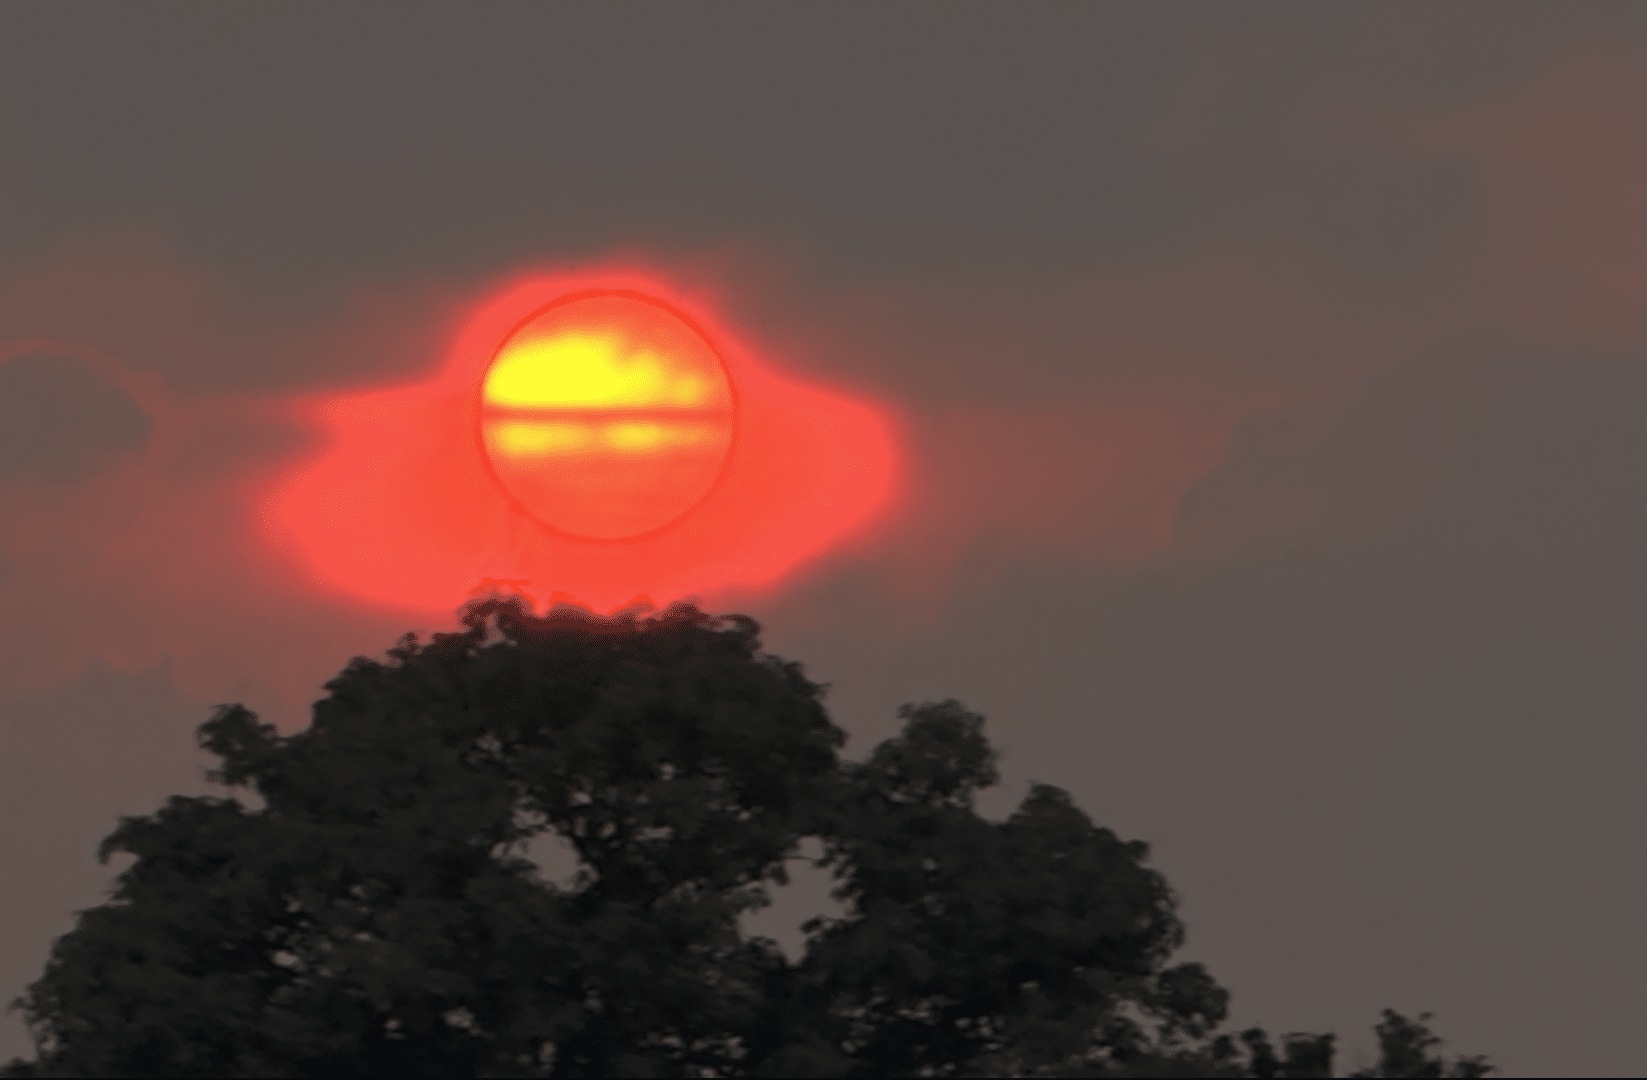
Film reacts more beautifully in this respect, as its sensitivity flattens out more and more in the vicinity of overexposure for purely physical reasons. The scattering then contributes to not producing a sharply defined, bright spot. Simulated halation in post-production can also make sharply defined highlights look more pleasing in some situations. But if, in extreme cases, these are even surrounded by artefacts, as in our example from an iPhone with its unsolicited interventions, you have to resort to more drastic means such as Keys and Power Windows.
On-board tools or plug-ins
You have always been able to recreate Halation yourself with a clever combination of parallel nodes in colour grading. You can certainly find some suitable power grades to download by googling, but if you want the full explanation, this video does it well, even if it leads you to a commercial solution called Dehancer (more about that below). If you are looking for one of the free solutions, I can recommend this tutorial by Marieta Farfarova. She shows you step by step how to achieve the corresponding result digitally. There are (as is so often the case in DR) other ways to achieve your goal, but she makes a very important point here: you should temporarily work with linear light when building your own.
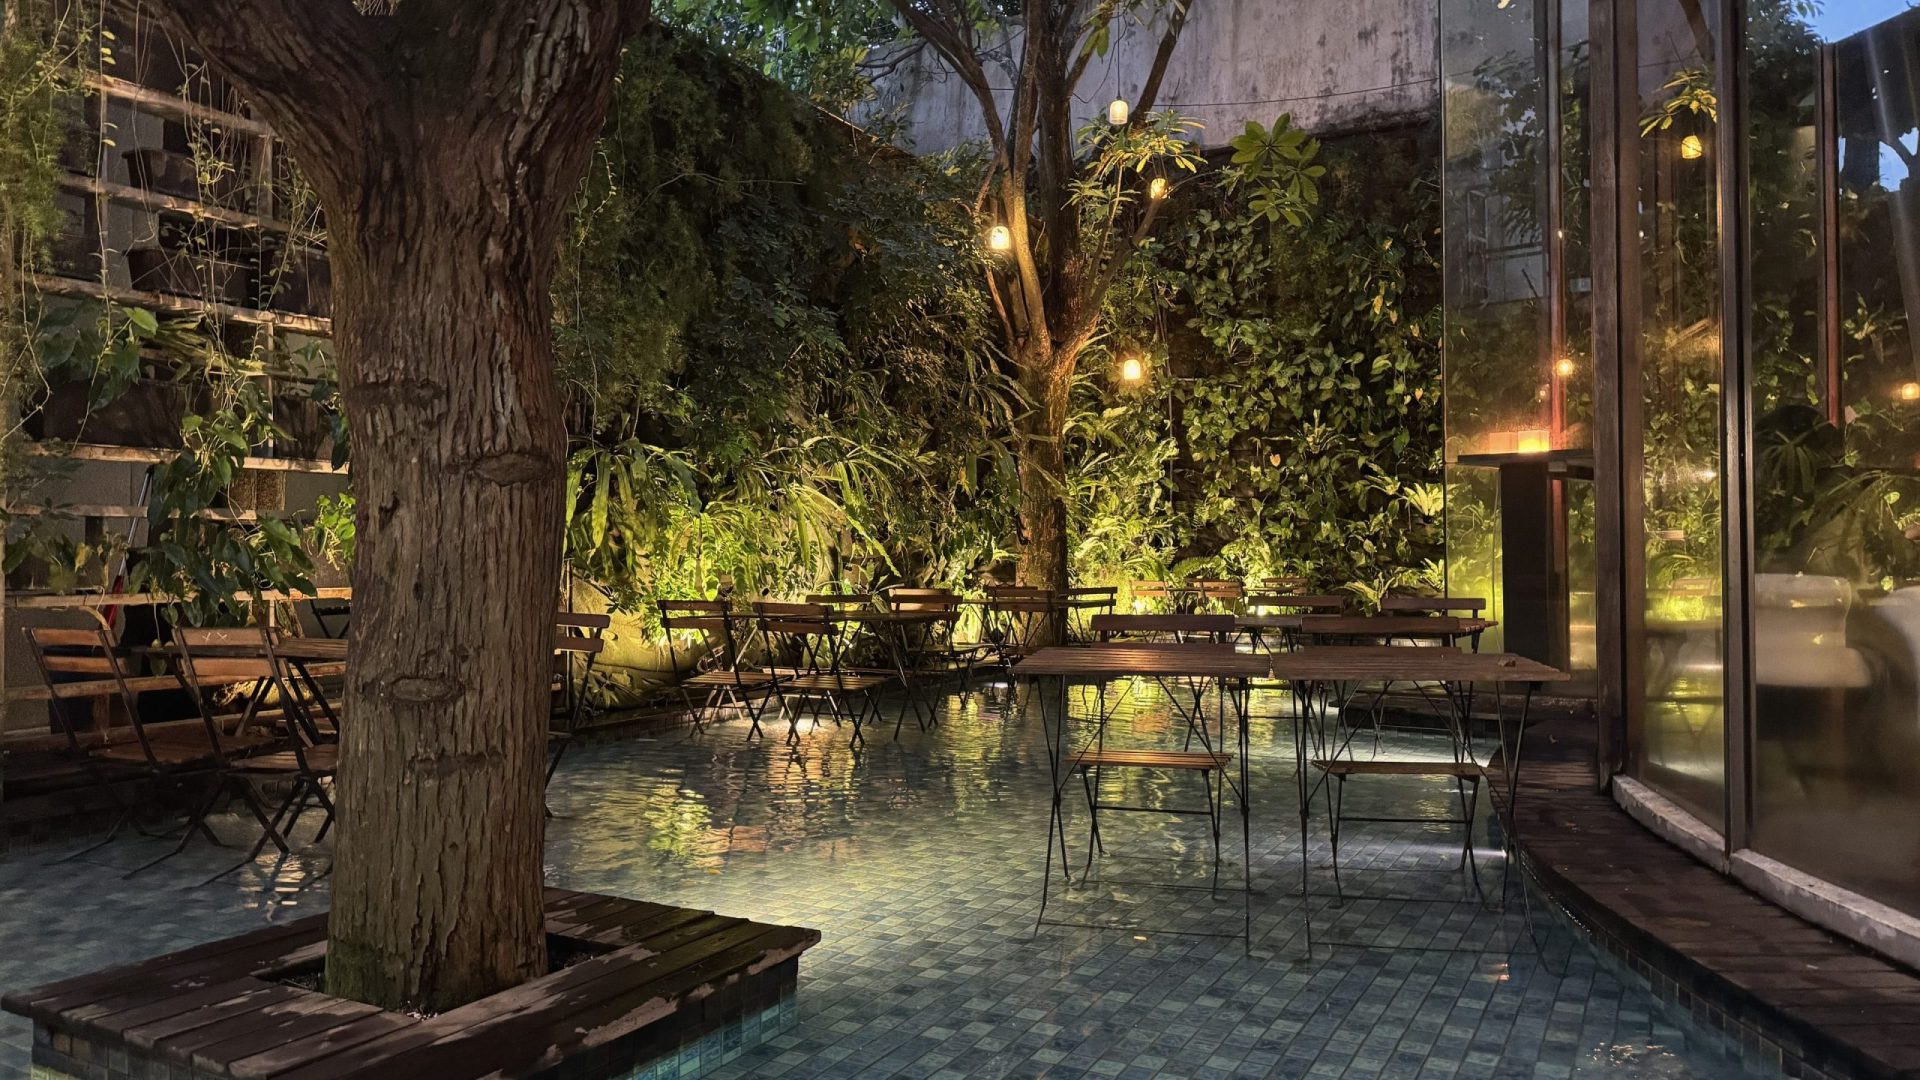
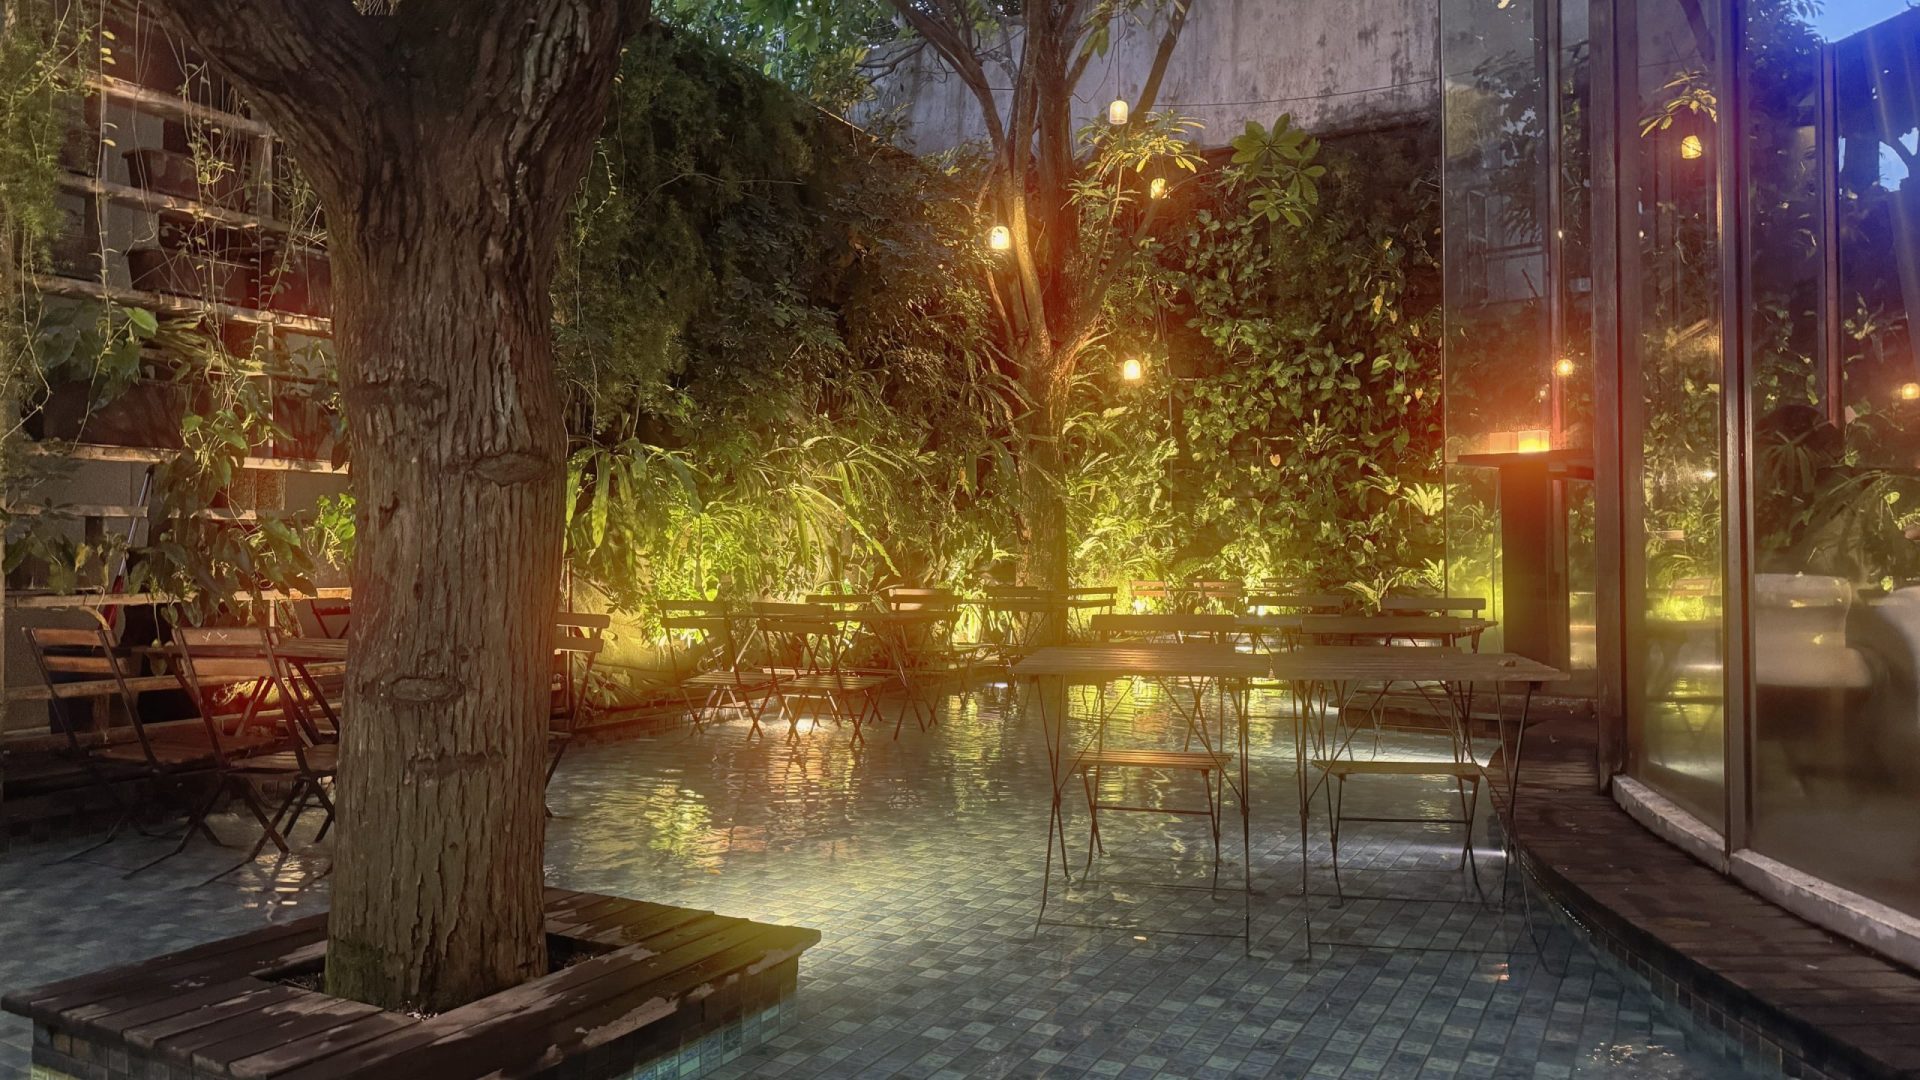
In the more recent versions of DaVinci Resolve, Halation is also available as OFX, but only in the paid Studio version. The free version is enough to try it out, while there is just a watermark over it. In addition, FilmConvert from New Zealand now also offers Halation as a supplement to FilmConvert Nitrate. In any case, the effect should only be used very subtly – why else would film have a halation protection layer? This is why we can hardly make such very subtle effects visible in stills, so we have usually exaggerated them to some degree.
DaVinci Resolve vs. FilmConvert


Next to convincing quality, we are interested in the operation and rendering speed, the rest you should try out with the test versions on your own motifs. But where do you put the in-house effect when grading? Logically, it should come right after the Color Space Transform (CST), or in the case of automatic colour management at the beginning, as it comes from the camera in the case of film. But Darren Mostyn rightly recommends placing it at the end, so as not to influence other processes such as keying in his tutorial. You should use a wide colour space for this, we have set this to “Timeline” because we are using DaVinci Wide Gamut.

Darren also introduces the halation of Dehancer Pro in the video, where the name “Dehancer” is charmingly ironic, like, the opposite of “to enhance”. You can purchase Dehancer for shorter periods of time if you only need its features for one project. FilmConvert with Halation included, on the other hand, is somewhat cheaper as a permanent licence. FilmConvert has very similar settings to DR, sometimes under a different expression for the parameter. The main difference being that FilmConvert has its own colour management and should therefore be adjusted to your camera. You no longer need to download the necessary camera profiles separately from the Internet, but can call these directly from the filter interface. You may miss the specific setting of the blue channel here, but as already described above, this does not actually contribute to halation.
There is also a choice between speed and precision, so we have compared the rendering. FilmConvert is 60 per cent faster when set to “Performance” and still 20 per cent faster when set to “Balanced”; it only takes a little longer at optimum quality. Depending on the scene, the differences are only noticeable with a lot of pixel peeping. Unlike DR, it hardly slows down at all with additional film emulation and film grain. The film grain can also be realistically adjusted according to brightness ranges, which would be much more complicated in DR.
Scatter

This series of filters simulates the effect of numerous diffusion filters used by professionals in front of the camera to tame overly ‘snappy’ lenses and the merciless sharpness and contrast of digital cameras. This is nothing new: even in the early days, cameramen experimented with Vaseline on a glass plate or tightly stretched nylon stockings in front of the lenses. Especially after film emulsions and lenses became so good that they no longer portrayed the delicate skin of the leading actress in a flattering way.
There were even lenses in photography that enabled targeted undercorrection of spherical aberration. The 85 mm f 2.8 Varisoft by Minolta was a pioneering achievement. It can be freely adjusted from full sharpness, where it is very well corrected, to an extremely dreamy look. The image is not simply blurred, but the diffusion is softly superimposed on the sharp basic image. The successor was the Minolta AF 2.8/100 mm Soft Focus for cameras with autofocus from Minolta and Sony.

The Minolta 85 mm f 2.8 Varisoft is a special portrait lens from the late seventies.
Since the analogue era, manufacturers such as Tiffen have been offering entire series of corresponding filters with graduated intensity. This is necessary in order to adjust the diffusion specifically to the lighting, focal length and aperture, as all these factors influence its effect. But it’s not as cheap as a woman’s stocking. Among the most popular for digital cameras are Pro-Mist and Black Pro-Mist. However, their use requires a lot of experience on the part of the camera operator, because if you get the intensity of the filter wrong, it’s like adding salt to your soup: you can’t get it out again.
This problem is solved by the filters in Scatter, which are carefully modelled after physical reality. When a colourist like Eric Weidt is not too shy to use Scatter at the suggestion of the cinematographer for David Fincher’s “The Killer”, that says a lot. In post, such filters can be perfectly adjusted to the wishes of the DoP and director under optimal viewing conditions (a QLED wall in Weidt’s case) instead of being fixed during the shoot. A permanent licence for Scatter is not cheap, but this applies even more to complete physical filter sets. However, Scatter can also be licensed for shorter periods on a project-specific basis.

Here too, we can only recommend using the test period offered with your own recordings. The manufacturer quite rightly advertises multiple advantages: no loss of light, no unwanted reflections or spots in the bokeh. In addition, the filters are adjustable, including animation of the parameters, can be masked and can be applied to CGI in exactly the same look. What’s more, the image is not affected during the shooting process if it is required in parallel for editing with VFX. Scatter runs on all platforms in DR and does not even require its Studio version on MacOS or Windows (only with Nvidia).

It is important for the realistic effect that you use the filters scene-referred. In itself, this should be logical, as the originals are also aimed directly at the scene. In principle, they also work behind brightness or contrast changes or tone mapping, but then they are no longer physically correct. The filter profiles were calibrated for a focal length of 50 mm on S-35, i.e. for a typical portrait lens (like 80 mm on photographic full-frame). Other focal lengths can be set, but are only calculated approximately.

More information can be found in the freely accessible online manual at videovillage.com. The filters are technically quite demanding, rendering BRAW material in UHD with additional Highlight Colour Recovery to reduce overexposed highlights required around 2.6 times the render time without the filters on our humble laptop. Real-time playback requires a reasonably powerful computer. But the even more realistic fog that DR can deliver with Depth Map and animated Fast Noise requires much more processing power than “Fog” or “Smoque” in Scatter.
Comment
When it comes to real filters, camerapeople basically only need ND, polarisers and, on some cameras, IR cut filters these days. Only these cannot be adequately simulated, everything else today is just as good in terms of quality and more flexible in post-production.


