If you use a monitor and scopes for checking your signal on the set, you want to be sure that it looks the same as it’ll look when you are sitting down for post and open the recorded original footage, right? Unfortunately, the HDMI capture devices that don’t cost a small fortune are just barely precise enough to show Rec. 709, as you may have seen in our last episode Hardware for CineMon et. al. But log formats, the very flat Sony Slog3 in particular, need a lot of stretching by a LUT to preview the signal in Rec. 709. This will amplify the already not so small deviations enough to make them unusable. But in CineMon this can be cured with an input LUT. Let’s see how!
How bad is it?
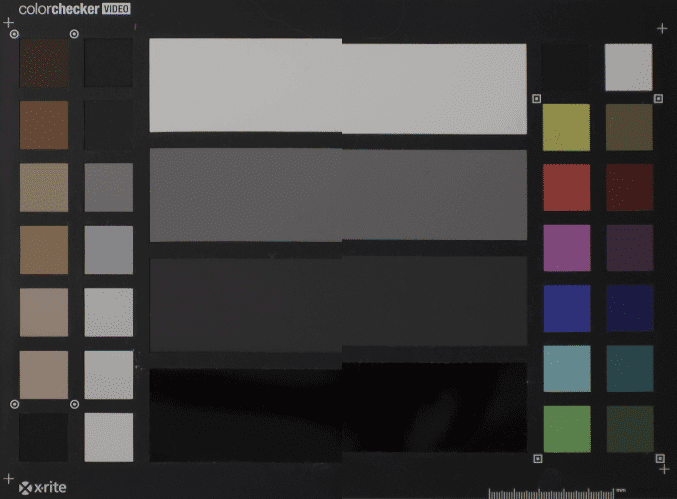
Our best low-cost device from the last review, the Acasis VC-003, was showing considerably more contrasty and lighter pictures than the recorded signal, and the colours were too satured. So, we have to develop a correction LUT for this specific combination with the help of DaVinci Resolve (DR in short). For simplicity, we used a ColorChecker Video chart this time, by a company now called Calibrite (former X-Rite). It has fewer colour target patches than the chart in the other articles, but it’s far cheaper than DSC chart and quite wide spread in production.
Recording
We recorded the signal in Slog3 Cine with a Sony A7IV in 10 bit 4:2:2 with its highest bitrate in HEVC. Of course, we first made a manual white balance, but we exposed the chart according to the waveform in CineMon. Measuring a grey chart with a light meter might have been even more correct, but with the limited contrast of log it doesn’t matter that much. In CineMon there’s a function to grab a frame for reference, so we saved this as Slog3 without a LUT to compare with the recorded video.

Preparing in Davinci Resolve
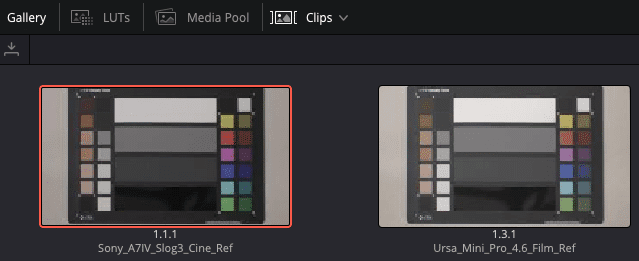
In DR you just need to drop the camera clip and the still frame into a timeline and go to the Color page. To avoid any additional changes, we did not use automatic color management. You can simply use the same LUT you’d also use in CineMon to show Slog3 as Rec. 709. It may be by Sony, out of DR or from any other source, as long as it’s just a conversion LUT. Drop that LUT onto the camera original and save a Gallery still for reference. The still out of CineMon should be prepared with at least three nodes, since you need to adjust the picture ‚under‘ the Slog3 LUT.
Correcting in Davinci Resolve
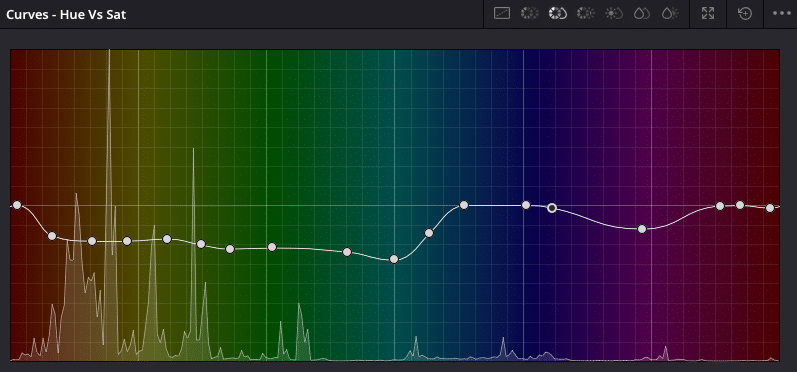
Now go for a split screen with that reference and adjust the still from CineMon to match. Use the first node for exposure and contrast and the second for color. You can use any tools in DR, like wheels or curves to your liking. Sorry, but you need to know your way around in DR, this is not meant to be a DR tutorial. We were able to match the reference out of the VC-003 pretty fast. Matching the Slog3 reference only needed a substantial correction of luminance and contrast, and minor reduction of saturation to around 40. A small shift of skin tones to the yellow side as seen in the corrected version is typical for these Sony cameras.
But when we tried the same for the SDI interface, colours were near impossible to match, even under the less aggressive log of BRAW. The SDI signal over that cheap interface, as already mentioned in the last article, would need a lot of fumbling with every single hue. Since it’ll remain as coarse and limited to 60p anyway, we can’t recommend that one. After all, cameras with only an SDI output belong to the higher end and should deserve better monitoring. Without having tested other SDI capture devices for an iPad, we can only recommend CineMon on a current Apple computer and a device like the Blackmagic UltraStudio Recorder 3G for such cameras.
Using the LUT in CineMon
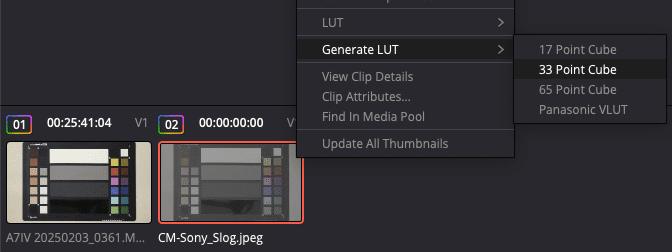
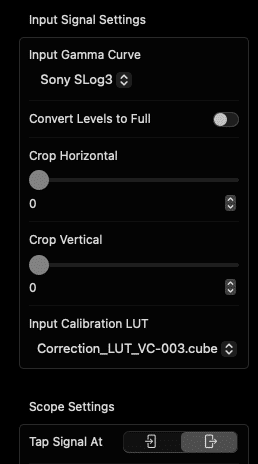
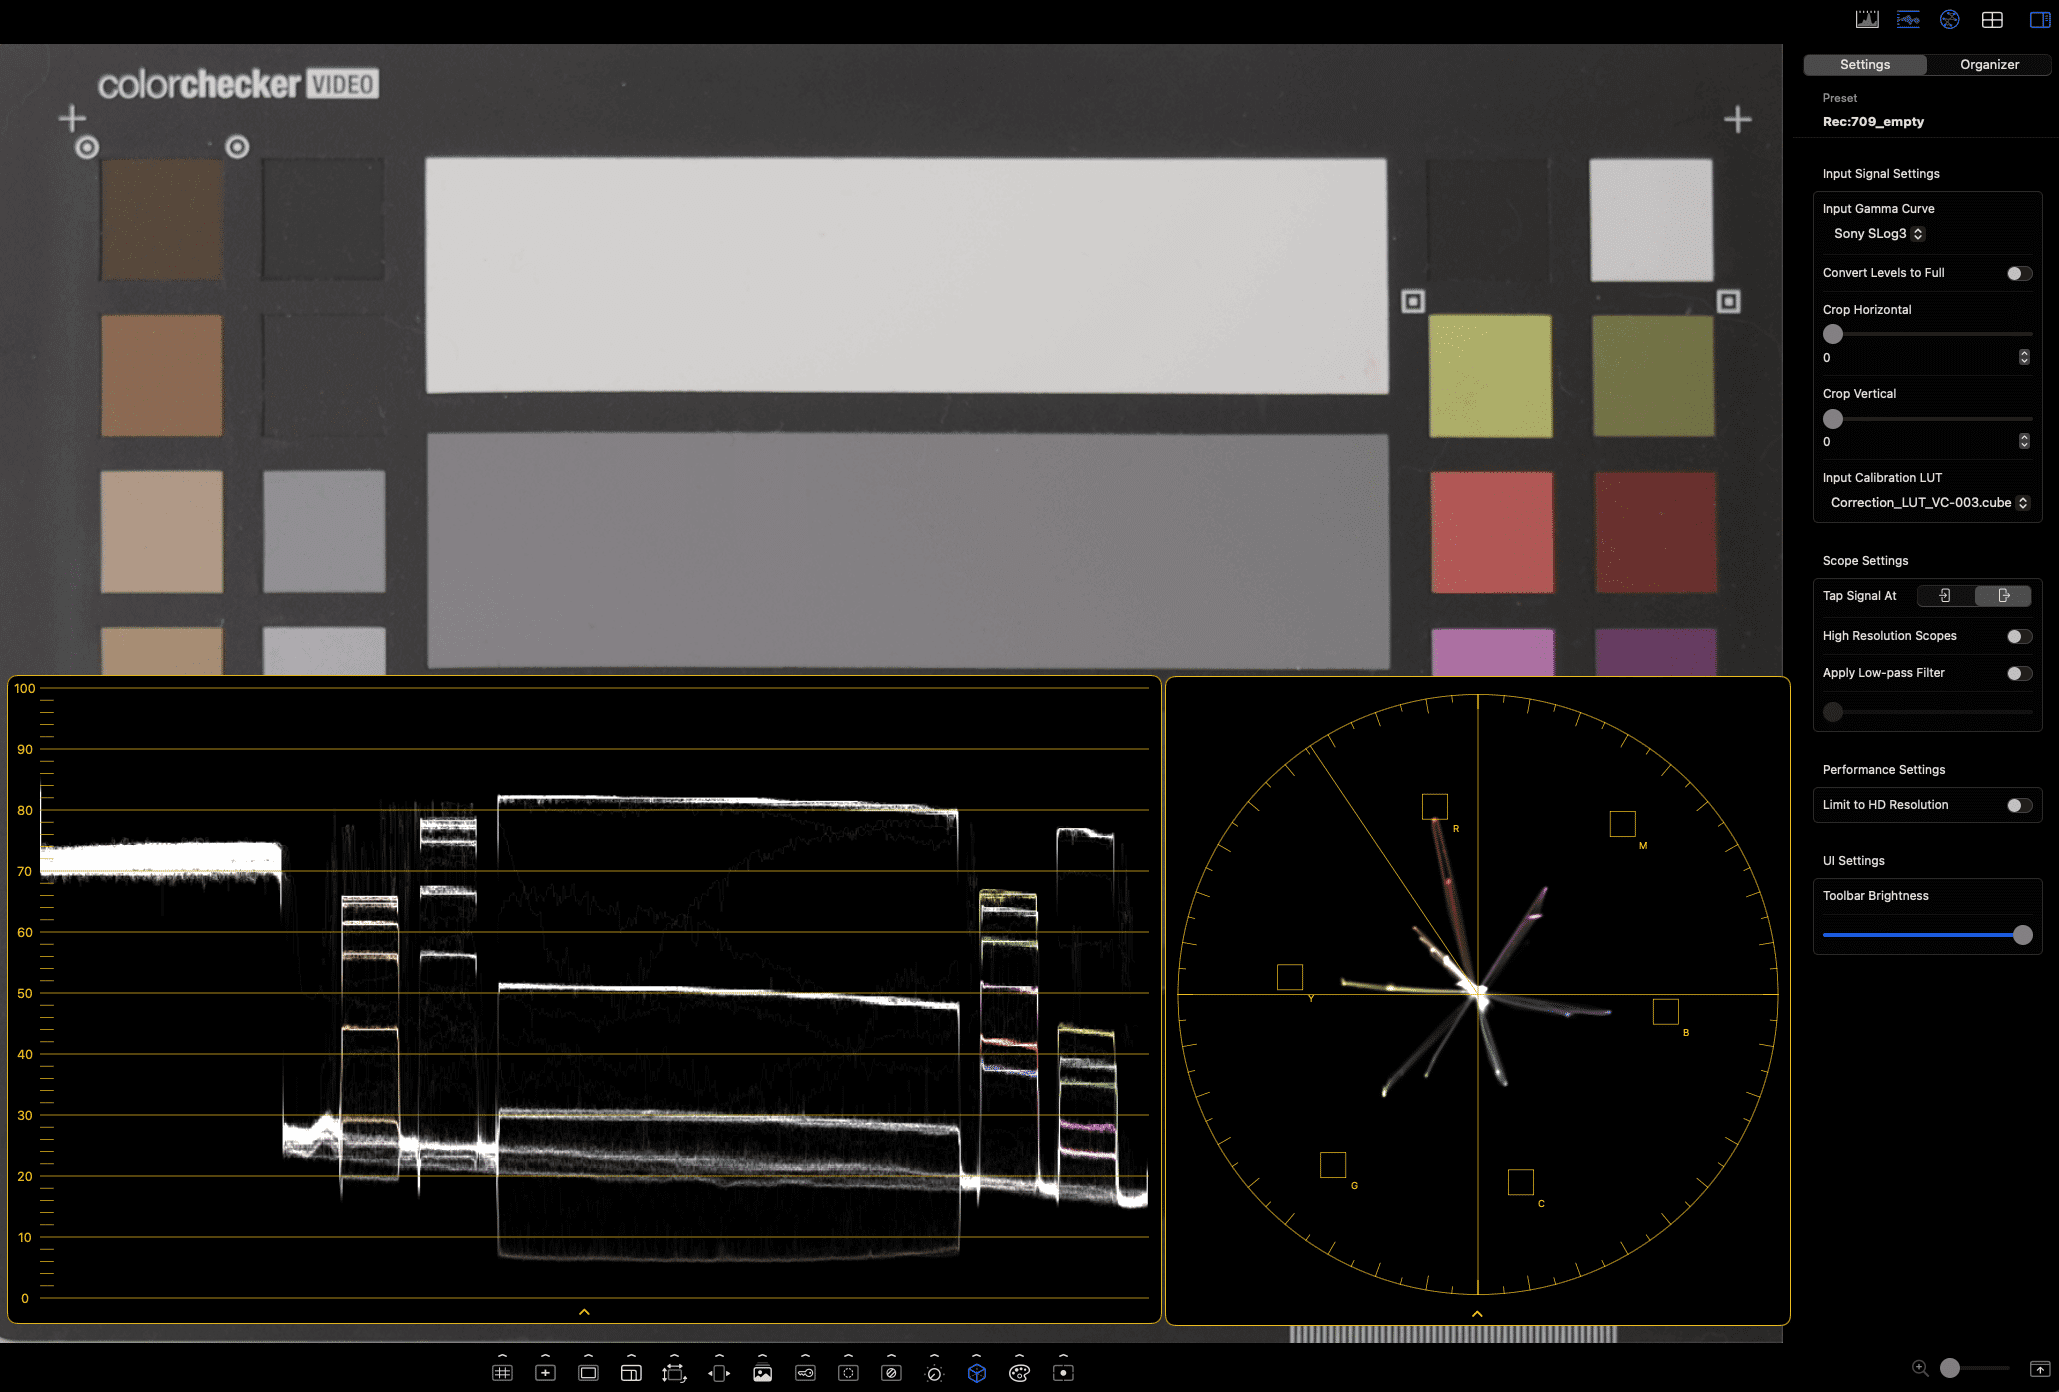
Finally, switch off the Slog3 LUT in the last node, since we’ll add that in CineMon if desired, and export the grade as a 33 Point Cube. Import it with the Organizer tab to be used as an input calibration LUT. This will be applied directly to your signal input for correction, independently from the LUT you can apply to your display with the LUT tool (the tiny cube icon). The latter can be switched on or off at any time, and you can even freely decide if you want it applied only to the picture or the scopes too. With our VC-003 we got pretty close to a correct representation of the recorded signal from the Sony camera.
Latest News
CineMon 1.0 is nearing the final version to be published in the App Store. The author has recently reduced the machine load further and added the display of full screen scopes with the whole video shining through as set with the Opacity slider. Pricing will also be announced soon.


