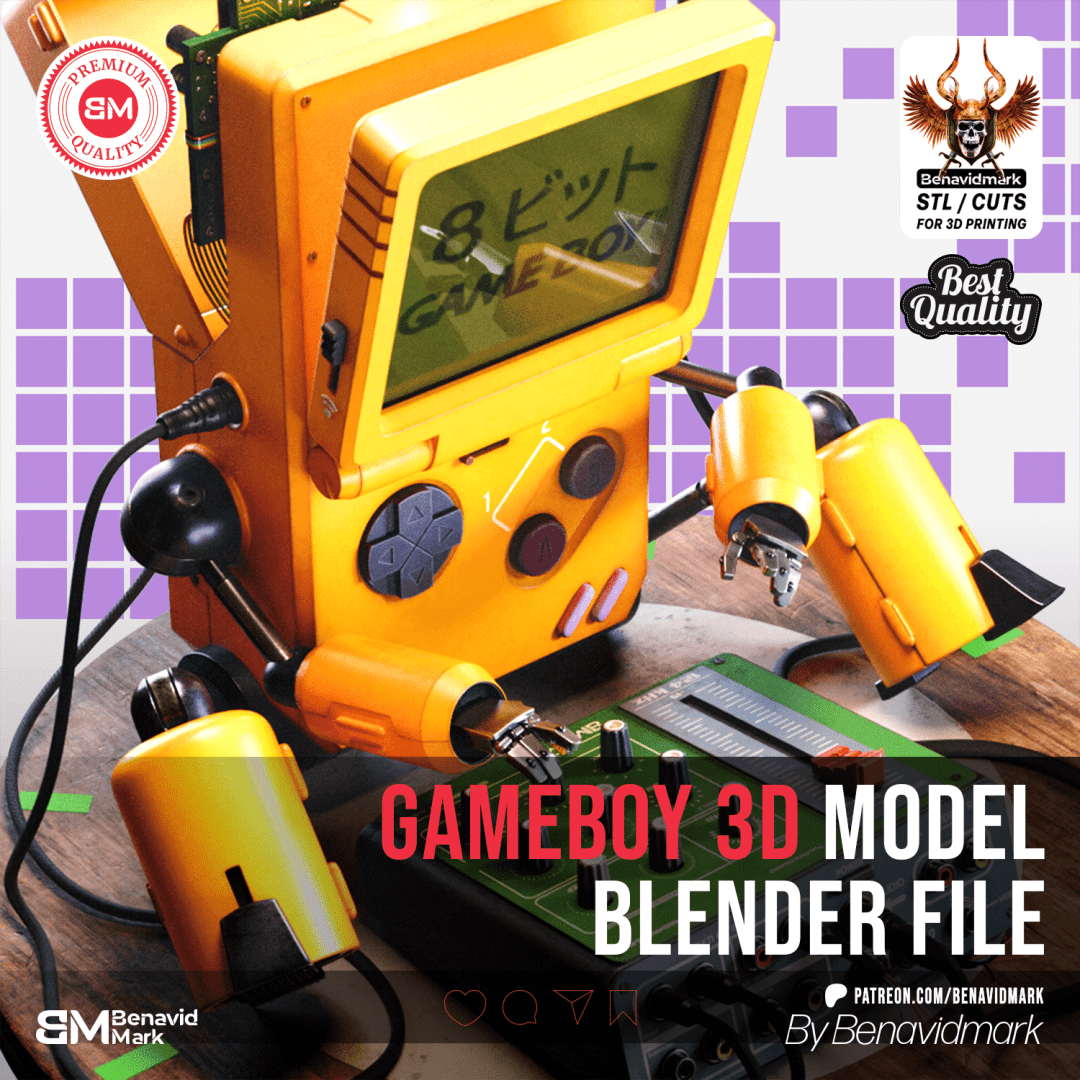
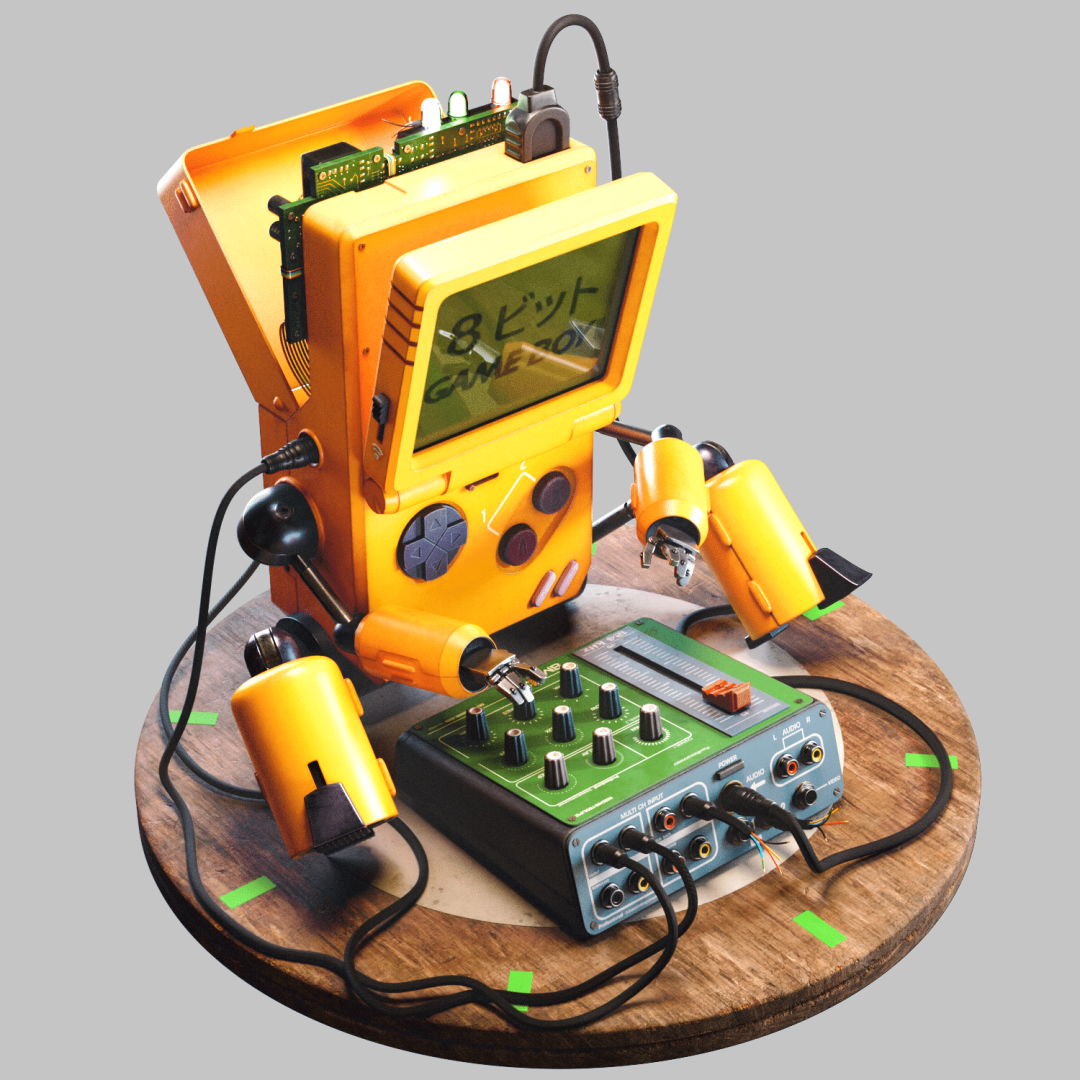
Devices like the Game Boy rarely get the treatment they deserve: tears, hugs, and apparently, quad-based 3D modeling. Digital artist Julio Benavides—aka Benavidmark—has turned the iconic handheld into a stylized robot, blending 8-bit nostalgia with technical precision. This isn’t just an emotional tribute; it’s a detailed showcase of a clean, production-grade pipeline—suitable for animation, 3D printing, or simply staring at and wishing for your childhood back.


Concept and Reference: Pureref to the Rescue
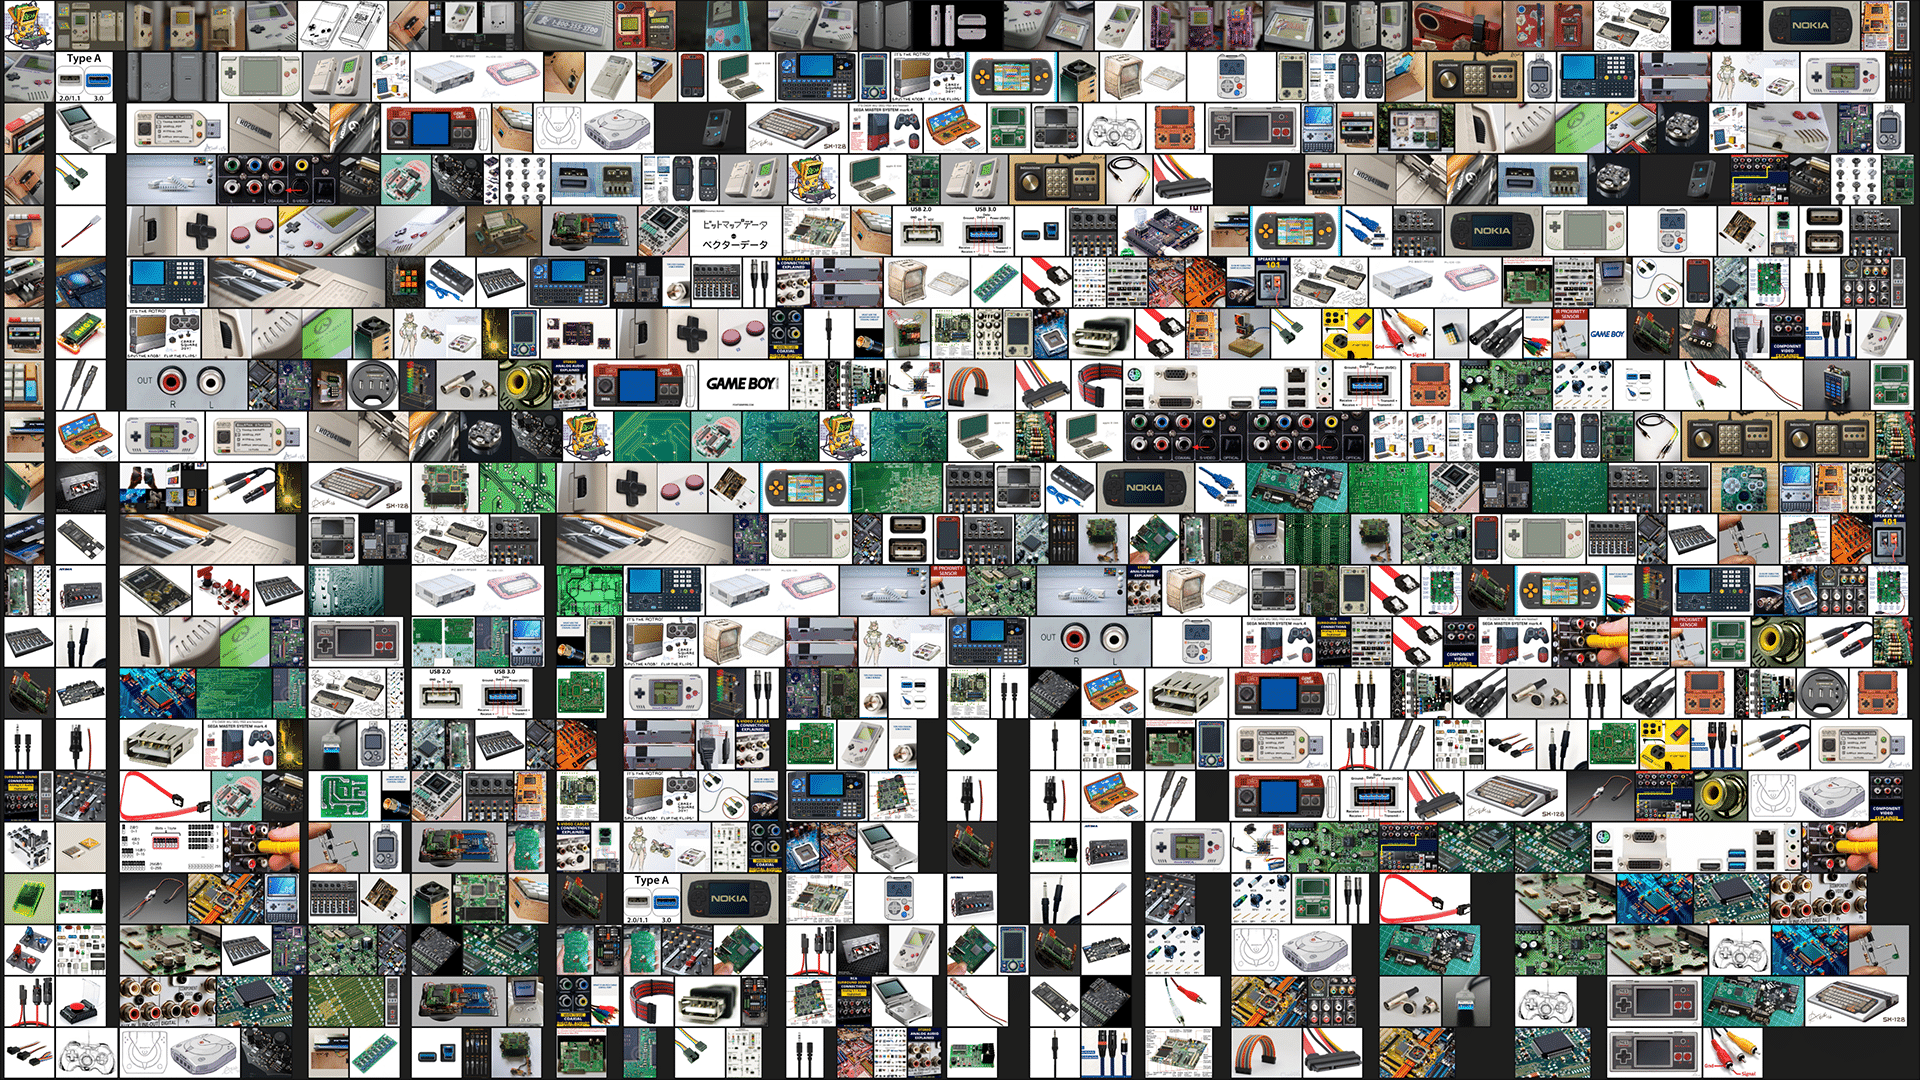
Benavidmark’s process started, as many do, with references. The artist’s method of choice: Pureref—a reference management tool favored for juggling large piles of inspiration. Images forming the visual backbone of the project are clearly visible in the background, testifying to a production process rooted in visual research, not fever dreams.
On concept art duties: Cameron Sewell, a freelance illustrator based in Florida. Sewell’s clear, detailed style informed both the spirit and design of the project, aiming for animation- and game-industry relevance.
Blocking: Camera Matching with fSpy and Blender
For scene blocking, Benavidmark employed fSpy, a piece of open-source software designed for matching camera positions and perspectives from photographic reference. The workflow is methodical: load a still image, match the camera parameters, export those to Blender (version 4.2 in this case), then adjust the camera and background for blocking.
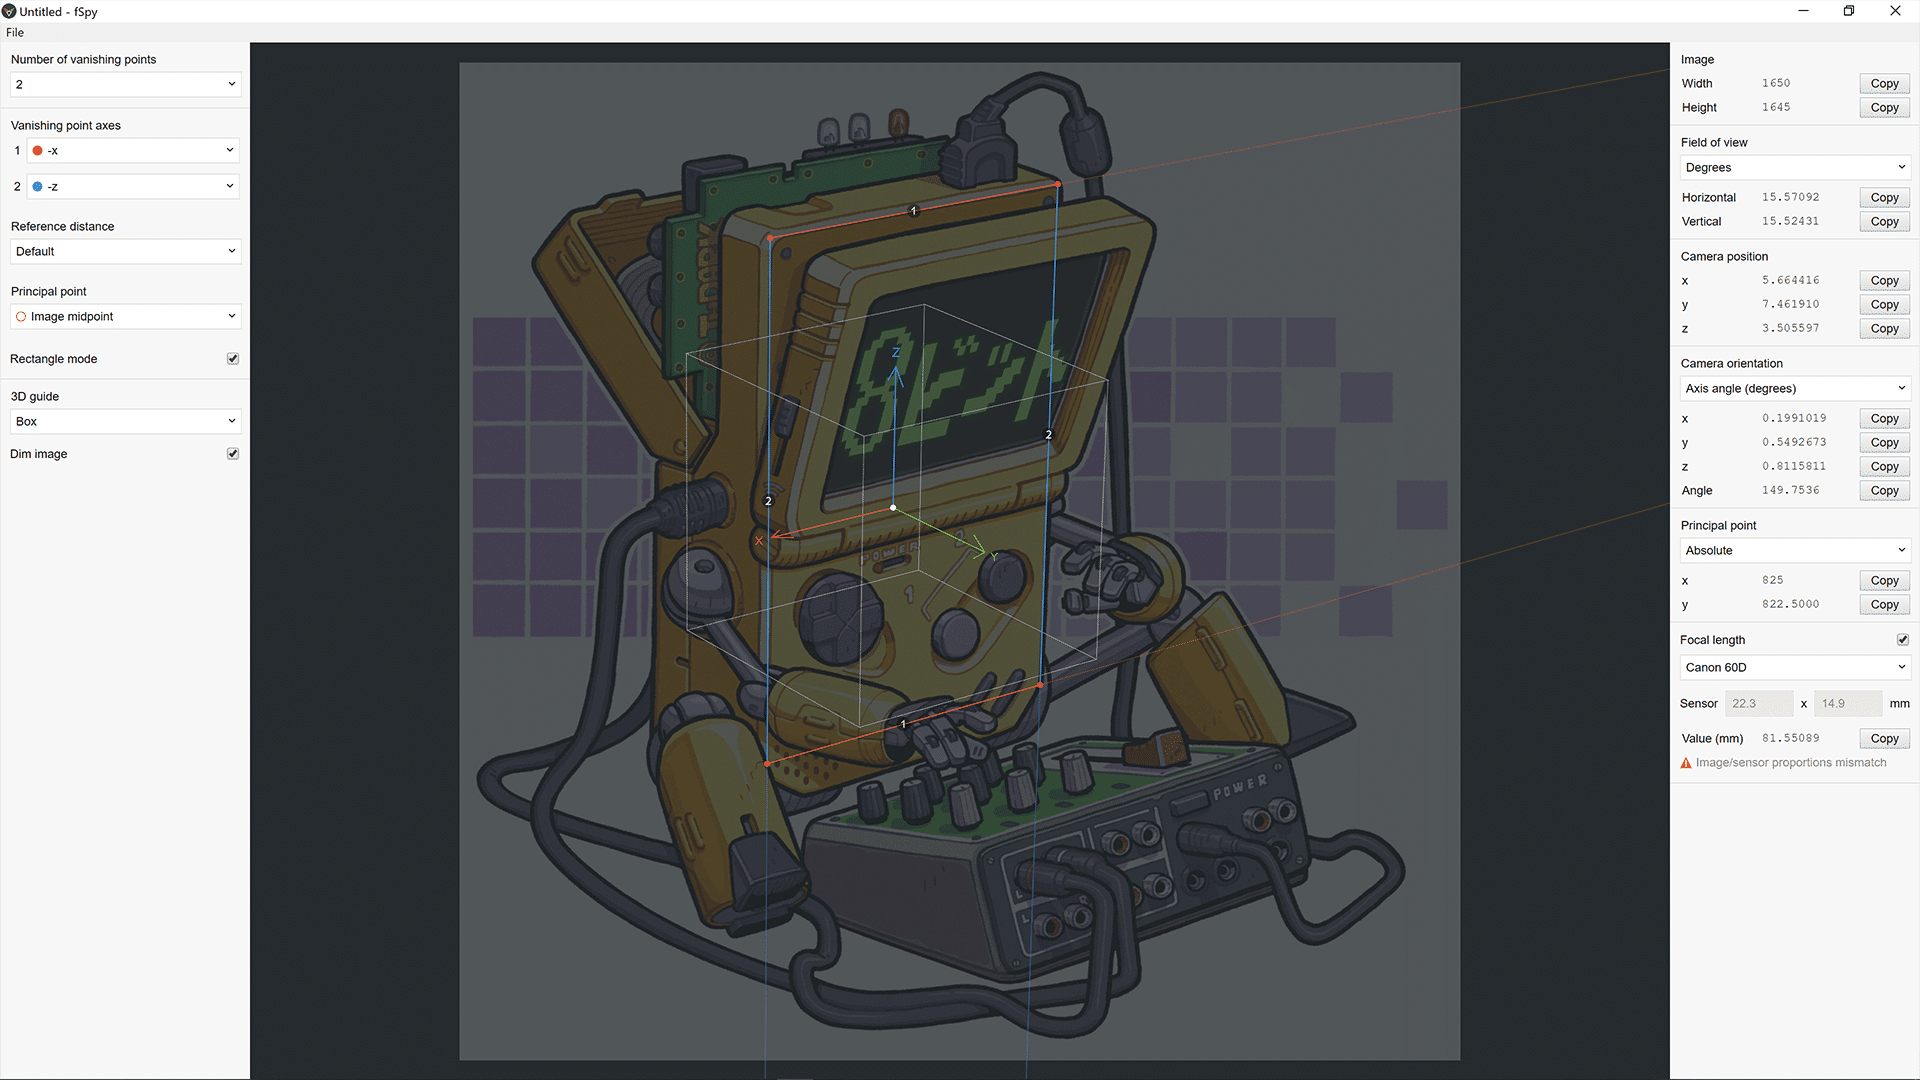
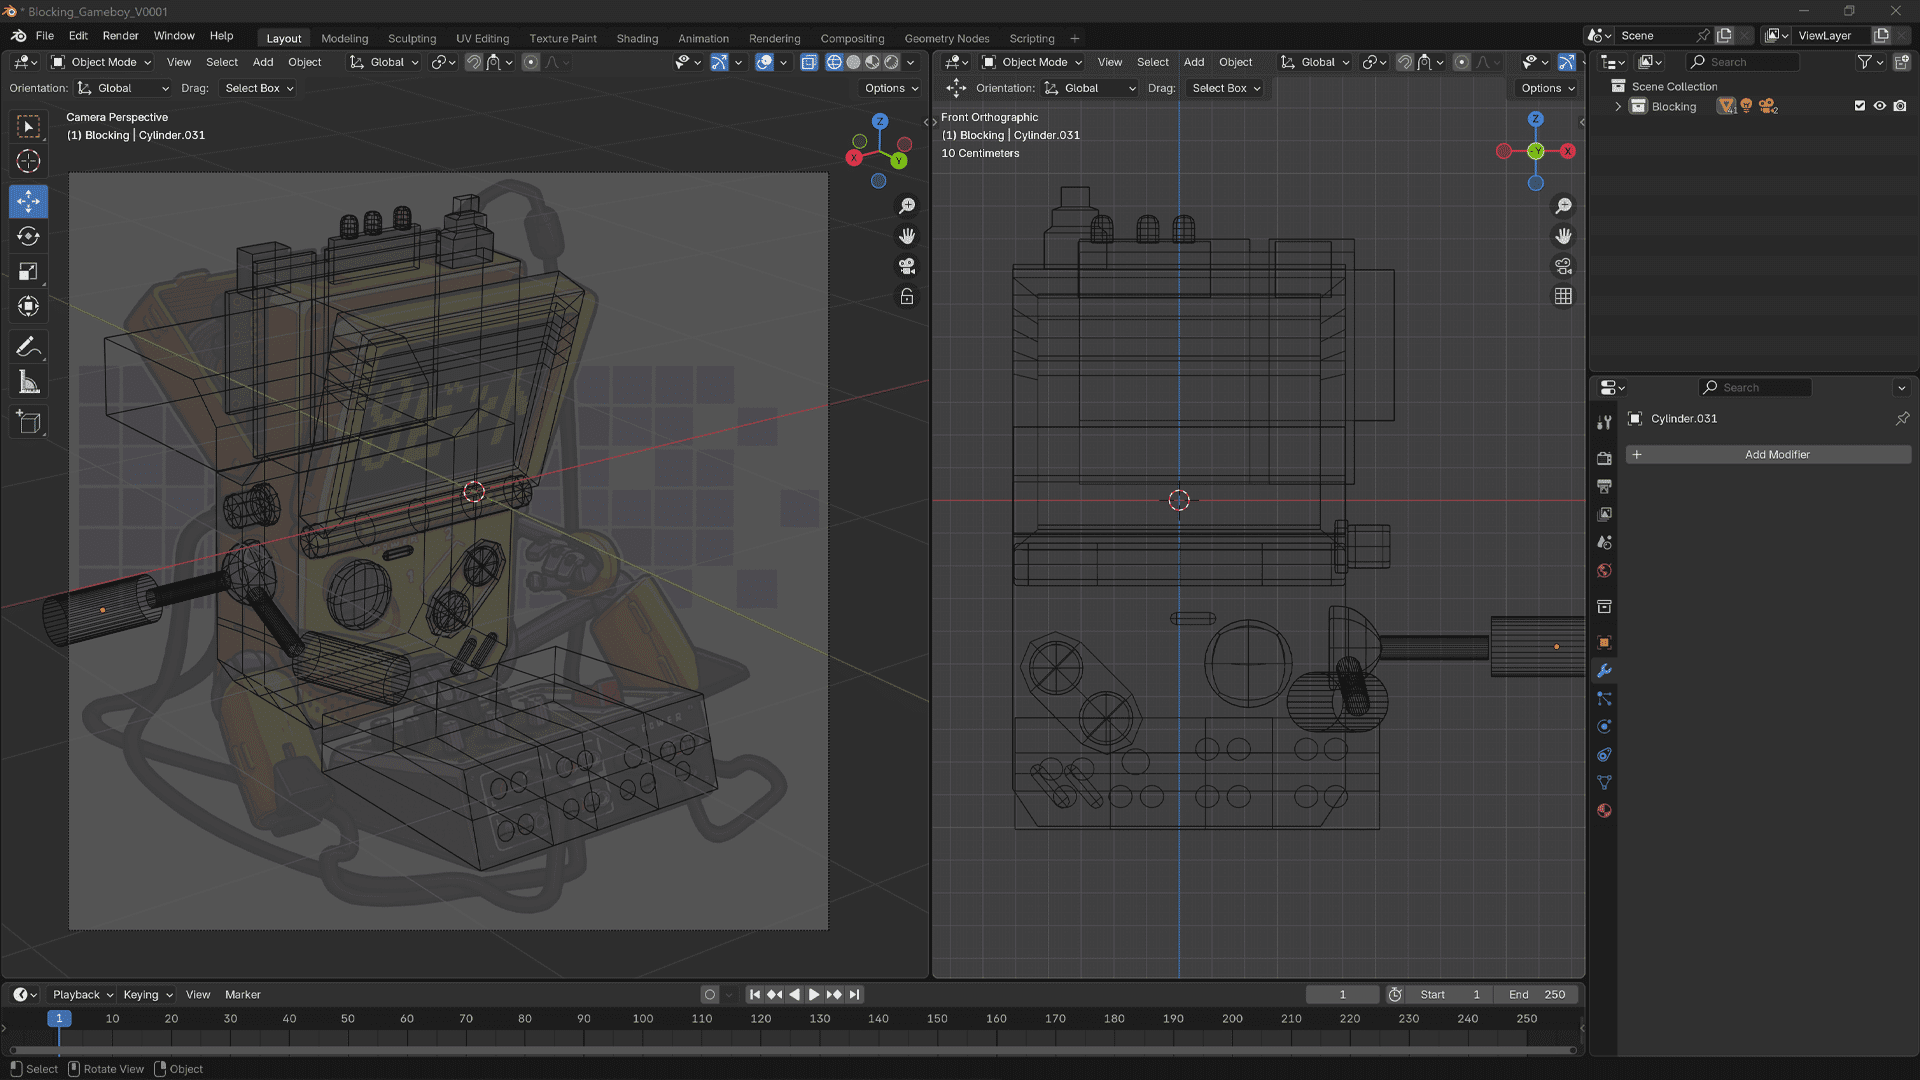
Blender’s fSpy importer add-on automates most of this, importing camera parameters directly and simplifying the setup. With the image in place, Benavidmark moved on to blocking out the character, ready for the actual modeling.
Modeling in Autodesk Maya: Quads, Not Triangles
The modeling phase occurred in Autodesk Maya, a platform not exactly lacking in polygon options. Here, the watchword is “quads”: polygons with four sides, essential for clean edge flow, predictable deformation, and subdivision in animation and VFX pipelines.


Benavidmark’s approach is textbook: begin with a rough blockout, define major shapes, then add details—all while maintaining quad-only topology wherever possible. Separate components were modeled individually, then assembled with an obsessive focus on all-quad geometry. This isn’t just purism; triangles are prone to causing pinching and artifacts during subdivision or deformation, a headache familiar to anyone who’s ever tried to animate a mesh built from triangles.

Quads allow for easier editing, smoother deformations, and subdivision with algorithms like Catmull-Clark. Triangles, by contrast, are reserved for low-poly, real-time, or background assets where subdivisions are unnecessary.


UVs: The Blueprint for Texture
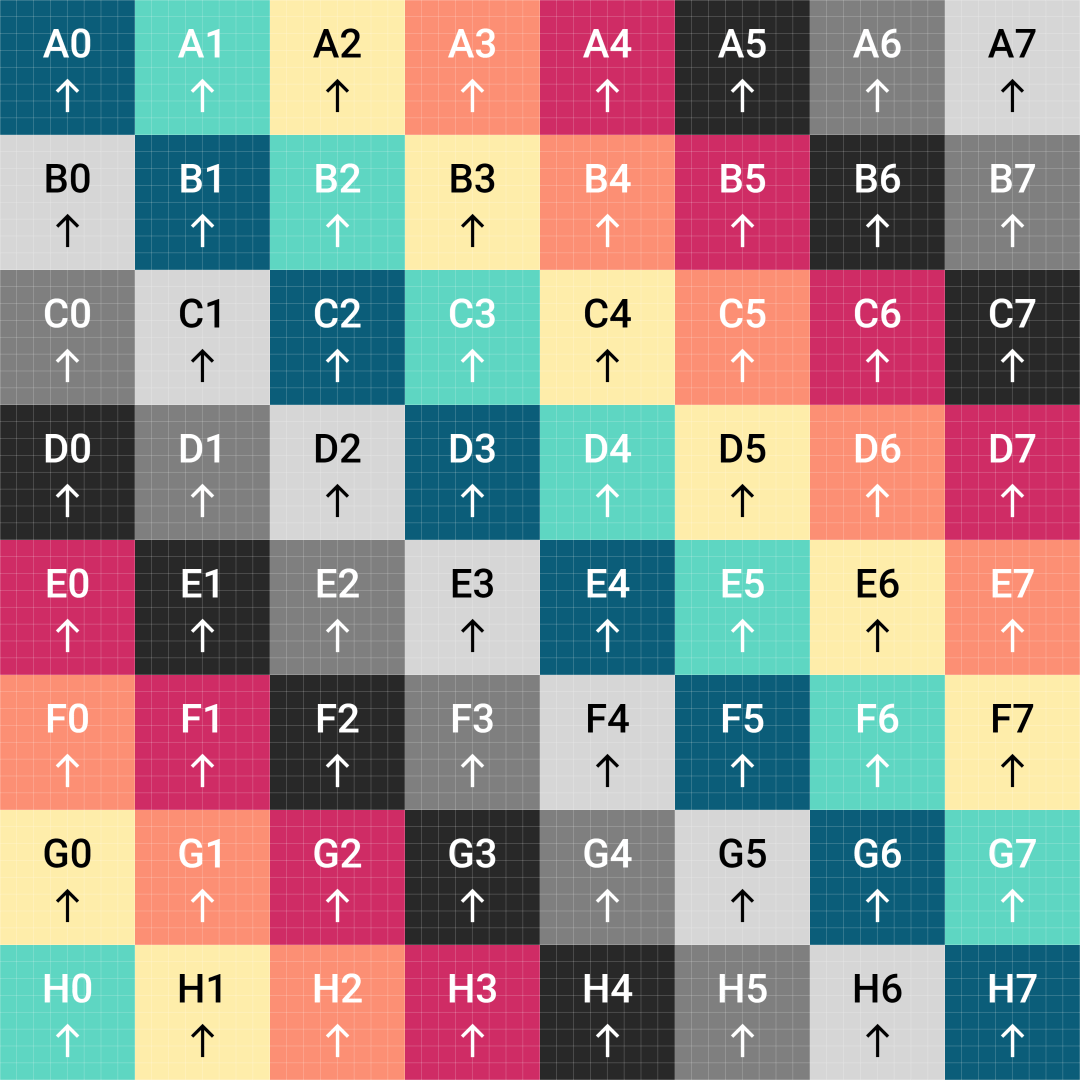
Once the geometry was ready, Benavidmark generated UVs—the essential mapping from 3D to 2D for texturing. Accurate UVs allow textures, colors, and details to be applied cleanly and without distortion. A checker material in Maya verified that the layout was free from unwanted stretching before proceeding.

Texturing: Illustrator Alphas, Substance Painter Layers
Texturing was completed in Substance Painter, but not before creating high-resolution alpha masks in Adobe Illustrator. These alphas provided the fine details required for accurate, high-res detail placement on the model.
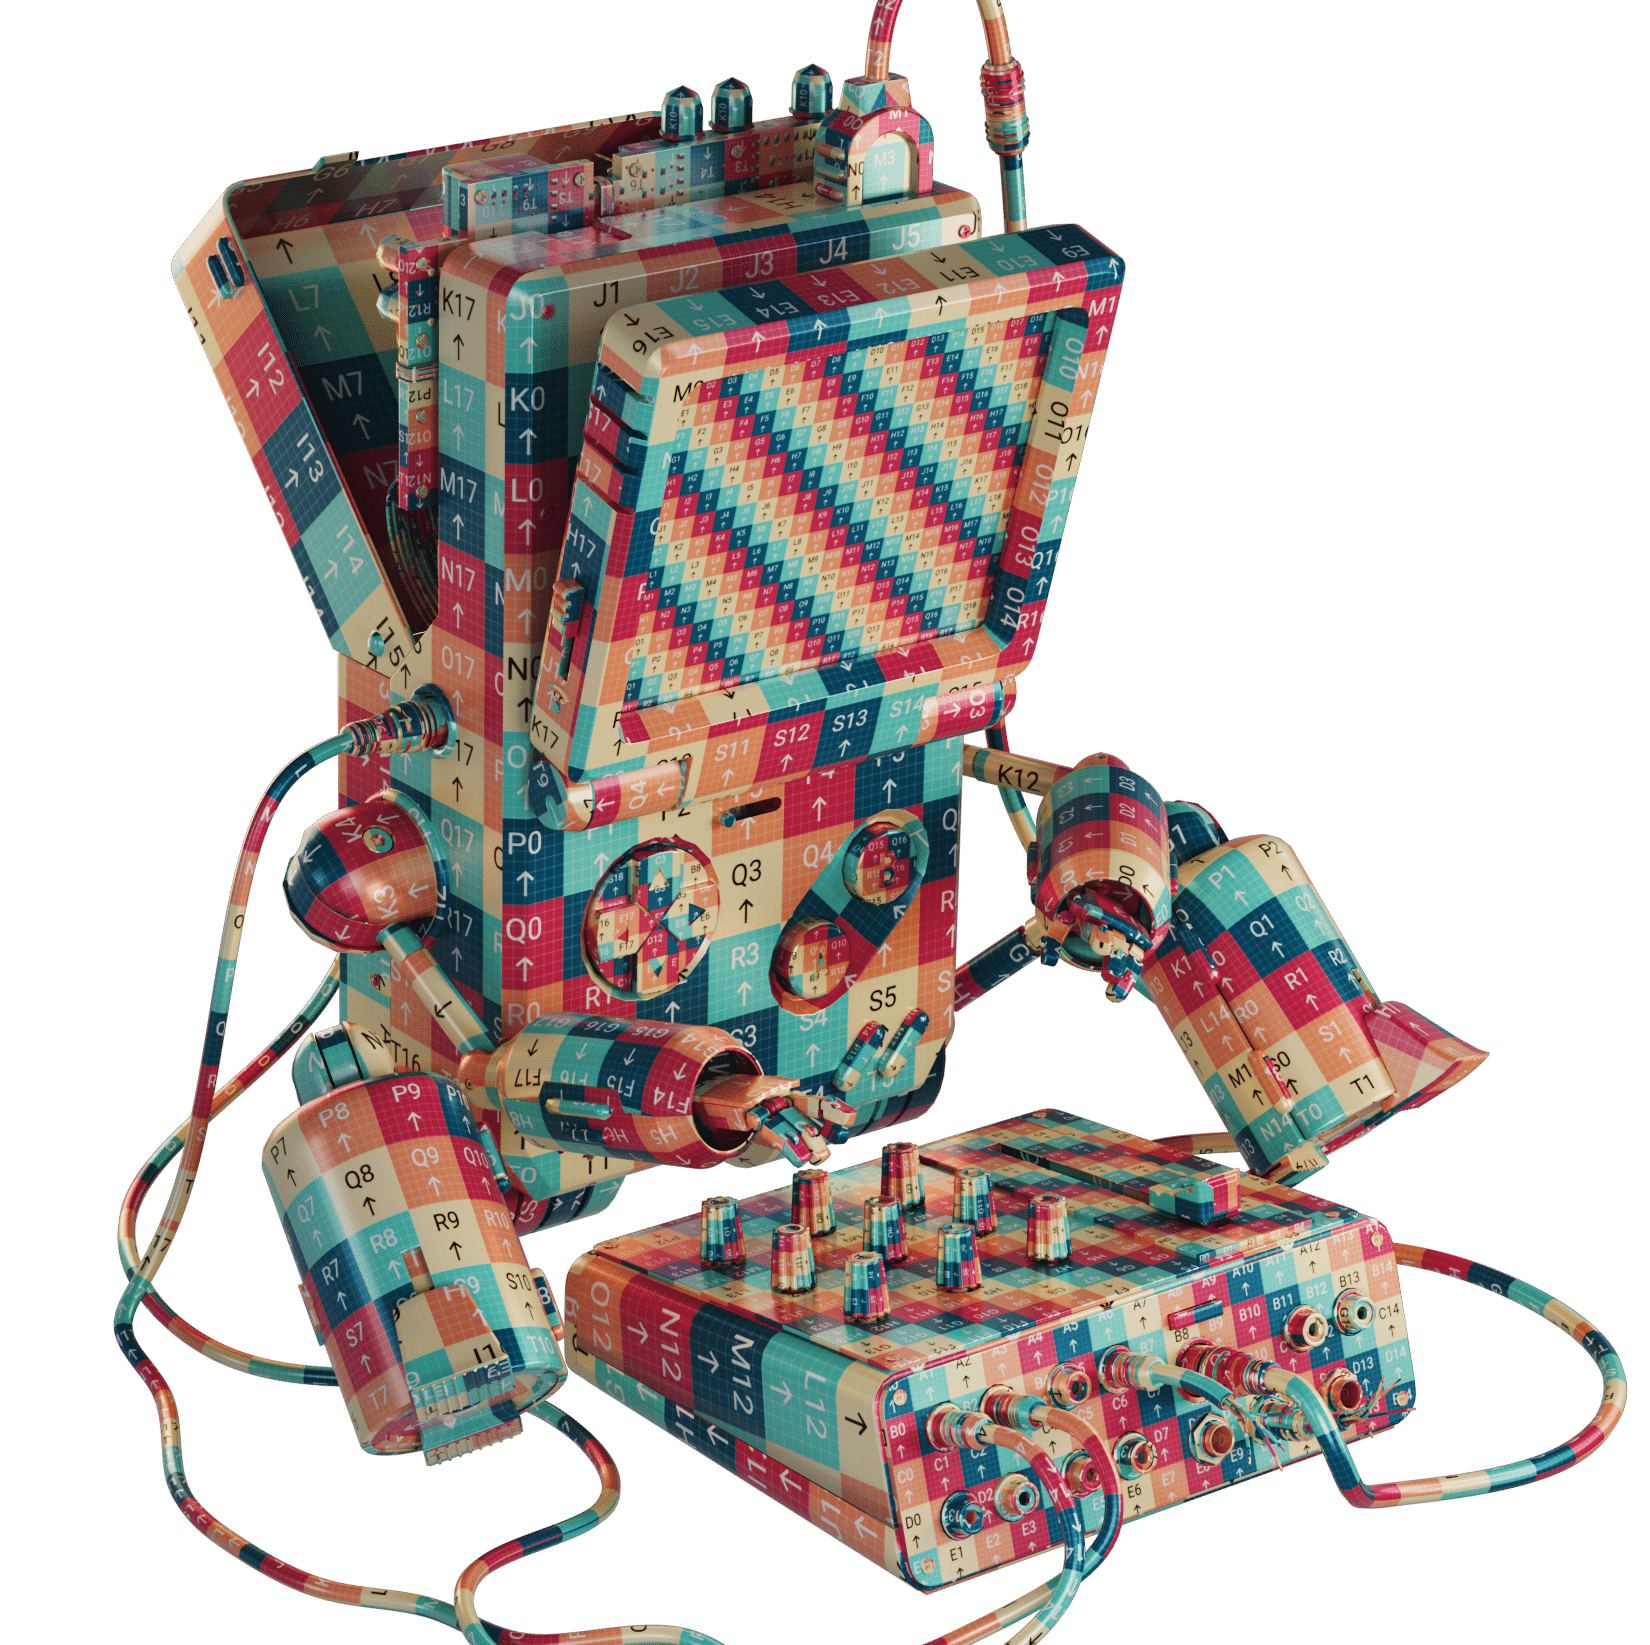
With the model and UVs imported into Substance Painter, the workflow followed a familiar sequence: apply a UV checker, lay down the base color, layer on custom alphas, then finish with carefully constructed dirt and wear layers. The result is a stylized surface with a convincing illusion of depth, use, and history—just like the real Game Boy after a few years in a school backpack.


Final Scene: Rendering in Blender 4.1
For final renders, the model returned to Blender (version 4.1). Materials and high-res textures were assigned, HDRI lighting was introduced for realistic reflections and highlights, and the scene was composed in a manner that leaves everything organized and ready for further revision.


The Whole 3D Pipeline on Display
Benavidmark’s project is a classic hard-surface pipeline: visual research, camera matching, quad-based modeling, UV mapping, layered texturing, and final rendering. Each step is documented, every tool named, and the logic behind every production choice is explained. Professionals looking to audit, learn, or simply critique every polygon will find all the necessary evidence.
Availability and Further Details
The complete Game Boy Robot scene is available for download and study on Gumroad. Extended breakdowns, high-res renders, and additional assets can be found on ArtStation, with an even deeper dive into the process on the project website. If you want to see it all in motion, check out the YouTube channel.
And to see, what he is up to in the meantime, check his Instagram: instagram.com/benavidmark