


Table of Contents Show
I alsoooo took the opportunity to compare it with the Automation Blocks from Mamoworld, which we tested in the last issue, and looked at a few other tools in this category. But first, let’s take a look at the working time recording. by Nils Calles
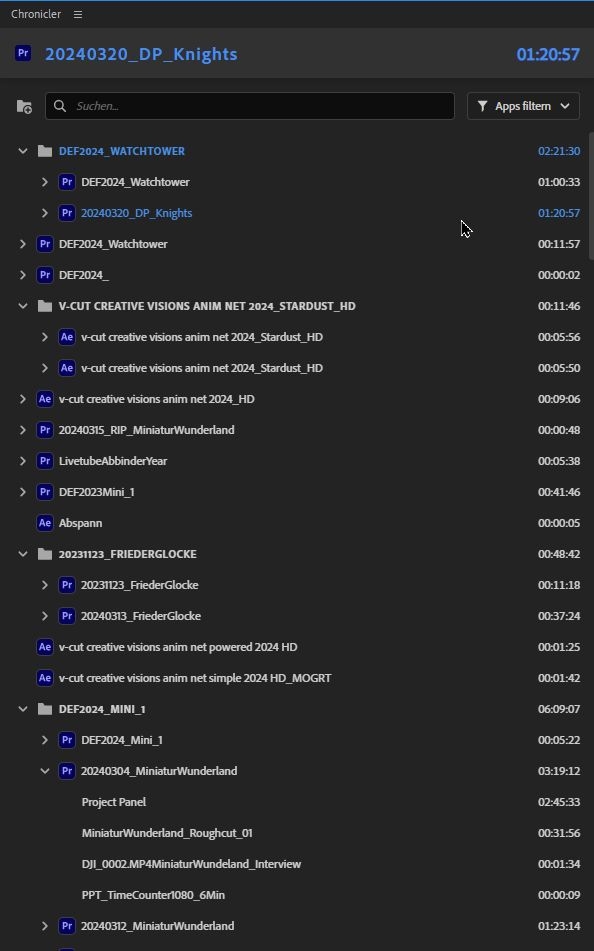
Chronicler – Pr, Ae, Au, An, Me, Ps, Ai, Id, Ic (25 Dollar)
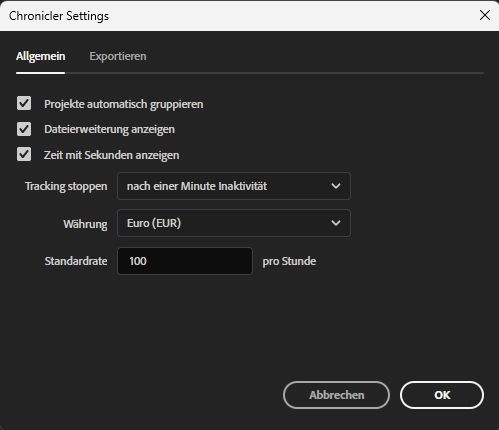
After installation, you open this tool, like all extensions, via the Window – Extensions menu in Premiere and After Effects. All Adobe-specific projects are then logged there in detail. This even includes how long you have been working in a specific timeline in Premiere or in a composition in After Effects. This also applies to Smart Objects in Photoshop, Links in Illustrator or Scenes in Animate. Projects can be organised in folders for a better overview. There is also a search and filter function. The billing function allows you to determine what you can charge the customer. The hourly price and the currency can be set in the settings. The idle time can be used to set the period of inactivity after which the time recording stops so that no idle times are counted. The time recording can be exported as a CSV file so that it can be imported into Excel, for example. And it can probably also be displayed on a website.
However, it is not explained anywhere how this works. The CSV file is also very confusing and it is very difficult to analyse it. In general, the documentation for Chronicler in particular is unfortunately poor. There is a short tutorial and, as for the other extensions, a manual on the Knights of the Editing Table Manuscript website. There is also a forum website and a very lively Discord channel. However, this is not really a substitute for a proper manual. Sir Ivan should make some improvements here.
Excalibur – Pr (120 Dollar)
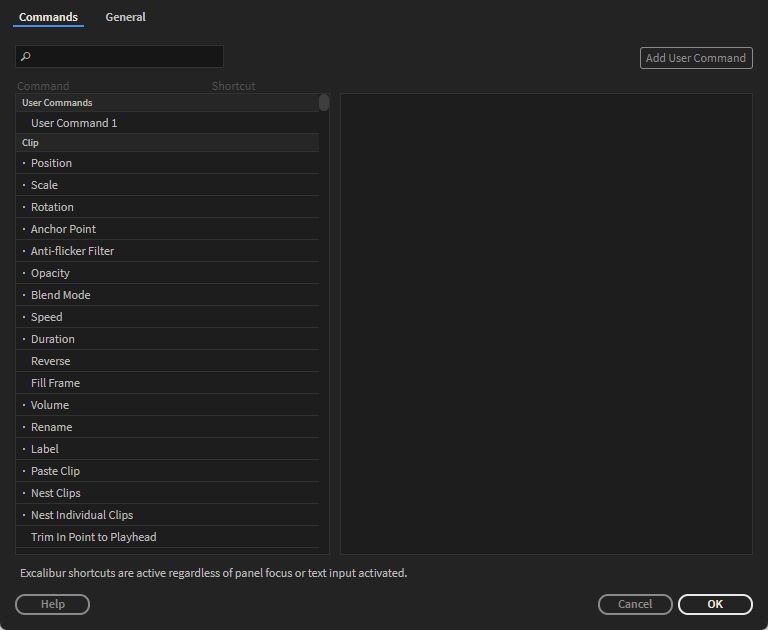
This probably best-known tool speeds up the editing workflow by extending and simplifying the functionality of keyboard shortcuts. It also includes some functions for which there are no shortcuts in Premiere. Here are some examples:
- paste clip on the same track
- export selected clips
- remove transitions
- Nest individual clips
- add marker to selection
- fill frame (preserves aspect ratio without borders)
Application example Excalibur
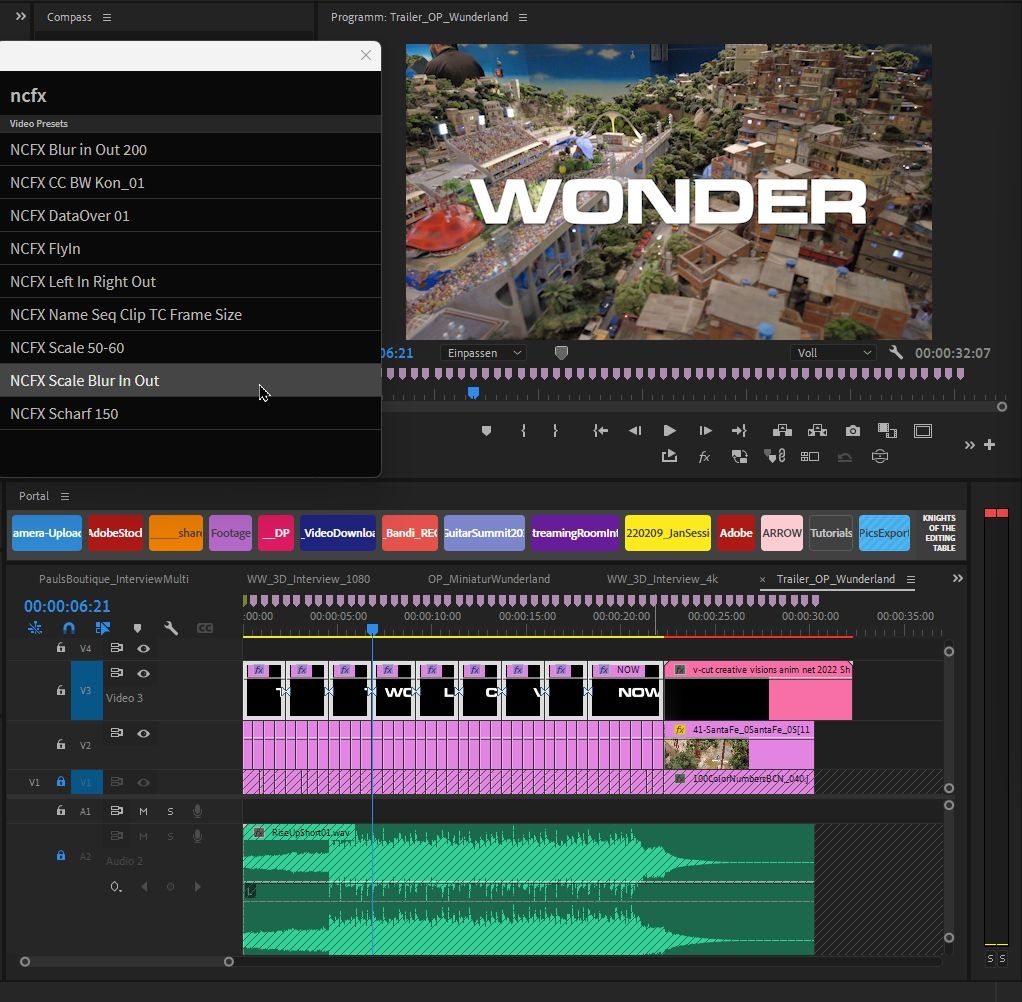
I like to use this tool to apply my own effect presets to several clips, for example to blur in titles. To do this, I have given all my presets the prefix NCFX. If I type these letters into the Excalibur window, I immediately get a list of all my presets and can select the appropriate one with the arrow keys and confirm with Enter. You can also put together your own user commands from several commands and assign them to a keyboard shortcut. For example, rendering for YouTube with the sequence name and date as a prefix. The basic functionality is similar to the free FX Console tool from VideoCopilot for After Effects. The tool is called up with a keyboard shortcut (default alt space bar) and the function can then be selected in the search window. To do this, type in the command, whereby the first few letters are usually sufficient. You can then use the down arrow to select the listed functions and the right arrow to select the sub-functions. You can also select several clips in the timeline that are to be scaled by the same factor, for example. With the Export selected clips command, the clips selected in the timeline are transferred to the Adobe Media Encoder with the effects applied, individually with the image section of the timeline in which they are located, and rendered out with the parameters of the selected export preset. This is very effective, for example, to render out selected footage for portals or customers. A similar function is also available in the Automation Blocks Extension presented in the last issue. The only difference here is that the In and Out markers are transferred from the timeline to the clips in the project and these are then transferred to the media encoder queue. On the one hand, the applied effects and scaling are lost. On the other hand, the clips can be output with a match source preset in the original resolution.
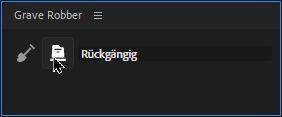
Grave Robber – Pr (25 Dollar)
If you have worked a lot with nested clips in Premiere due to the clarity, you would often like to unpack everything again at the end in order to do a little fine-tuning. The Grave Robber can dig this out again. The tool consists of just 2 tiny icons. The shovel for excavating, i.e. unnested. And an undo icon, which only works properly directly after digging. You simply select the nested clips you want to unpack and click on the shovel. You have the content on the timeline. The extension also automatically creates new tracks so that, for example, the graphics above it remain above it.
Now you can swap elements and fine-tune the timing as you wish. The original nested clips naturally remain untouched. They may still be present in other timelines. The tool is also very suitable for using nested sequences as templates. For example, you have produced a complex intro that you want to use more often. You create a nested sequence from it, which you then simply drag into your current timeline. Once the rest of the editing is done, you unpack the intro with Grave Robber and can now easily swap clips and graphics and optimise timings.
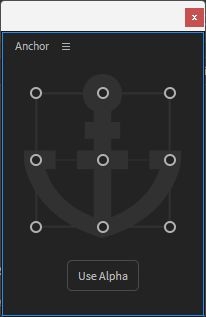
Anchor – Pr (25 Dollar)
As the name suggests, this is a tool for moving the anchor point without changing the position of the layer. The alpha channel can also be taken into account. For example, if you want to move a text graphic to the top left-hand corner, switch on the alpha function and click on the anchor point in the top left-hand corner. The extension then automatically finds the top corner of the letter and sets the anchor point there.

Portal (0 dollars): Pr, Ae, Au, An, Me, Ps, Ai, Id, Ic
This tool provides quick access to frequently used folders in the Adobe apps. A separate set for each Adobe software. The folders are simply dragged into the portal window and the extension automatically creates a button that leads to the folder as a quick link. The buttons can be easily configured in terms of colour and labelling.
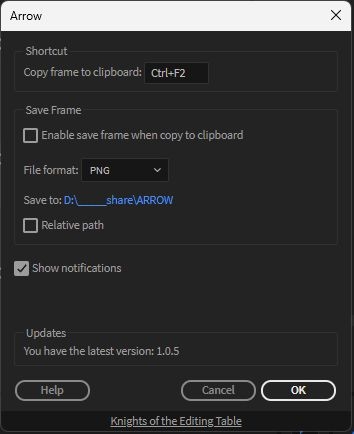
Arrow (0 Dollar)
An extension that copies the current frame in the Monitor programme to the clipboard so that it can be inserted anywhere. It can also be automatically saved in a specific folder. The tool can also copy PNG with alpha channel. It is also included in Excalibur.
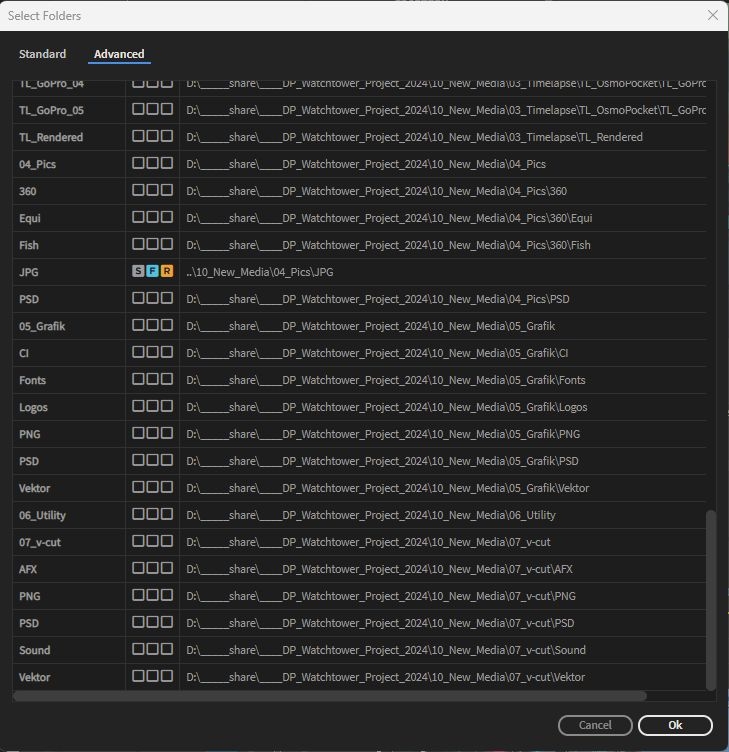
Watchtower Pr/Ae (40 Dollar)
When I create a new project, I always copy my standard folder structure into the project folder. Then I copy all the footage files into the folders provided and open the standard project that I copied with the Premiere folder, rename it and save it under the project name with the date. Then comes the procedure that every editor knows. The footage files have to be imported into the correct bins in the project. This requires a lot of clicking, even though everything is already neatly sorted in the project folder. Watchtower does this work with just a few clicks. All you have to do is show the extension where the project folder is located and everything is imported automatically. And that’s not all. If new footage files are copied into the folder, these are also loaded into the project automatically or by clicking on the Sync button. It also copes with the nested folder structures of some cameras, such as RED or Sony cameras, and only imports the files actually required for editing.
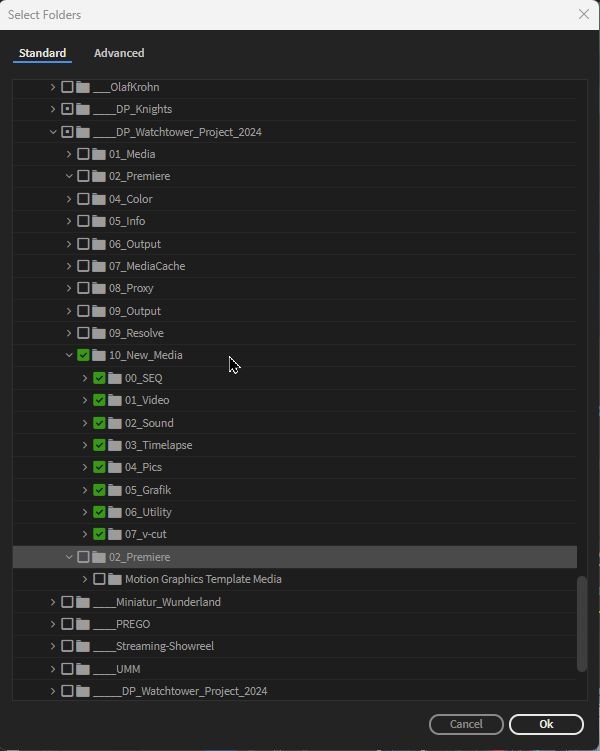
Image sequences are also automatically recognised and immediately imported as a film. Which files are imported and how they are imported can be configured in the settings. You can also configure which folders should be omitted, which is useful for proxy folders, for example. I can even configure Watchtower by ticking the relative path box so that it automatically imports the footage in my standard folder structure without me having to configure it every time. In other words, I copy my standard project folders into a new project folder and then fill it with the new media files. Now I open the project and all the files are imported directly into the appropriate bins. This saves a lot of time.
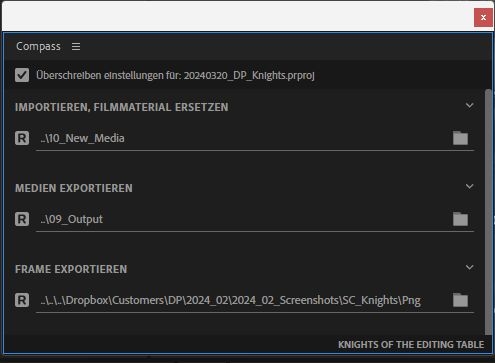
Compass (0 Dollar)
Unfortunately, the Premiere export always goes to the last selected folder, regardless of the project. This is annoying, especially if you often switch between projects. With Compass, the output locations can be selected on a project-specific basis. This is done separately for media and frame export, as well as for import.
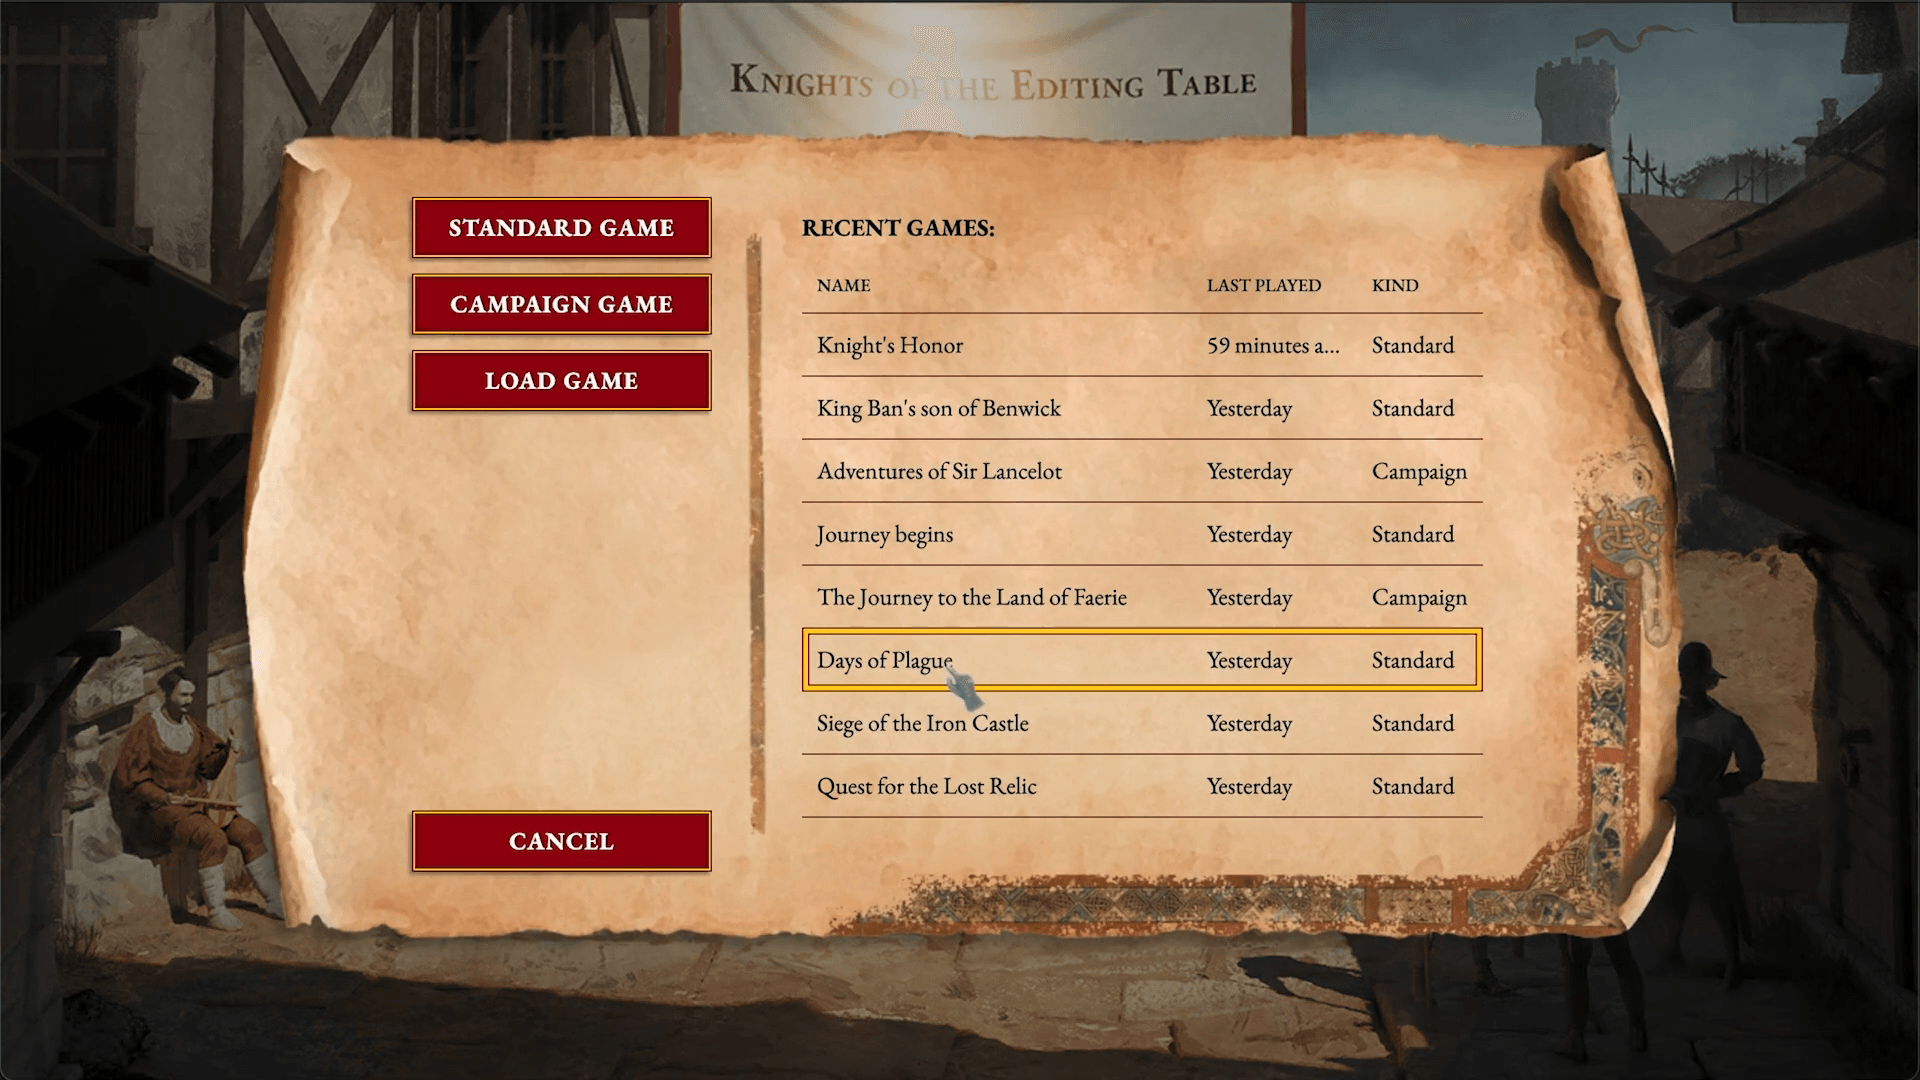
The Game (0 Dollar)
This tool turns Premiere into a kind of game. When the programme starts, there is a medieval start screen with the appropriate greeting and music. There you can select the project type. Standard Game is a normal project, Campaign is a production and Multiplayer is selected for a team project. Fortunately, the medieval atmo sound can be muted with a right-click. Clicking on the Armoury button takes you to a screen where you can install the other extensions. The whole thing is a funny gimmick for the game nerds among the editors, garnished with pithy sayings, but otherwise has no effective use.
Conclusion
Sir Ivan has done a good job. The tools make work a lot easier and save time in Premiere and other Adobe programmes. And Excalibur in particular is getting more and more functions with regular updates. Ivan is welcome to take a seat at my editing table!
Automation Blocks Pr/Ae (Bundle 99,99 Dollar)
As we have already discussed Automation Blocks in the last issue, a comparison is naturally appropriate. While Knights of the Editing Table Tools offers individual tools with predefined functions, Automation Blocks is a construction kit in which some models are already pre-built. Both extensions can perform some functions. But only Automation Blocks allows you to programme your own automations.
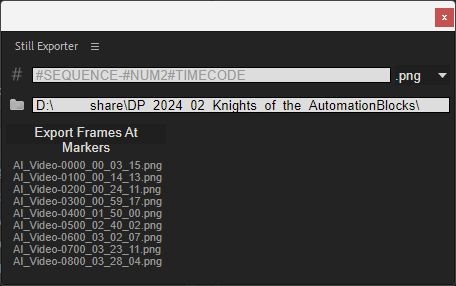
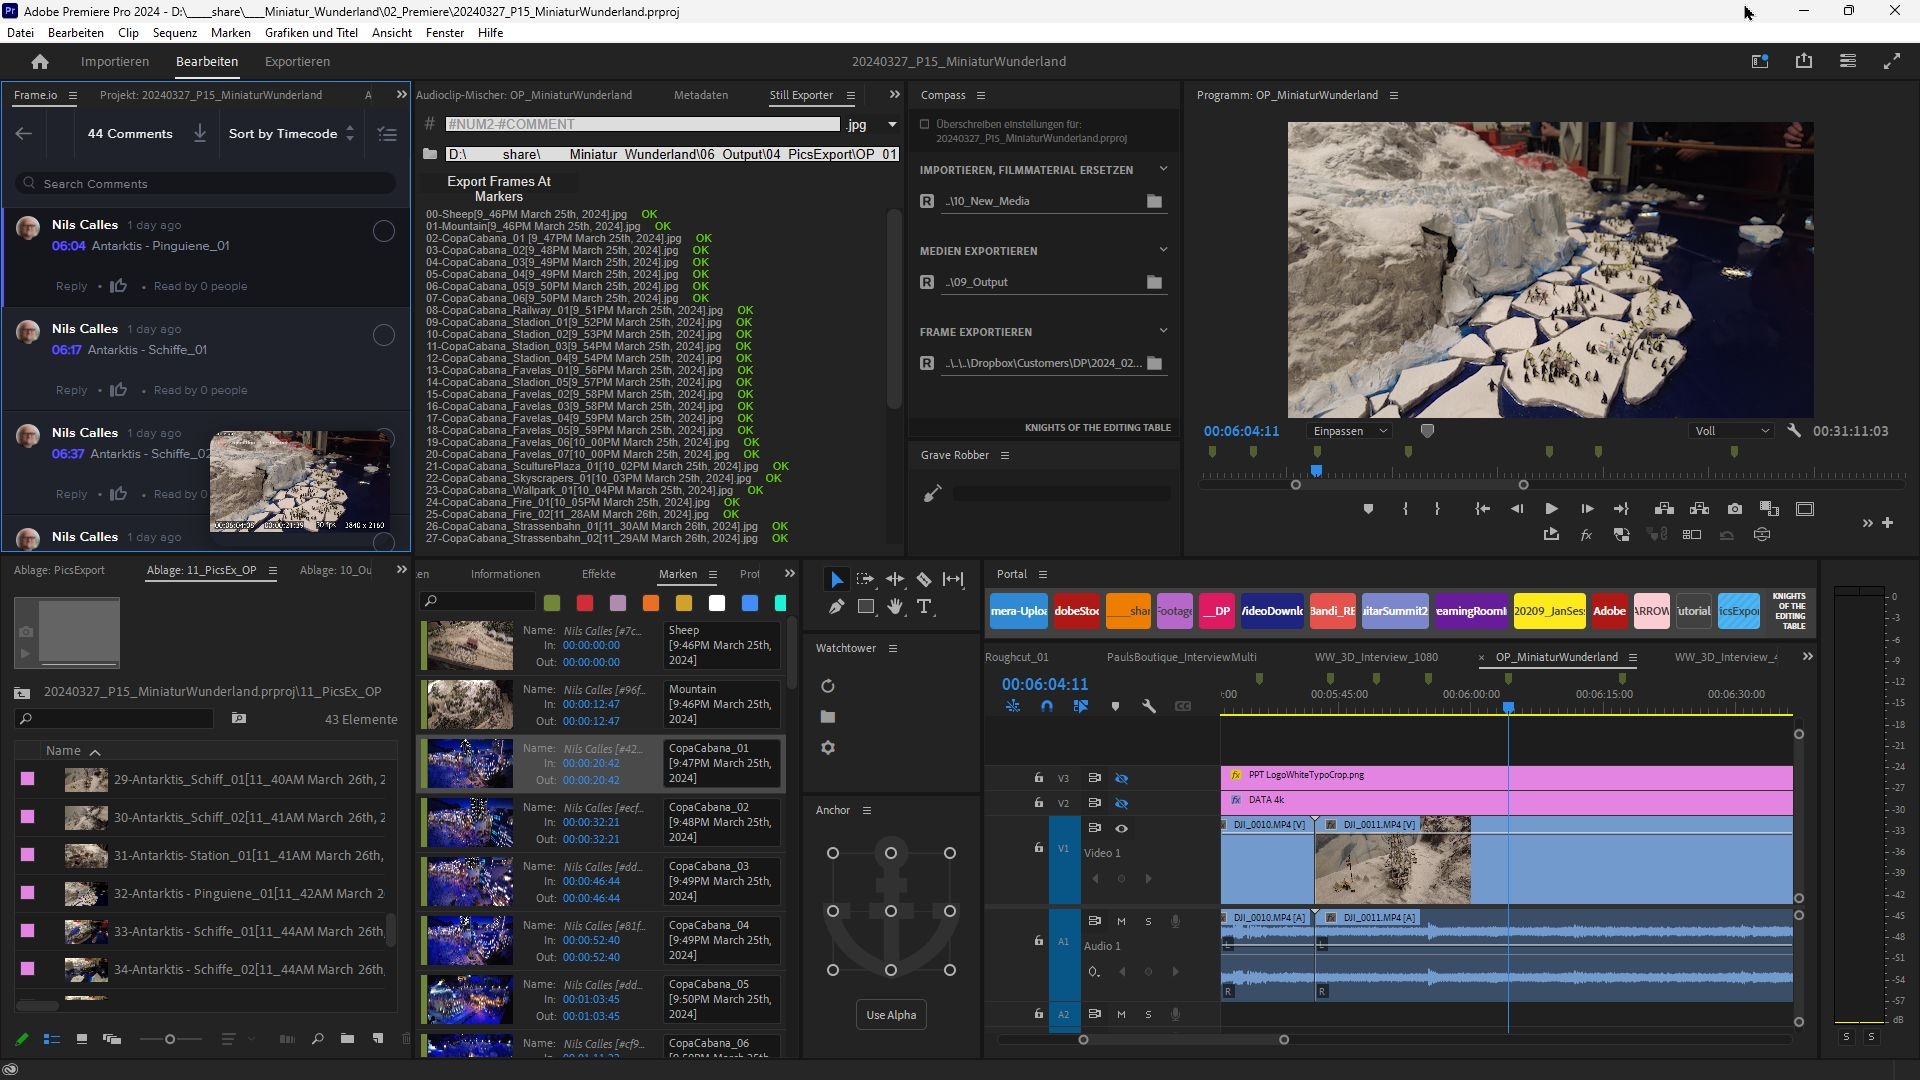
Still Exporter PR (29,99 Dollar)
All too often my customers want stills from the films I produce for their website. Of course you can put the still frame export on a keyboard shortcut, but the save dialogue alone takes a lot of time. Wouldn’t it be practical if you could simply export a frame automatically at each marker, where you can also specify the storage location and the name? I contacted Michael Möhl from Mamoworld with this idea, who actually liked it so much that he realised it. You select a sequence. If you have also uploaded the sequence to frame.io, the customer can select images for export using comment tags. These can then be imported into the Premiere sequence. When naming the files, which is opened by clicking on the #, there are lots of options. You can integrate numbering, timecode, name and comment. This also helps with finding and indexing the images. The names are then displayed in a preview. The images are exported as shown in the programme monitor. This also includes effects and overlays. This means that they can also be exported with watermarks, subtitles or timecode burn-in without any problems. PNG, TIF (also with alpha channel), JPG and DPX are available as export formats. The export size depends on the image size of the sequence. A similar function is also available in Excalibur. However, there are no naming options here. The images are automatically numbered and labelled with the sequence name and timecode. In this example, the annotated markers were imported from frame.io and then the frames were exported using the Mamoworld Still Exporter. As you can set the exact type of naming there, the comments are included in the file names. Unfortunately, frame.io always includes the date in the comments. However, this could have been deleted manually from the marker lists before the export in order to have only the remarks. If the export had been made with Excalibur, the file names would contain the sequence name and the time code, which in this case looked like this: OP_MiniaturWunderland_00-06-17-11.jpg