Table of Contents Show
Source: Blackmagic Pocket Cinema Camera 4K
Or in short, the BMPCC 4K, is the first camera by BM to get the option of shooting ProRes RAW (PRR in short) by installing the 9.8 Public Beta firmware. Not a big risk, since you can always go back if that beta is not performing as expected. Filmmaker Christoph Janetzko from Berlin has kindly sent us a few samples to compare, shot at maximum quality in BRAW Q0 and ProRes RAW HQ (PRR for short) under identical conditions. We wanted to have a closer look at resolution and noise, since BRAW is based on partial debayer and ProRes RAW might retain some more information.
Shooting conditions and metadata
Both were shot at full DCI 4K from the sensor in 25 fps, which generated around 1.150 mbps in PRR, but only around 878 in BRAW. This is for identical scenes, in this case the focus chart, but these codecs are quite adaptive to image detail. For resolution, both were shot with a Minolta 50mm/1.4, stopped down to f5.6. It’s vintage, but still a damned sharp lens.
The clips show more metadata in both formats than the iPhone 17 in our recent test, like shutter speed (or angle), of course no focus data from a manual lens. What is missing in PRR, even from electronic lenses, is gyroscope data. In BRAW, these work with manual lenses too, if you remember to set the focal length in the camera.

Resolution and noise
Some users claim that BRAW is pre-filtering the image to improve compression, which might lead to loss of detail. From our test chart, we could neither prove that, nor a tendency towards aliasing with the unfiltered PRR footage. From the start, they look a tiny bit different, even if both decoded as BMD Film generation 5 (which can’t even be changed for the PRR clip). After some minor corrections of contrast and luminance, they look virtually the same, even as a 2x center crop. There’s also no aliasing with the unfiltered PRR shot. Can you tell the difference? There was no correction of colors applied.


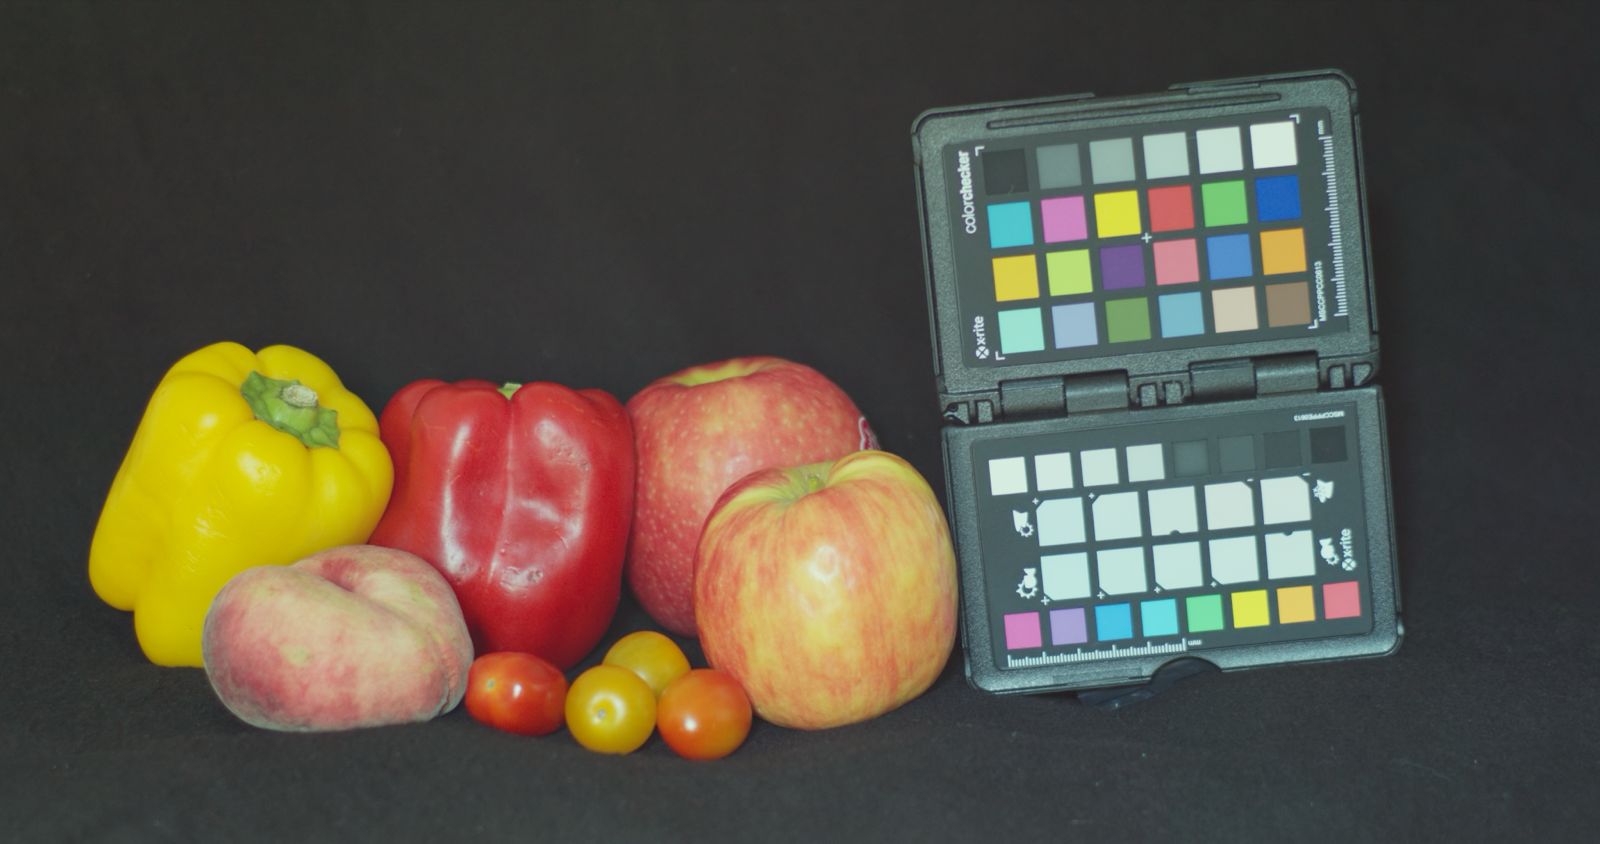
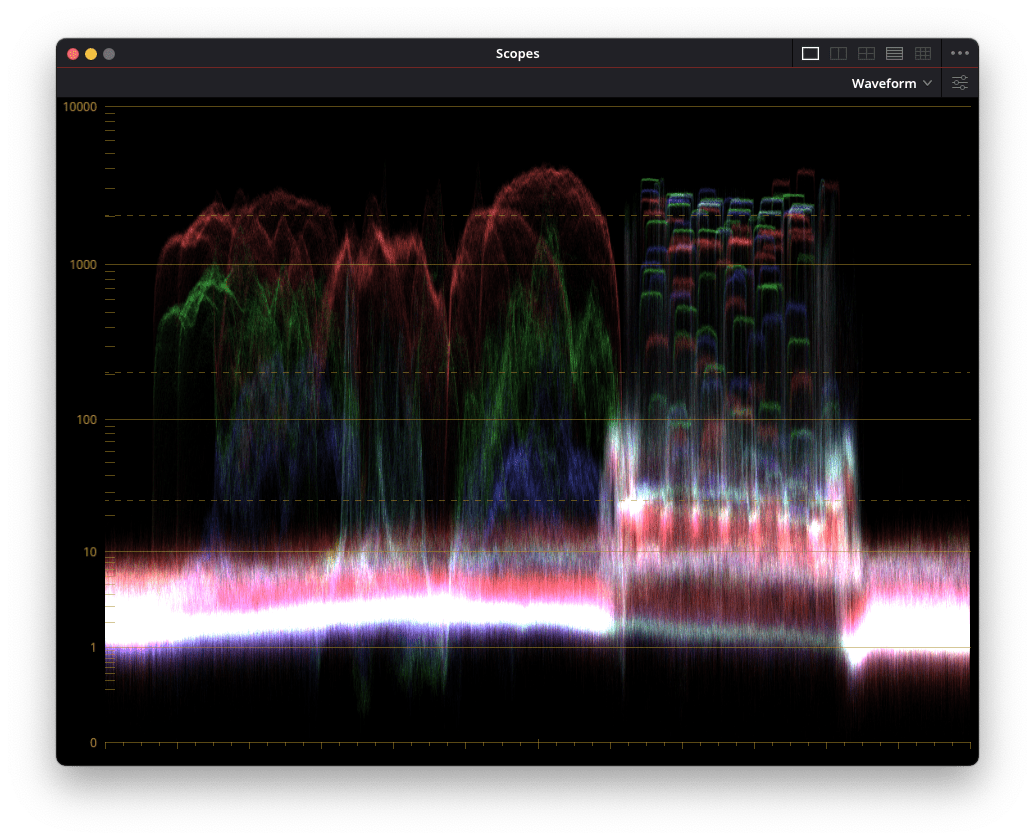
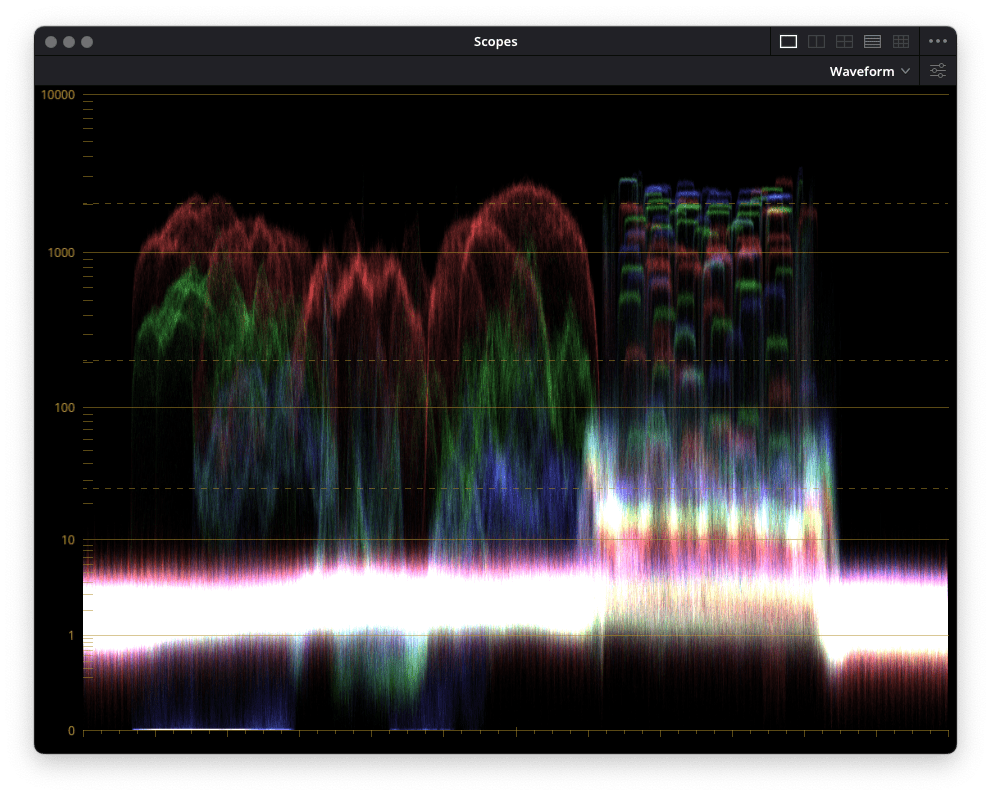
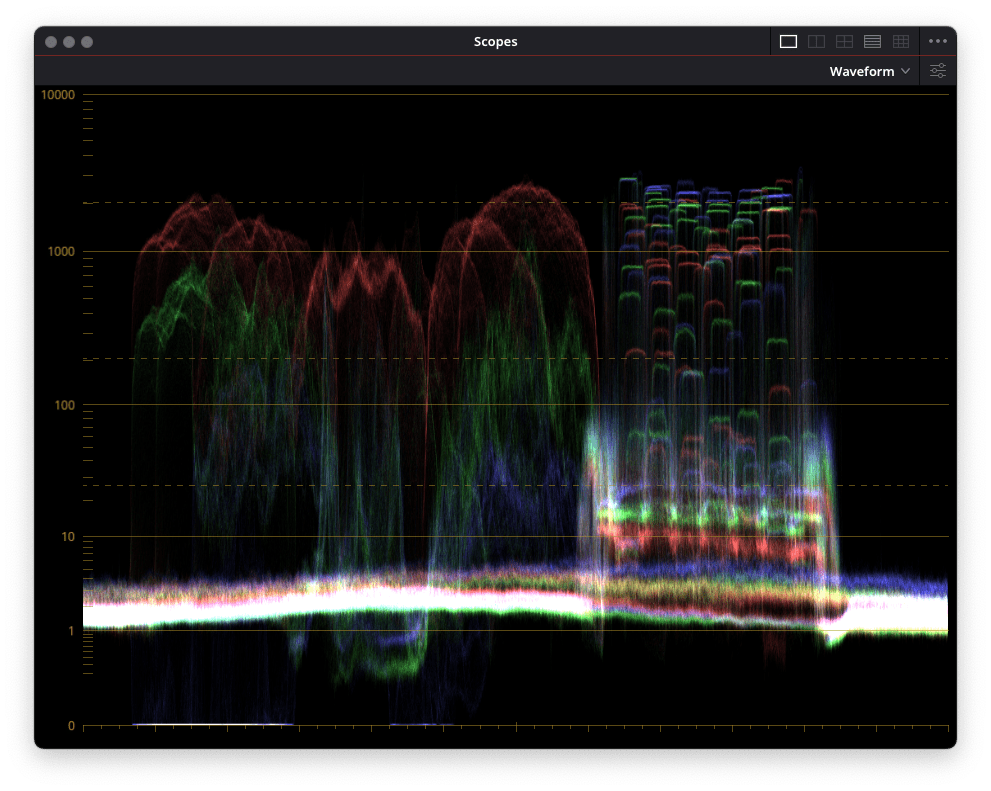
For the noise test, we underexposed considerably, but of course identically. This camera has been around for a long time, and it’s not really a low-light monster. We raised the ISO from the recorded value of 400 to 1.000, which is the maximum for BRAW. ISO can be raised to 25.600 for PRR, but that would be a ridiculous level for these shots. Instead, we had BRAW raised by another stop with the Exposure slider, and raised PRR to a similar level in the waveform. BRAW is offering 5 stops here, while PRR has just one.

What’s missing for PRR shots in the RAW tab: the tint slider, white balance presets, and the Highlight Recovery option. A correction for the tint axis in particular would be desirable, our camera would have needed about +10 for either clip, but that can easily be corrected elsewhere in DR. If your clips were recorded externally with a Ninja V, some cameras and their color space plus gamma are identified, but adjustments are also very limited.


These shots confirm some mild pre-filtering in BRAW, resulting in a much smaller noise floor. So, at the cost of around 30% higher data rates, maybe there’s a tad more detail from PRR in the shadows. Sensors with more photocells may expose more of a difference, but I’d say this is still a matter of taste, not only storage space. Some may appreciate the mild softness of BRAW. With some noise filtering applied (more on that below), PRR can look cleaner than unprocessed BRAW. This also proves that the pre-filtering in BRAW is quite restrained. Of course, you can also filter BRAW if needed, but that needs extra time.

Denoising compared
Looking at those extreme night shots in part one and noticing that new ML Denoise feature in Apple’s Compressor, we decided to compare with Neatvideo 6 (NV 6 for short) and with the internal noise reduction in DaVinci Resolve (DR for short). Of course, next to image quality, speed is crucial, since none of the best denoisers is realtime. It has been a while that we evaluated Neatvideo 5, which has always been our “go to” solution for noisy footage. We have prepared 5 second clips at an ISO of 8.000 in ‘small’ HD (1.280 x 720) to compare, which you can download from a Google Drive. The first, without any NR, is just below. These are 1:1 center crops from the main camera of the iPhone 17, as seen in our last article. Please download the following ones and play as a loop to judge the quality.
No Noise Reduction – the orignal
Straight outta Resolve
Here Comes Compressor
With Neatvideo
NV 6 has been improved a lot on Apple silicon, we measured a speed advantage of 75-80% over version 5 under optimal conditions: rendering from the internal SSD to a Thunderbolt NVMe drive. The CPU cores get to full load, the GPUs nearly as much, while rendering at close to 8 fps in DCI 4K. You can hardly squeeze more out of a Mac mini M4 Pro. Memory usage for even larger frames has also been improved. Image quality was impressive, as usual, even if you’d not really want to use footage as dark as our sample without having documented Mafiosi fighting in the shadows (and gotten away with it). Or without grading it as a night shot, as we did.

Apple’s ML Denoise, which works only with iPhone footage and is only available in Compressor 4.11 up to now, did a pretty good job. It needed about twice as long as NV 6, rendering with the GPUs only, while using the full open gate resolution, so you could get some vertical wiggle room out of it. On a serious Mac Studio with 60 GPU cores it should fly, but Neatvideo might get close to realtime on that. We found the results quite impressive, but only the setting Low is preserving enough texture on the street, for example. Medium and High look too plasticky, and there are no other adjustments. But if you use an iPhone 17 anyway, it’s not too expensive at 50,- US$ for a license without time limit. You’ll have to live with watch folders and batch processing, instead of integration with DR, though.
DR’s internal NR features can get pretty close in quality to NV 6 with careful fine-tuning, as explained in this tutorial by Darren Mostyn. But NV 6 offers better tools for very precise adaptation to your footage. It is highly adjustable and integrates with DR, while Compressor only co-operates with Final Cut Pro (of course). And then, DR is more than two times slower, using only the GPU cores, at similar settings (better or high in either software). Image quality might be even better with AI UltraNR, but that is unbearably slow if you don’t own a high-end Nvidia GPU. Finally, if there is too much noise in your sources, the software solutions don’t turn PRR noise into pretty grain, it gets blotchy in the darkest areas, just like from other cameras. Better add some convincing grain, if needed, but watch your final compression.
Conclusion
Footage in ProRes RAW out of a BMPCC 4K demonstrates the quality and malleability of the format in DaVinci Resolve, even if a few parameters are still missing. But there is not much of a reason to switch, since the same footage in BRAW is just as good, if not better in the shadows, and you save space with it.
Footage from the iPhone 17 at low light is impressive for such a tiny sensor, and it cleans up pretty well with a good denoiser if needed. It should not stand out in a negative way when used in a major production. But be aware that this is still quite new, so expect bugs or missing features, like those reported in forums for most of the camera apps currently recording the new codec.
P.S. The first chart on top is from ProRes RAW.


