Table of Contents Show
DaVinci Resolve (DR for short) had the Magic Mask function on board for quite a while, and some voiced their disappointment when it didn’t conjure up what greenscreen keying does. Well, Blackmagic Design (BM for short) never claimed it does, by concept it was rather aiming at secondary colour grading. While its capabilities are quite impressive, Magic Mask has some problems with backgrounds that are too close in colour and contrast to the foreground, or subjects with motion blur. And then, it needs very capable hardware and there are still quite a few reports of limited reliability of Magic Mask 2 in DR, caching in particular. While version 20.3.2 should have some improvements in that area, we wouldn’t bet the house (or the company) on it yet.
FXFactory to the rescue
So, good old greenscreen has not yet been obsoleted by AI, at least if you don’t shoot the whole scene in a virtual studio anyway. The authors, Rob Mackintosh and Gabriele de Simone, have obviously thought about facilitating boring tasks by blending in some AI with ‘classic’ greenscreening. They are the masterminds behind the Hawaiki Keyer (HK for short, even if not from China), which is supported and distributed by FXFactory. Version 5 of that keyer adds tracking by a neural engine, including face or object recognition. They also ported it to DR, while older versions were only available for Adobe’s video software and Final Cut Pro. Reason enough to have a closer look?
Test scenes
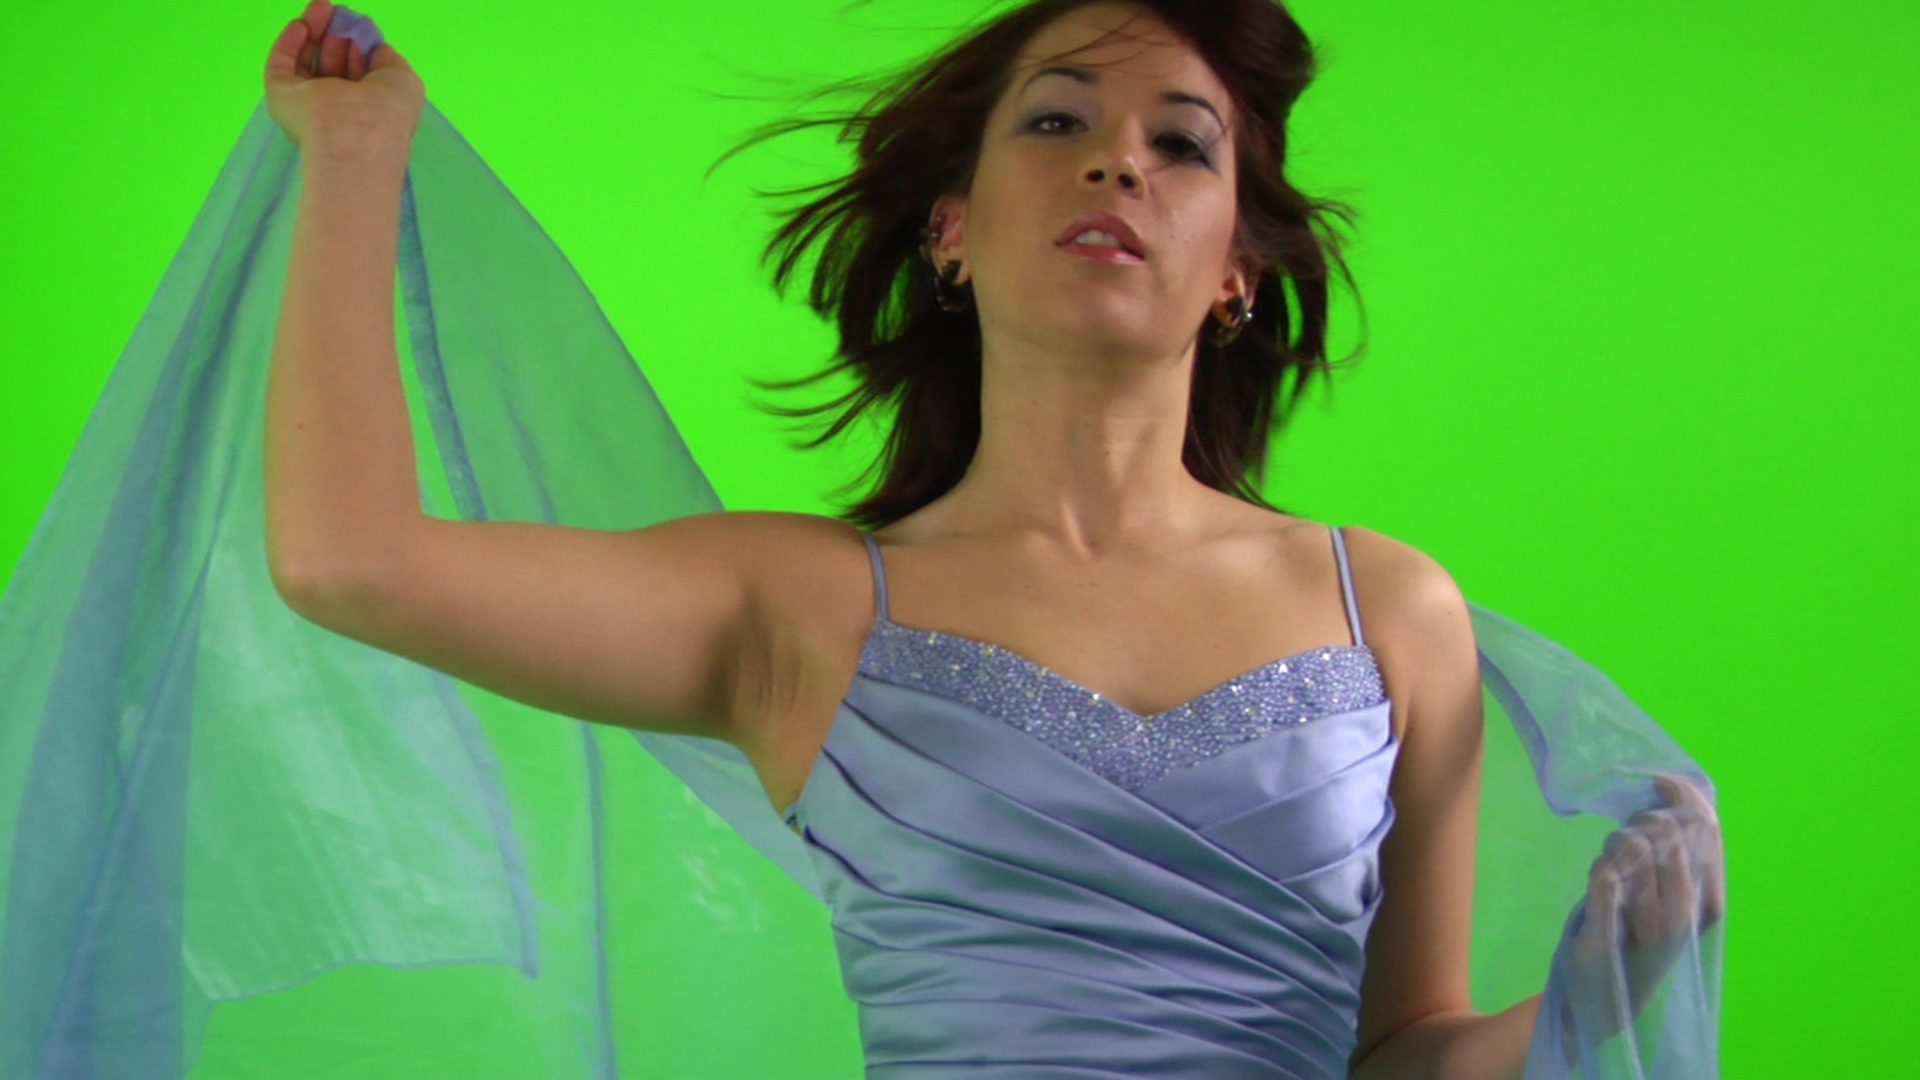
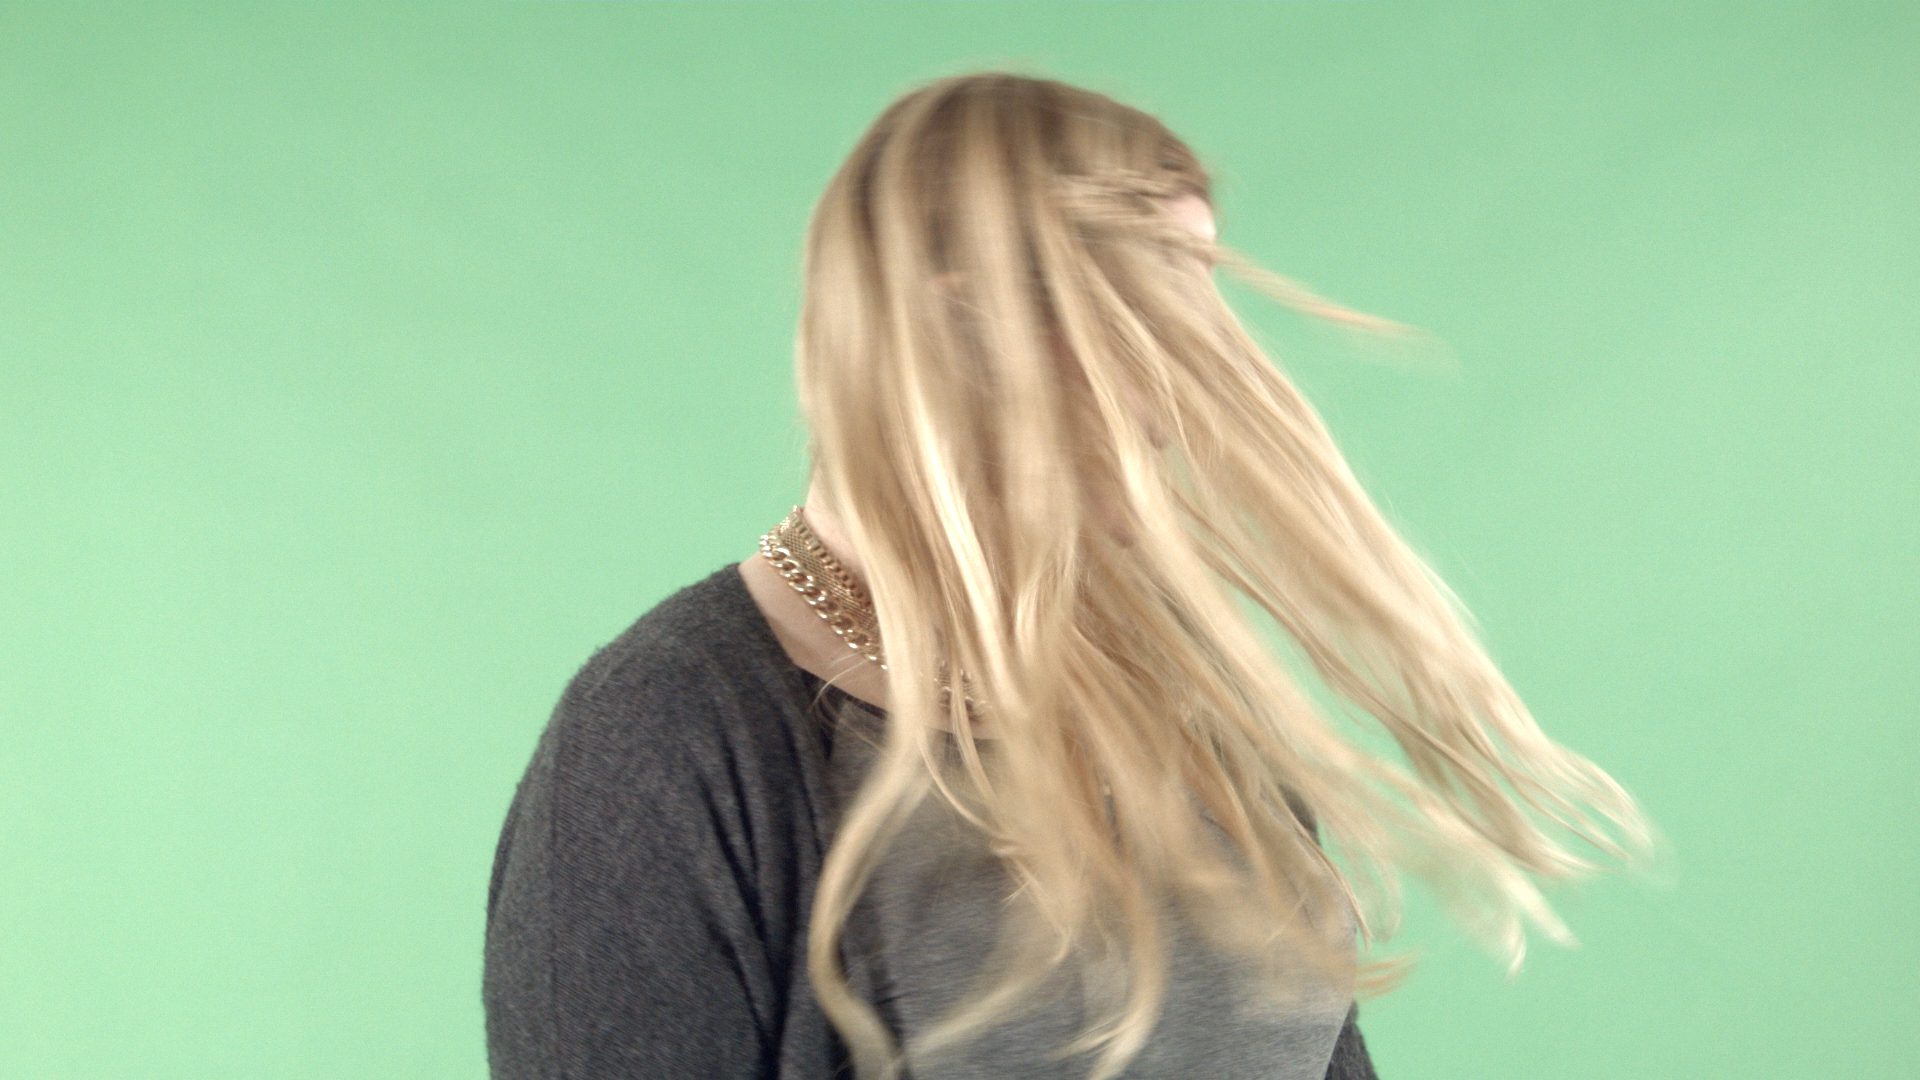
We have tested it with critical footage, like a too well-lit background lacking saturation, and another one with good saturation, but lighting issues. The latter one was even in ‘small’ HD out of a DVCPro camera (from Hollywood Camera Works). Of course, a perfectly lit greenscreen in 12K from a modern digital camera would hardly stress any of the keyers included by BM, like the 3D Keyer in DR Studio, or Cryptomatte and Delta Keyer in Fusion. HK rather aims at those fighting with not so perfect shots.
Tracking instead of boring
After watching the older tutorial you may be wondering about the shape of the window coming up for the secondary keyer, which is now rectangular. You can round it off if needed with its “Roundness” slider. This is now in its own menu under “Shape”, where you also define the tracking area. The secondary key is controlled by this adjustable shape, and this is where tracking comes into play. You can have it follow the initial content like any good tracker.
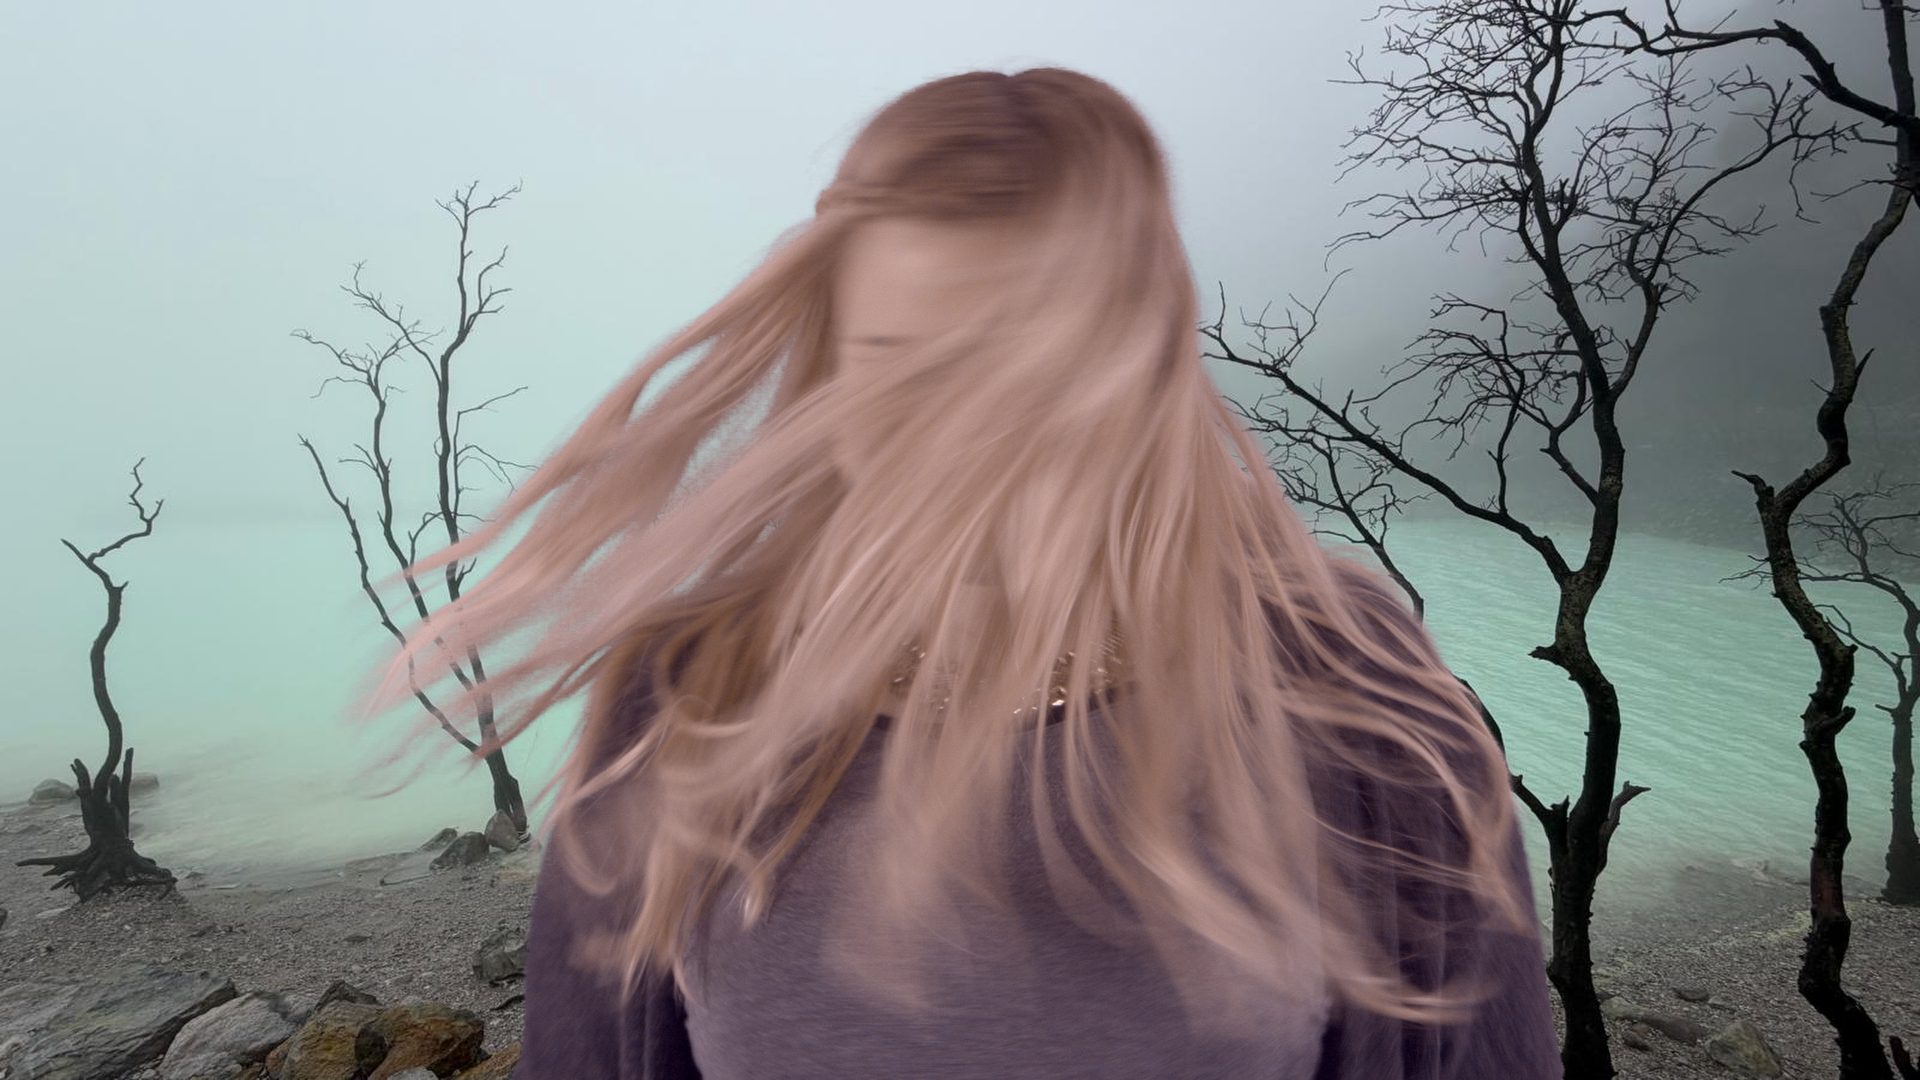
Or you can activate “AI Track” and let it follow faces or objects, even multiple targets up to six. In our tests it was tracking very reliably, only some of the wildly shaken strains of blonde hair with high motion blur in one example were overshooting and needed minor adjustment. Such tracking capabilities are not only taking a lot of manual work out of garbage matting for scenes with a moving camera, but allow you to apply the secondary key to critical areas, like hair. A detailed tutorial is here.
Two for the price of one
Actually, even four, counting the extras. At first view, most of HK’s functions are set to “Auto” or quite decent presets, but all can be fine-tuned manually, if not to say infinitely. There is even a separate version for bluescreen, in case anybody, not even knowing where the heck that name originated, is confronted with optochemical footage. Now, either version is actually two keyers in one. If you have some experience with chroma keying, you will already know that one single key is often not enough to handle both delicate semi-transparencies and an uneven background at once. HK offers a primary and a secondary key, which both can be enabled and fine-tuned individually, as explained here. Most of the YouTube tutorials for HK were made by Simon Ubsdell, a very experienced compositing artist who also produced hundreds of other tutorials.
Clean the edges
“Denoise” is not exactly what you may assume. General denoising, if needed, should rather be done before using your incoming footage with HK. We would suggest NeatVideo for such tasks, which is still king in the lower price range. That function in HK is rather aiming at critical edges from weaker sources, like 4:2:2 subsampling, which can lead to stairstepping or even crawly contours. While it can’t perfectly cure our poor sample from DVCPro, it did a pretty good job improving it, considerably better than simply blurring the edges. There is a whole set of settings to improve the edges under “Edge Tool”, you can find that part of a tutorial by Simon here.

Clean your screen
And then there is “Screen Clean”, explained here. It does a better job than the standard sliders of other keyers at identifying and cleaning areas of uneven lighting of the background and preserving semi-transparent foreground areas at the same time. Screen Clean has a pretty decent “Auto” default, but can be fine-tuned and excluded from an active shape if needed. Of course, there’s “Despill”, which will not only base its effect on the keying color, but can accomodate the background image if you wish.

Grading included
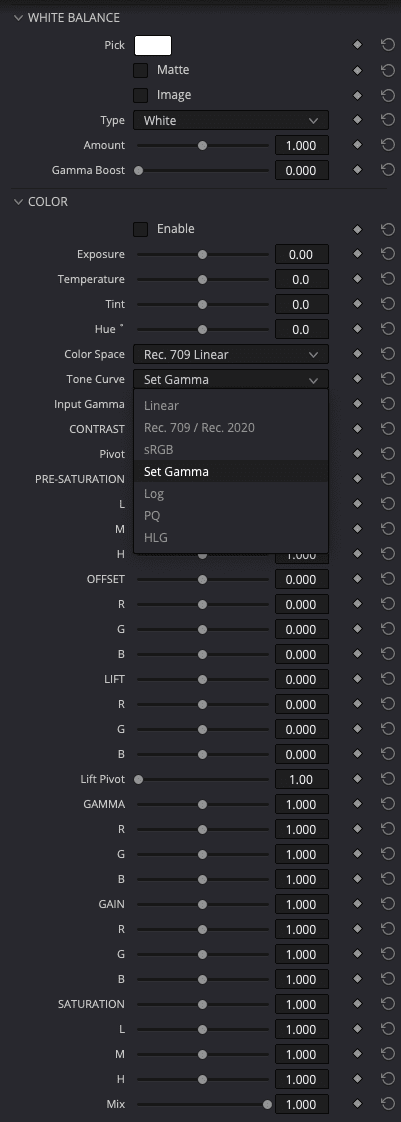
HK even integrates a whole range of color grading functions. This may have you wondering why, if you are working inside one of the best grading applications on the planet. But anybody with some decent compositing experience will know how helpful it can be to do some corrections right in the keyer. Of course, you can also choose appropriate color space and gamma here. Most of these parameters were added in version 5, BTW. Like all the rest, those values can be animated.
If you have never used this keyer before, have a look at the tutorials for HK 4 and 4.5, they contain valuable explanations of the earlier improvements. Not all material is yet adapted to DR, but this tutorial is going over the use of the keyer in DR in general. In particular the use of the background for functions like the “Edge Tools”, e. g. light wrap. These can be a bit tricky in Resolve and will be easier with the help of a simple Fusion composition, clearly explained in that video.
Help is just a mouse-click away for all of the Hawaiki tools, both in the Inspector or the Open FX Overlay. The manual will show up in a separate window, which you can place on a second screen or next to DR on a superwide one, if DR is not set to full-frame.
DR with Fusion not enough?
Now, if seasoned Fusion specialists may claim that they could do most of what HK does with the tools already on board, that may be true to some degree. But that’s not easy for the average users of DR, who will probably see HK’s all-in-one concept as a godsend. They can discover a highly-specialised set of tools coming clearly from practical experience and not found anywhere else. And then, HK works in the free version of DR too, while many of the more advanced tools in DR don’t.
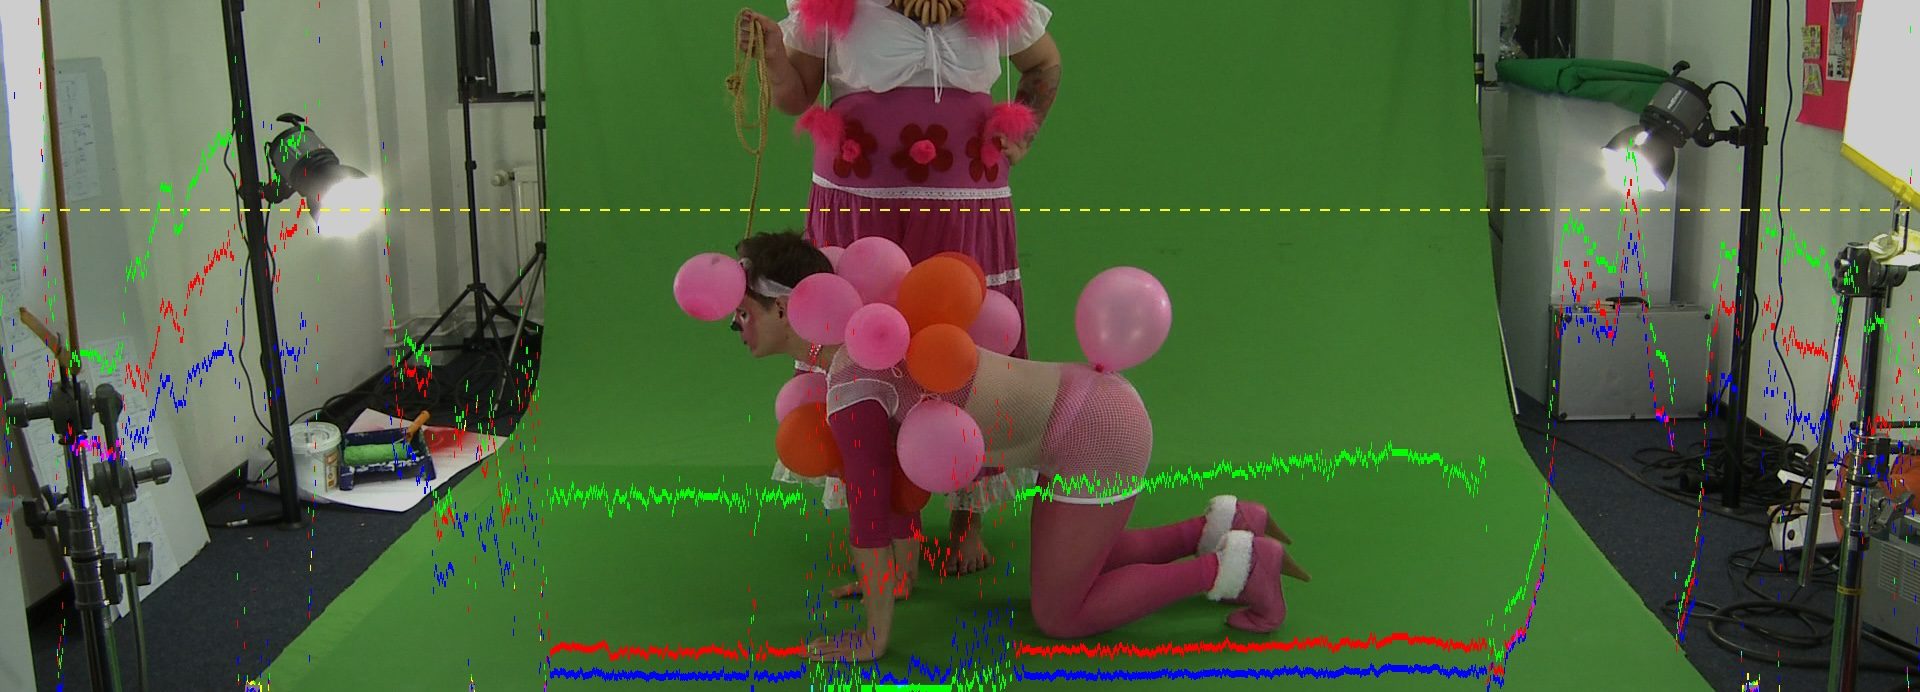
Being fully optimized for Apple silicon, the keyer is very fast, even on a humble Mac mini M4. The intelligent pipeline contributes to this: if you first crop the picture in for garbage matting, the outside areas are not processed any further by the tracker and all the rest to avoid the load. And then, whatever can be done by the neural engine will not put any load on the GPU cores. Finally, on limited hardware in particular it’s considerably more stable than Magic Mask 2.
Commentary
There might be only one minor flaw to disappoint a few of our readers: all FXFactory filters are MacOS only, with no plans to change that any time soon. But for all those using DaVinci Resolve, even the free version, on a modern Apple computer and needing greenscreening regularly, Hawaiki Keyer’s all-in-one approach should be quite appealing. Many of the other offers by FXFactory are worth a look as well.


