


Who has no hands and cares about our health? Our pets, of course. Yes, really. Our intestinal health is the biggest concern of our loved ones (furry flatmates). Following this idea from Serviceplan Health and Life, the TVC was created for the Burda Foundation's current bowel cancer prevention campaign. The task "in a nutshell": How can a dog and a cat engage in a loving dialogue, form words without the appropriate biological prerequisites, express human emotions and still remain animals?
After initially examining possible implementation routes and styles and collecting references (from strange things from the depths of the internet to Disney remakes), the path of real-looking animals, which are likeable thanks to their respective character-driven acting, crystallised: a somewhat grumpy older man's dog lives together with a charming cat, masterfully spoken by Jürgen Prochnow and Katja Burkard, rounded off by Sky Du Mont as the voice-over a...
Hello Stranger!
This article is exclusively for Digital Production Subscribers.
If you are already subscribed, please log in below,
if you aren't subscribed, What are you waiting for?
Subscribers get
exclusive access to many articles like the one you just wanted to read,
can directly contact the authors or the newsroom,
can download many cool things from the archives,
support one of the last independent platforms weithout an "Algorithm"
and are granted exclusive bragging rights for being a better person!
Get an overview on what's available here, and access everything on the site!
If you need another reason,
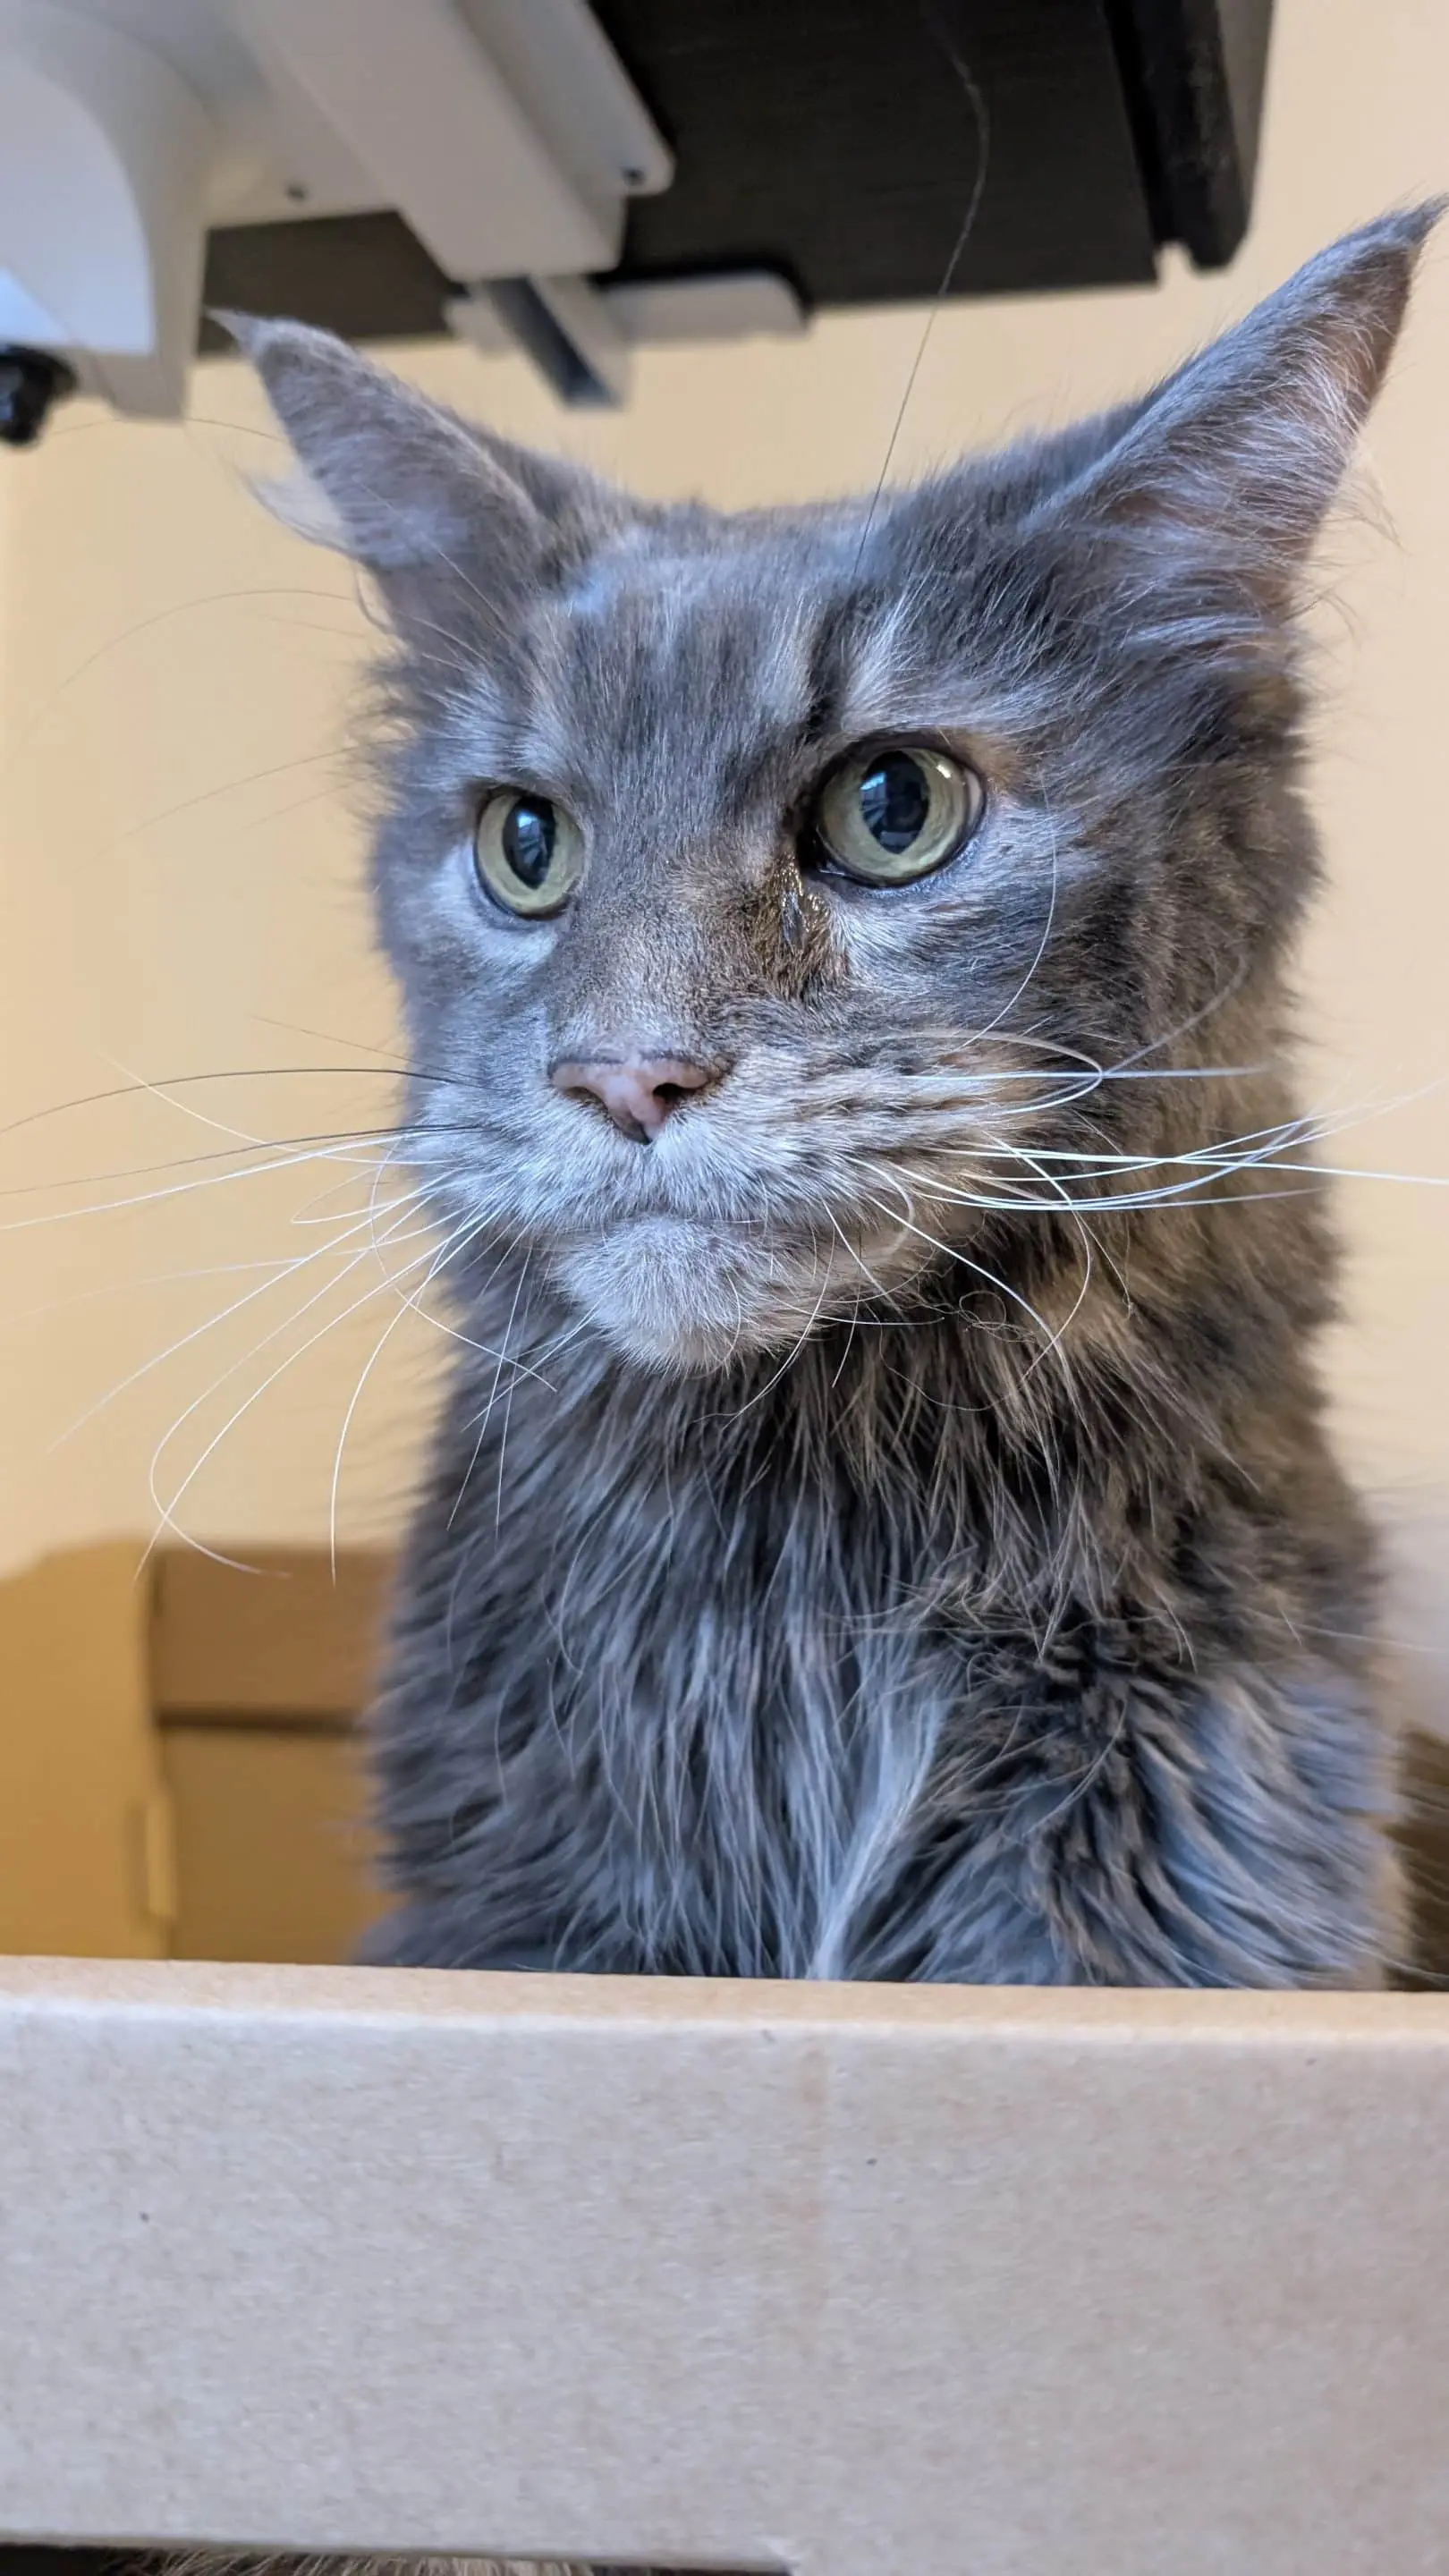
here is a picture of the editorial cat,
which you'll be supporting as well!