


Table of Contents Show
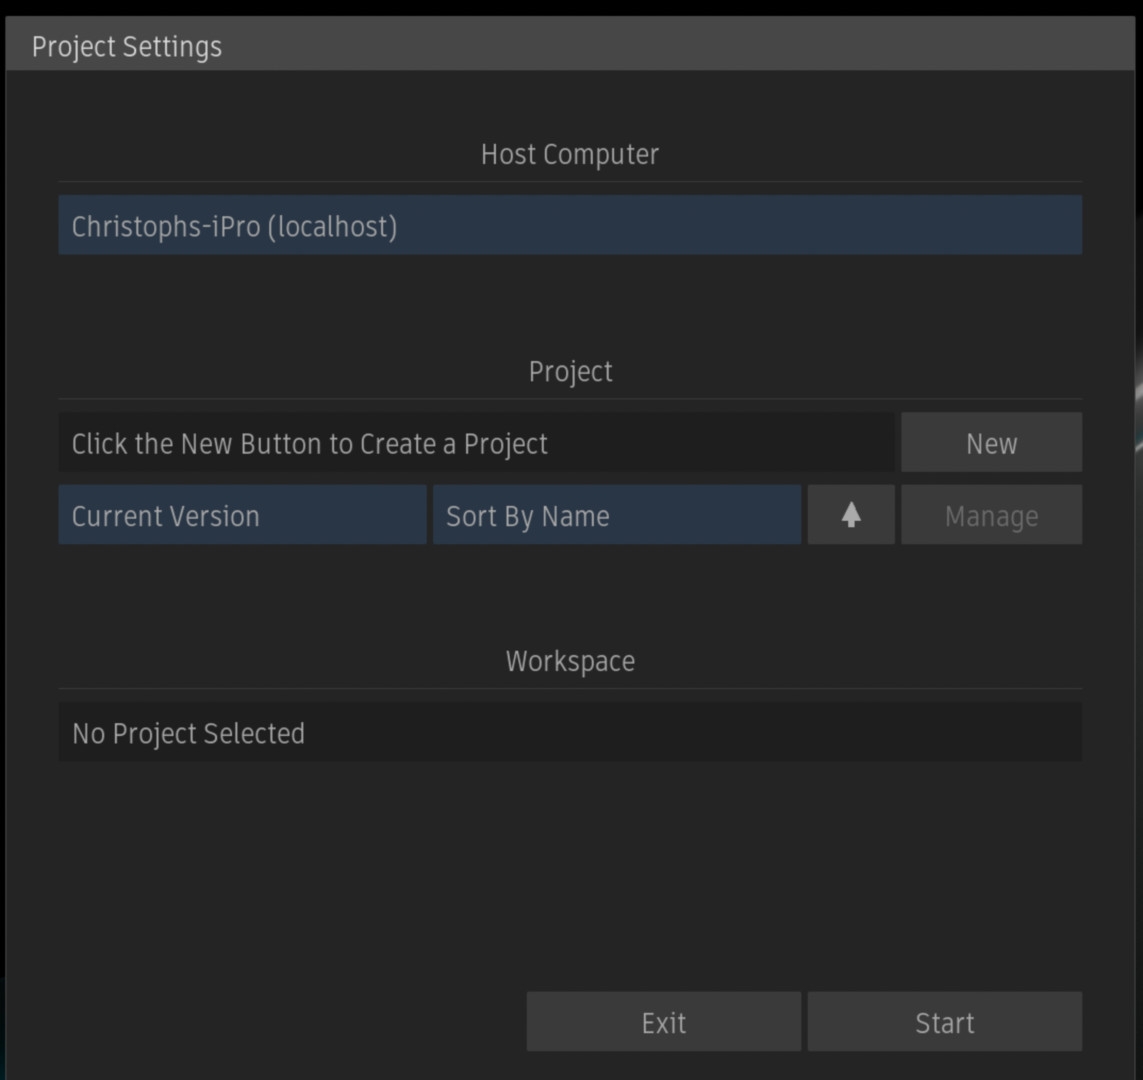
The biggest innovation is probably noticeable as soon as you start the application: There is no longer a dedicated Flame user to select, only the project is still available for selection. All data that was previously attached to the Flame user profile will in future be attached to the log-in of the operating system, i.e. Mac OS or Linux.
Of course, this has the disadvantage that you will have to exit Flame and log in at OS level to change users, but otherwise the advantages outweigh the disadvantages. First of all, Flame adapts its behaviour to the modus operandi of almost every other application. In addition, this change allows some fundamental optimisations under the bonnet. For example, unlike in the past, user log-ins will not have to be recreated with every major update. This means that when Flame 2026 comes onto the market next year, all modifications such as keyboard shortcuts, interface customisations, etc. will continue to work. And here’s the good news for freelancers: The user profile can be exported and imported to another workstation.
Shared presets
Every artist who has ever worked in a facility with more than one Flame knows the problem: sharing set-ups or presets with another workstation was a pain. The background to this was that Flame created or copied its own presets and set-ups for each individual version installed on a workstation. If you wanted to share these with another workstation, copies were created again. This not only made the process cumbersome, but also error-prone.
With Flame 2025, there are now standardised locations for both presets and set-ups, whereby presets can now also be created very easily so that they are then displayed in the corresponding drop-down menus in the Flame GUI. From the glow preset to the most up-to-date aspect ratio for social media, all possible settings can be saved in a central location and distributed from there.
Keyboard shortcuts
While other compositing applications see no need for a keyboard shortcut editor, Flame’s setting options can be described as excessive. However, the abolition of the user log-in also creates new possibilities here and perhaps even offers the opportunity to finally settle a long-standing dispute in the community: Flame or Smoke hotkeys?
The fact that both presets exist at all is due to the fact that Flame and Smoke Advanced were merged twelve years ago in the Anniversary Edition of Flame. However, Flame hotkeys have always worked better in batch, while the Smoke hotkeys worked better on the timeline. Flame 2025 now offers the option of changing the keyboard preset directly when switching between tabs. For example, the Smoke hotkeys can be used on the desktop, but the Flame hotkeys can be used in batch. Each applicable setup can of course still be configured individually.
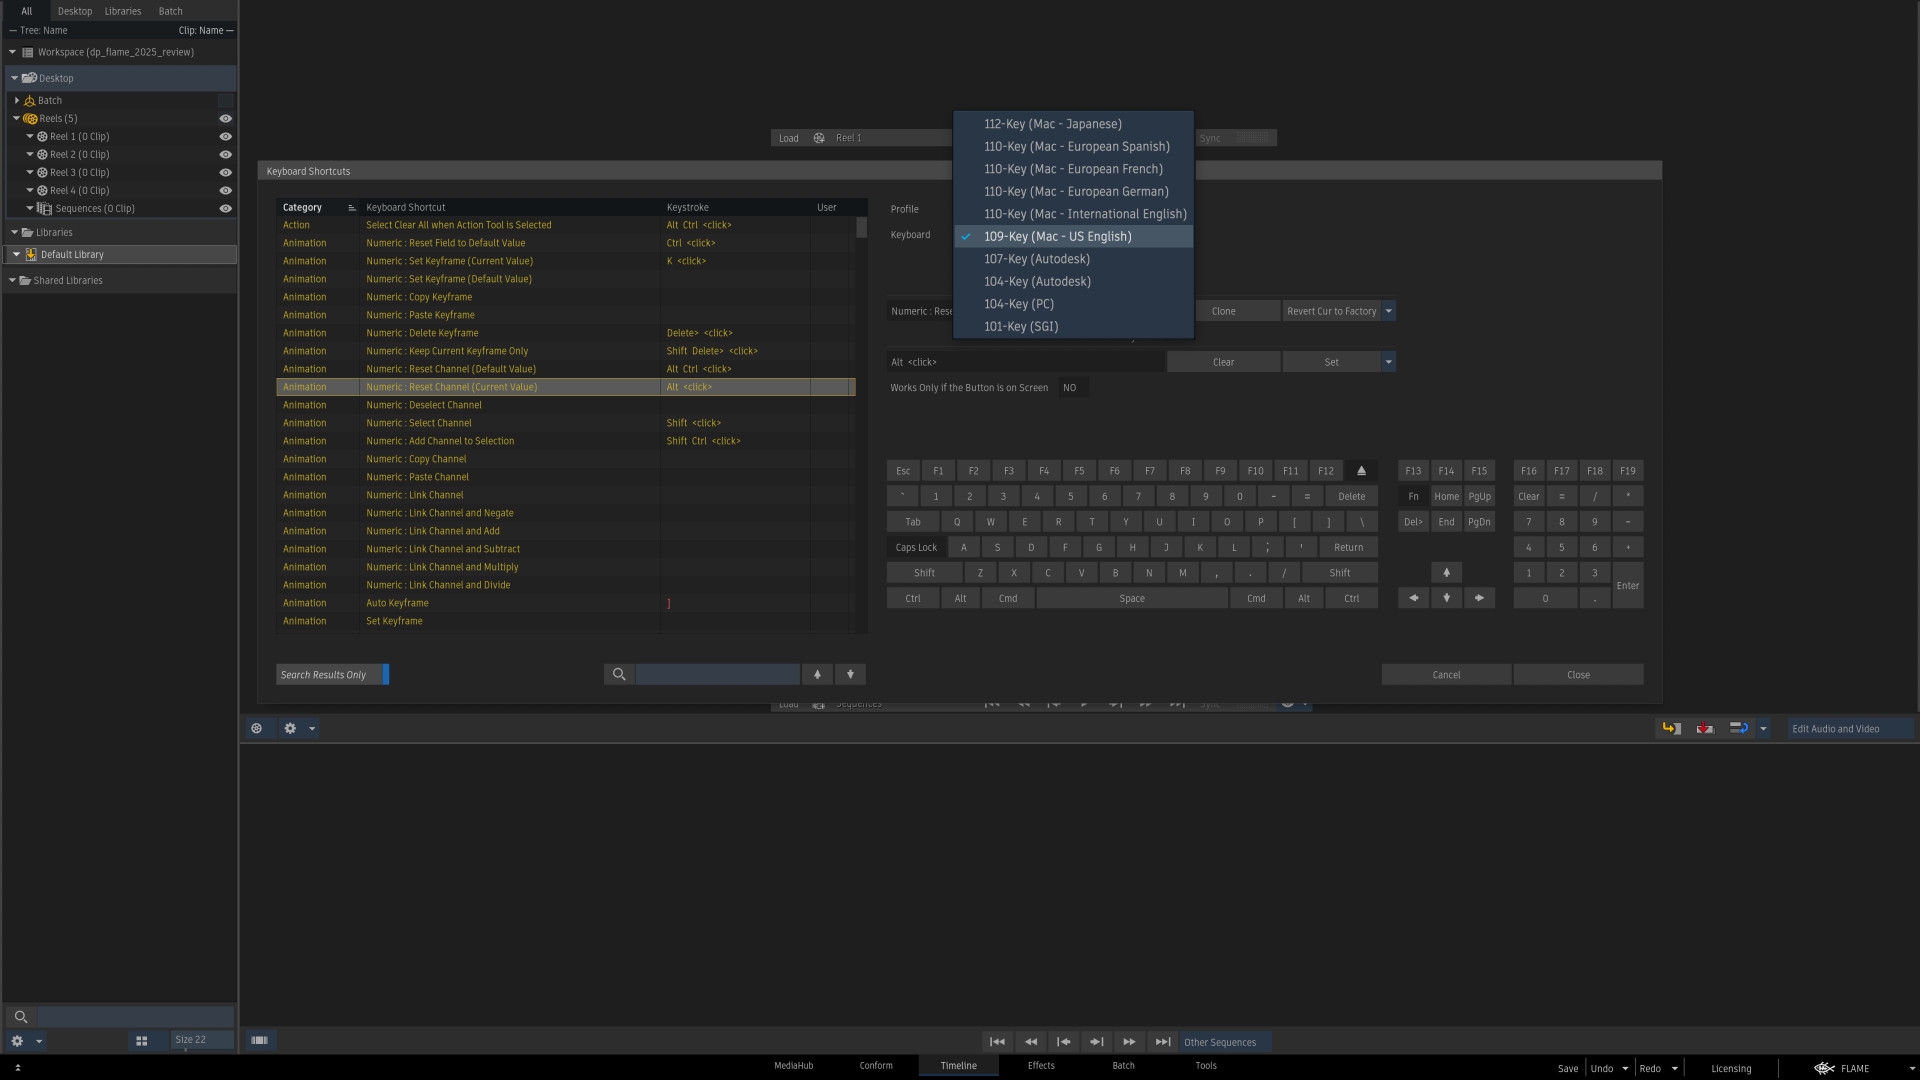
Speaking of configurations. If you want to use your user profile on both Mac OS and Linux, you can create a Mac OS and a Linux version for each shortcut. So any confusion as to whether it is Ctrl-X or Cmd-X can now be resolved manually. And even under Mac OS, the Shortcut Editor now supports Windows keyboards.
Match Grain
Grain management is now an essential part of compositing. Flame has been able to count on “Neat Video” for Denoising since version 2019, as this was the very first OpenFX plug-in for Flame. However, when applying grain at the end of the comp, you previously had two options: Either use the rather outdated regrain node to approach the result channel by channel or subtract the degrain and original plate from each other using the comp node and then add the grain back on at the end. Both methods are done with a queasy gut feeling, because both methods would almost certainly fall on your feet at the QC at the latest. The regrain node usually doesn’t get close enough to the look of the original and the comp method quickly causes halos and artefacts.
Other compositing apps also have this problem – Nuke, for example, needed the now very popular Gizmo “Das Grain” by Fabian Holtz, which has become a quasi-standard in the Nuke world. And it was precisely this tool that Autodesk in Montreal must have taken a closer look at, as the basic workflow is very similar.
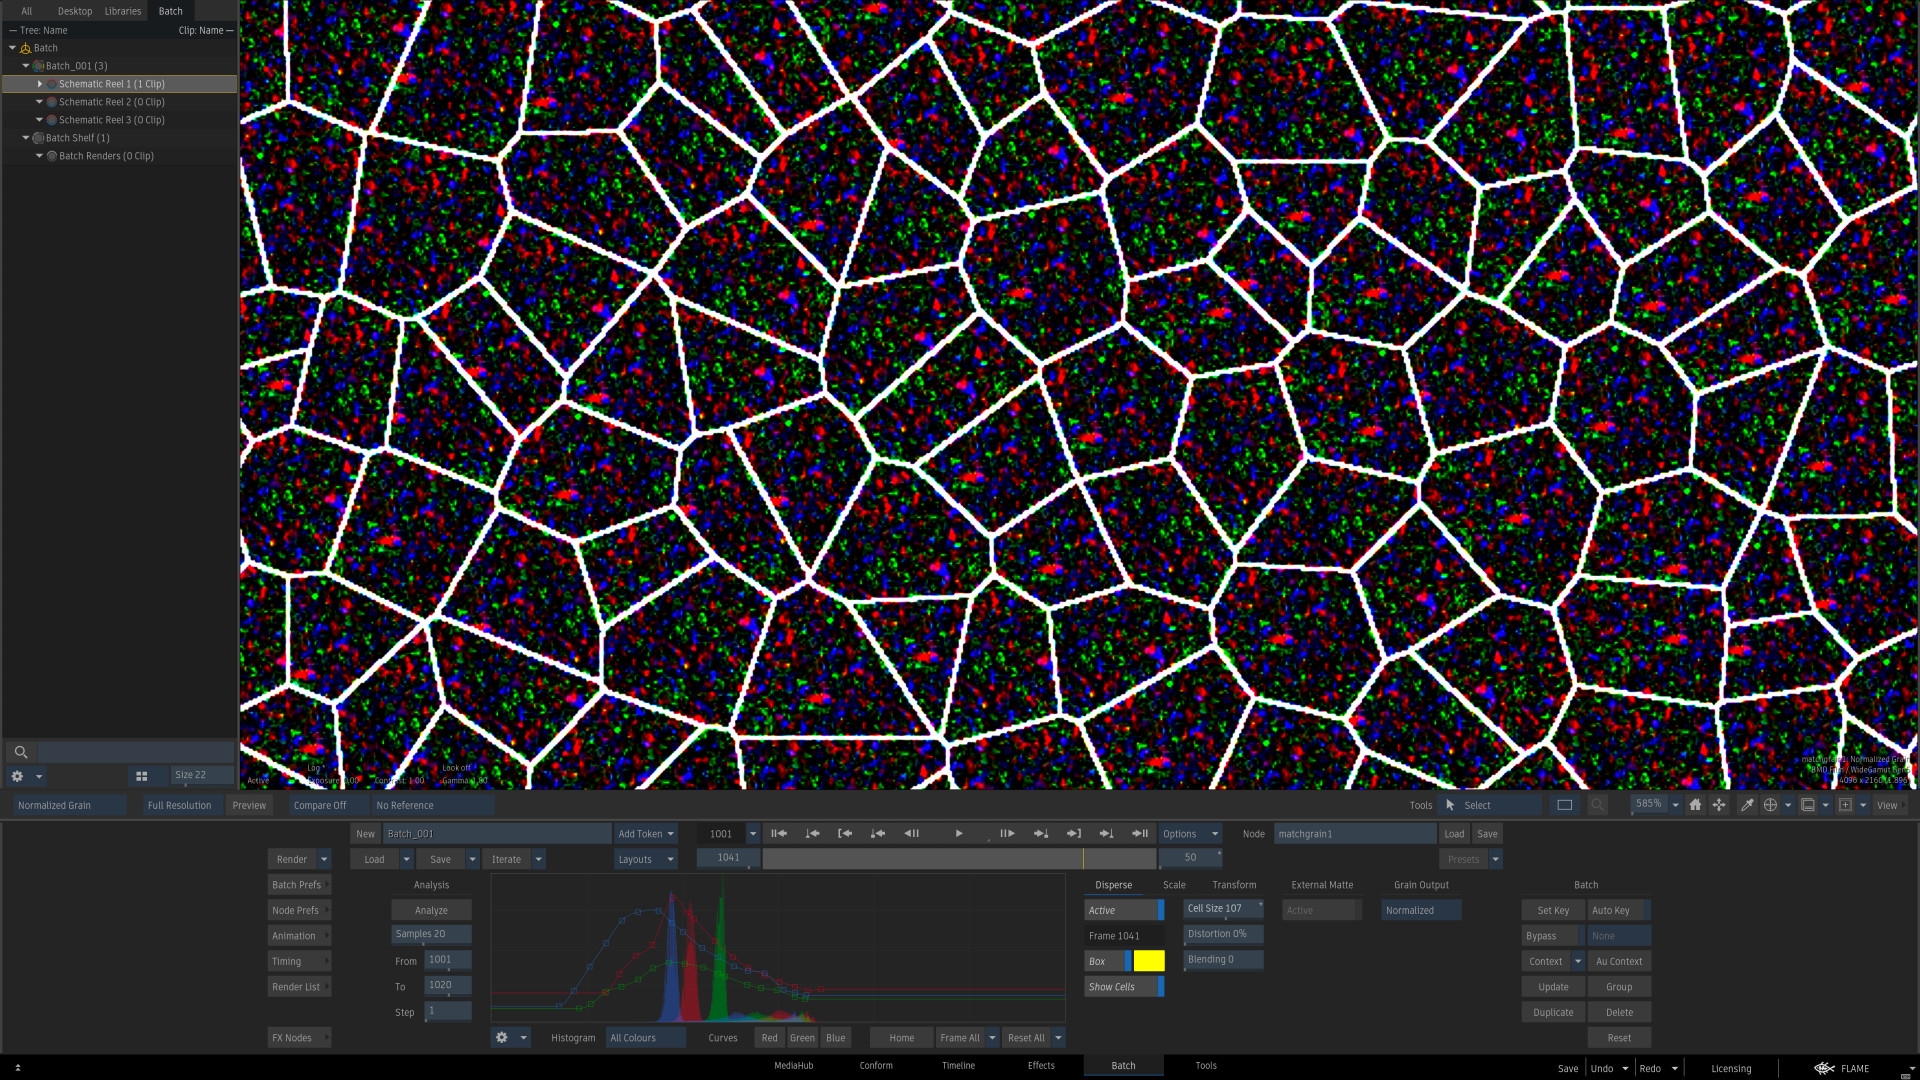
Two inputs, in addition to the comp or element that is to be supplied with grain, are mandatory for Match Grain: the original plate and the denoise version and Match Grain uses these to sample a frame range. This can also be very short if there are no strong light fluctuations in the scene. The analysis runs via the GPU and the process was also completed in a few seconds with the 8K Blackmagic RAW we tested. The only important thing here is that the colour space of the material has been tagged correctly, as the material is linearised under the bonnet to extract the grain without errors.
In this setting, Match Grain delivers a result that is technically cleaner than the classic subtraction/addition method. However, artefacts can still occur in high-contrast areas of the plate. The tool provides the Disperse function for this purpose, which provides a small, yellow sample box. This is moved to a low-detail area of the plate and the sampled pattern is repeated. To create an organic grain here, Match Grain uses a Voronoi pattern, just like the grain in Nuke. It is also possible to edit the grain with various post-processes after sampling. The grain can also be scaled, repositioned and blurred – individually for each colour channel.
The node has two outputs – one for the result, i.e. the element fed into the input or comp with applied grain – and then another output just for the grain alone. This can then be fed into another Match Grain node as an external grain – useful if you have to delive the same shot in different formats or if you want to distribute a good sampled grain over several shots. Last but not least, Match Grain has a matte input if you want to limit the retraining to a specific area.
Lens distortion and STMap
When Flame received a new match mover three years ago, the feedback from the community was really positive. What was immediately noticeable, however, was that the lens distortion workflow was still the same and really no longer up to date. This has now been rectified with Flame 2025. The tool has been completely overhauled and leaves hardly anything to be desired. In the unlikely event that a lens grid has actually been shot, it can of course be fed into the tool and analysed. However, it is much more likely that splines will be set manually on straight lines in the footage. This requires precise work in order to ensure the best possible analysis. Lens models can also be imported from 3D Equaliser.
A new STMap node has also been released together with the new Lens Distortion Node. This is also very welcome, as the Lens Distortion Node has two further outputs in addition to a de- or distorted footage, which provide an STMap and an inverse STMap. The idea here is that the analysis only takes place once in the script and all de- and distortions in the script then take place via the STMap node to save time. The Lens Distortion Node has all the important functions, from automatic adjustment of the plate size to options for manually influencing the calculated distortion and an extensive selection of filters to minimise the loss of quality during de- and distortion.
And what else?
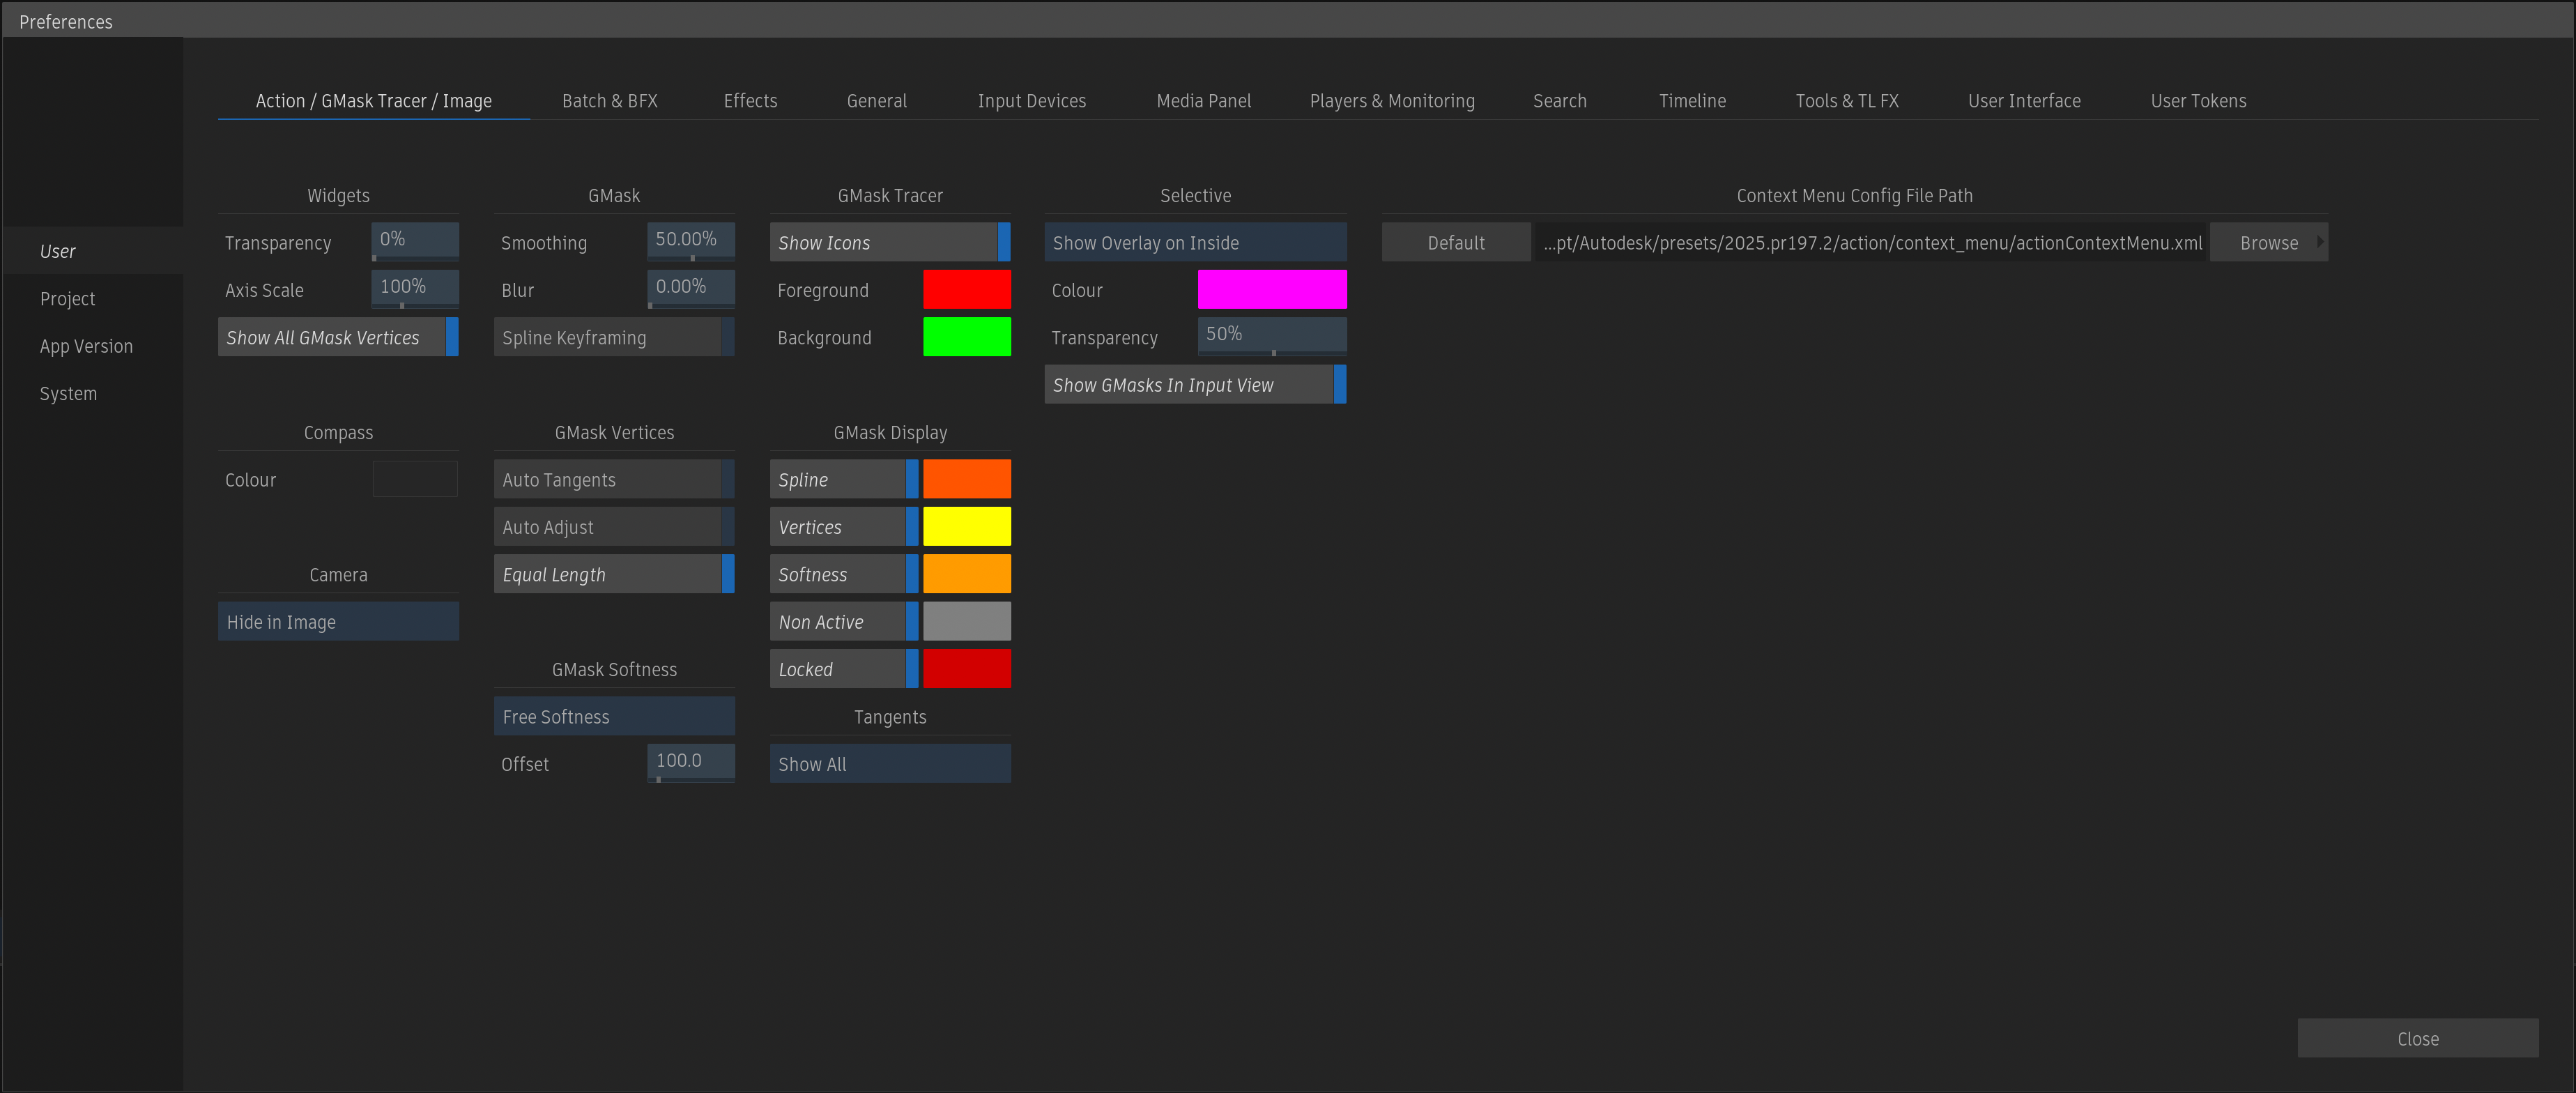
Connected Conform has some nice little details: it is now possible to create connections between different versions not only depending on reel or desktop, but also simply by selection. This means that you no longer have to subordinate your own (dis)organisation on the desktop to the various deliverables, but can adjust them at any time during the finishing process according to your own logic. The source timeline can now be made invisible if desired and the order of the clips in the sequence reel is now synchronised with the order of the sequences in the timeline. Most keying nodes now have a matte and an inverse matte output as standard. In addition, “legacy” nodes, i.e. tools for which there is a modern replacement and which are no longer being actively developed, are no longer displayed in the node bin by default – but this can be switched on again if desired. This makes it easy to get rid of the old GMask (without “Tracer”) or Lens Distort (without “-ion”) and avoid getting lost so quickly. The Clamp Node now has fields for values that can be used to precisely define the clamp. The Colour Corrector now has curves that are easier to modify, as can already be found in Mastergrade or the new Match Grain. Apple RAW is now supported when importing from Flame. The Preferences Panel has now been divided into four areas: User, Project, App Version and System. For example, all adjustments to the GUI can be found under “User” and are also saved with the user account now managed by the operating system, whereas project-relevant data, such as colour management, can be set under “Project”.
Conclusion
After the last releases with native Apple Silicone support, Flame in the Cloud, Vulkan support and the like contained a lot of “under-the-hood” work, Flame 2025 focusses entirely on requests from the Flame community. A revised Lens Distortion was a long-cherished wish and, together with the new Match Grain, removes two thick bottle necks that have nudged towards Nuke on one or two occasions in the past. Admittedly, neither feature has reinvented the wheel, and it is clear that “Das Grain” was the inspiration for Match Grain in particular. For Flame artists, however, the fact that a major gap in the toolset has been closed is likely to be decisive. Shared presets and the elimination of the Flame user will help to integrate Flame more easily into existing pipelines and thus strengthen Flame’s role as a visual hub.