Table of Contents Show
In the last three issues of this article series, we took a detailed look at the basics such as lighting models / BRDFs, took an in-depth look at the material system and textures in Cinema 4D and dealt with shaders and their use. With the area of lighting, we are now looking at the core of convincing image design.
While modern lighting in the field of computer graphics is based on the pioneering work of Gouraud, Phong and Blinn(see Part 1 of this series of articles), the visual aspect goes far back into our cultural history. Painters of the 16th and 17th centuries such as Caravaggio, Rembrandt and Rubens were pioneers of a new kind of realism at the time, which centred on staging and creating with light. Caravaggio’s chiaroscuro (chiaroscuro) painting technique in particular guides the viewer’s eye and perception, enhancing and dramatising space (picture 01) – and creating a lighting effect that we are still familiar with today from photography and film.
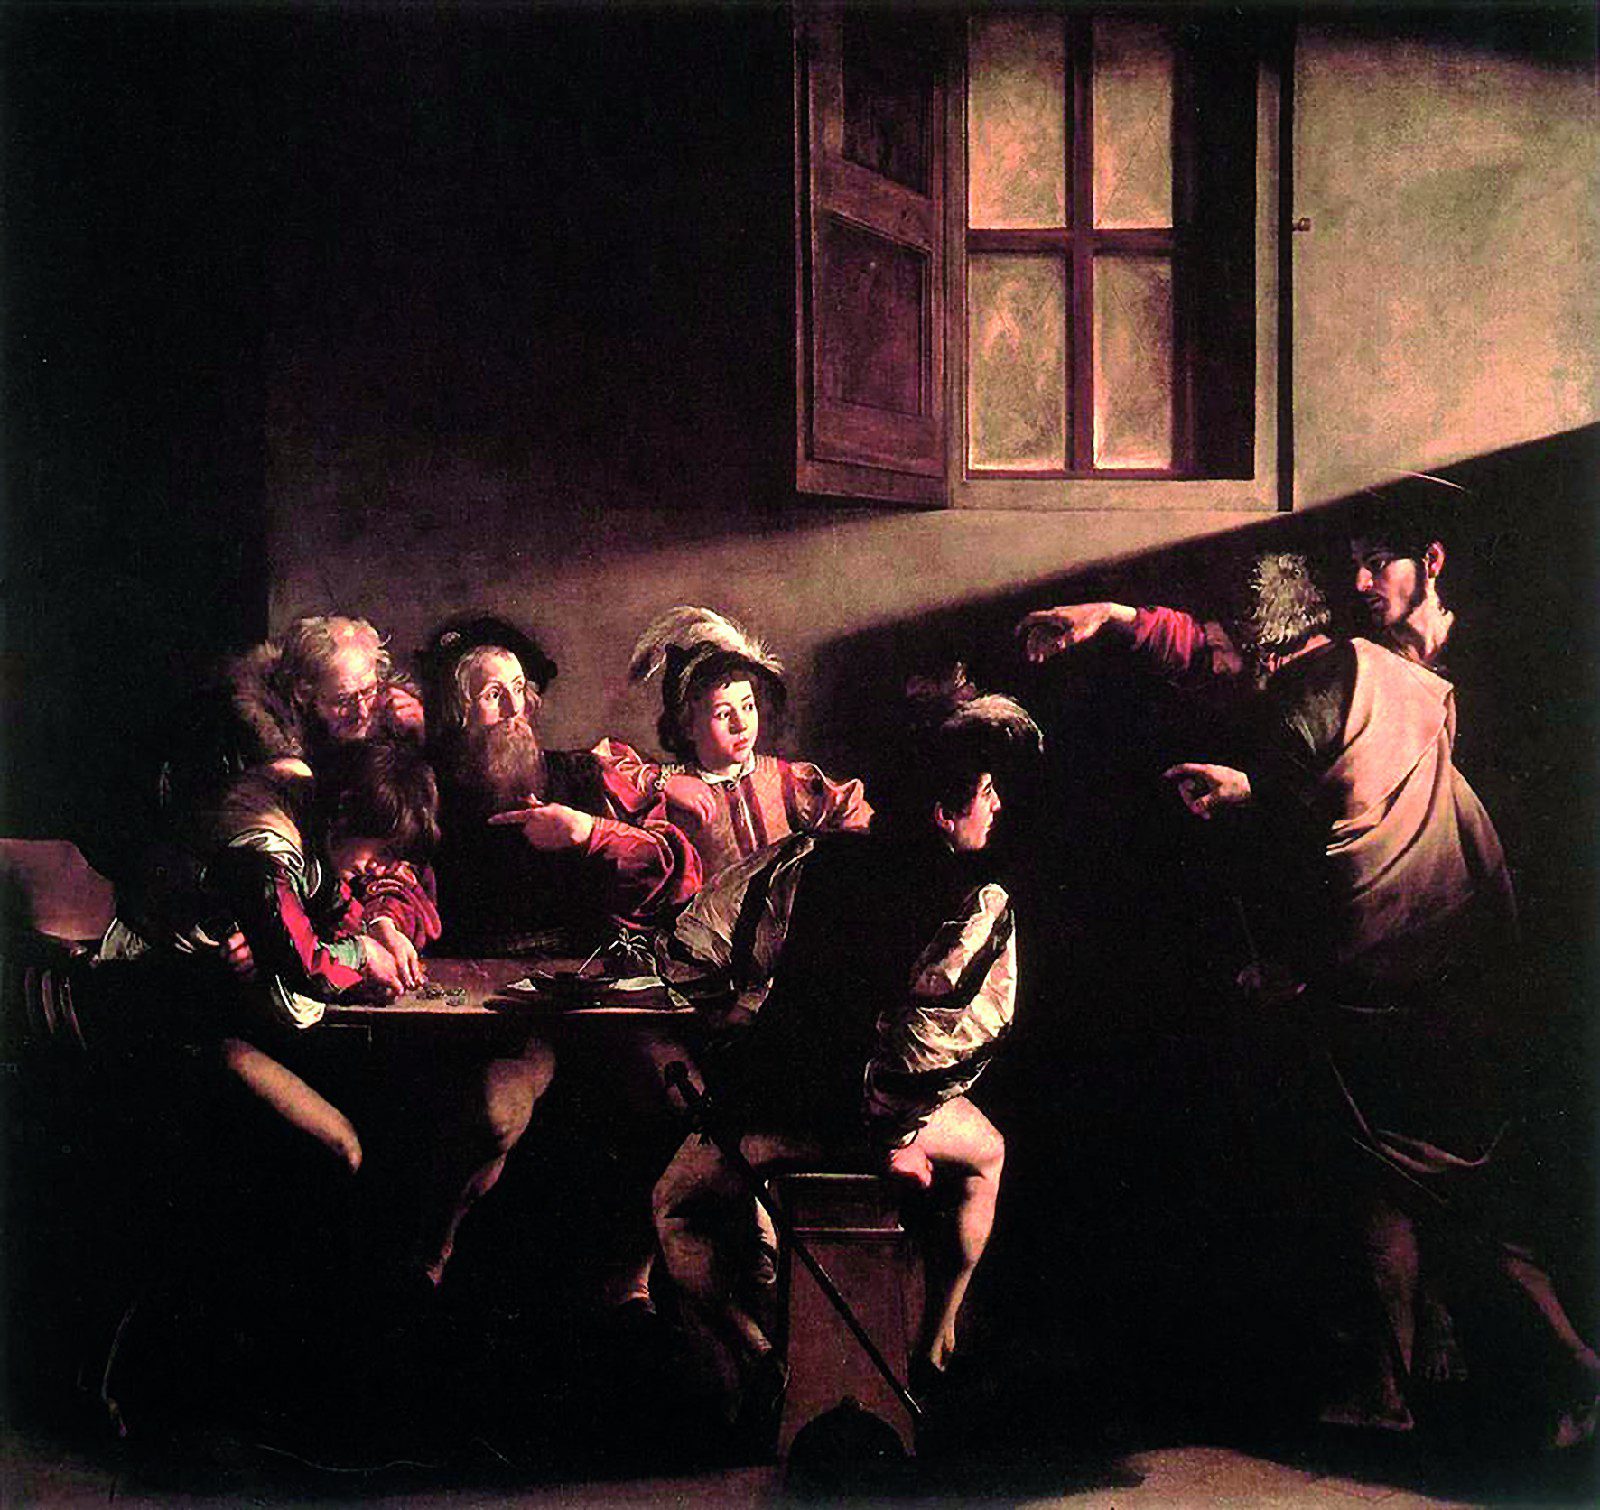
In contrast to photographers, filmmakers and painters, as 3D artists we have the opportunity to use light creatively beyond its physical behaviour. Plasticity and spatiality can be enhanced without having to slavishly follow physical correctness, in line with the principle: “It doesn’t have to be physically correct, it just has to look physically correct.” So it’s worth taking a look at the old masters.
Before we, as budding lighting artists, dive into the practical basics of lighting in Cinema 4D, we should internalise the following basic considerations:
– Lighting is essential. It increases plasticity and spatiality, guides the eye and can create a completely different mood of the scene and reception for the viewer in just a few simple steps. A
3D scene stands and falls with the lighting.
– Lighting is visual design. A look at the forums of the Cinema 4D community reveals that beginners in the field of lighting in particular are of the opinion that lighting basically only consists of the last few technical clicks in the dialogue field of the render engine or a lighting kit. However, this shifts lighting from the essential to the technically trivial. Beginners in particular should first work on training their own skills, regardless of the render engine or additional programmes.
– Lighting requires a targeted approach. The practical process of lighting should always be preceded by the motivation of the image statement and not the other way round: “What kind of mood do I want to create with the image/animation?” It takes an analytical eye and a certain amount of practice to understand real lighting situations and reconstruct them with Cinema 4D – and it’s fun.
Light sources in Cinema 4D
Let us now turn to the practical handling of light sources in Cinema 4D. Light sources are created using the light bulb button in the main menu. When you click on the light source in the Object Manager, you will find numerous parameters that are summarised in tabs in the Attribute Manager for the sake of clarity. The basic functions of these apply more or less to all light source types (Fig. 02).
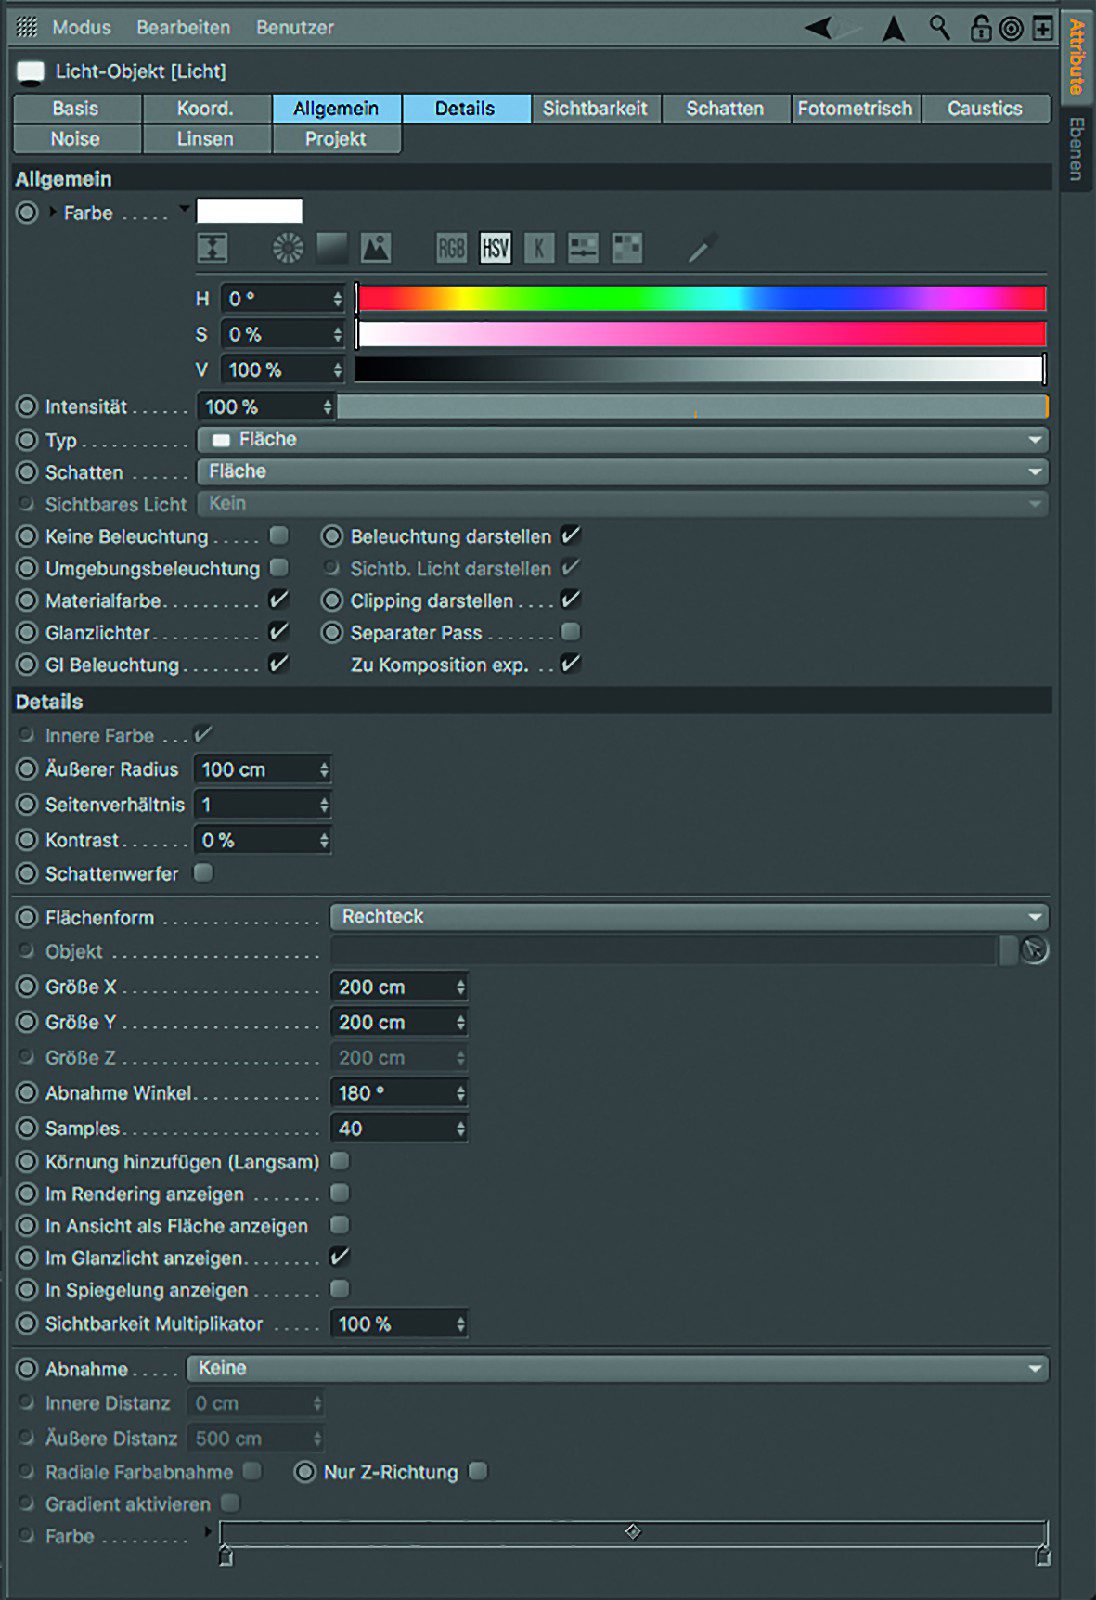
Manager of a light source with active tabs “General” and “Details” – here for a surface light source with surface shadows
General tab
In the “General” tab, the colour selector for the colour of the light and the scale for the brightness of the light below it are the first things you notice. The type of light source can be selected in the “Type” drop-down menu. With the exception of “Surface”, all light source types emit light with specific geometric properties from an infinitely small point. For a better understanding, the available light source types are listed according to their degree of relationship to each other as follows:
- Point light source: concentric light emission
- Spot: conical light emission
- Angular spot: pyramid-shaped light emission
- Parallel spot: parallel cylindrical light emission
- Corner parallel spot: parallel cuboid light emission
- Parallel: parallel light emission
- Infinity: parallel light emission from a light source that is infinitely far away. Only the angle of the light source counts, the position is ignored.
- In the case of parallel light sources, the light emission is parallel, but the point-shaped specular light still reveals the point nature of the light source.
- Area: Area lights are the only type of light source with an actual spatial extension (e.g. in the form of a disc, rectangle, hemisphere, etc.). The generation of diffuse and specular lighting is sample-based. Larger scaled area lights are therefore less bright and more diffuse (soft light) than smaller scaled area lights (harder light) with the same intensity. (Image 03)

- IES: Native point light source that simulates the radiation behaviour of manufacturer-specific lighting systems using IES data sets freely available on the Internet. IES lights can be turned into spatially extended area lights using the “Photometric size” parameter in the “Photometric” tab.
The “Shadow” drop-down menu offers a choice of three types of shadow generation:
- Shadow Maps (soft): Generate a shadow texture from the perspective of the light source with a resolution, blur radius and approximation bias to be selected. Shadow maps can be cached in the render presets under “Options”.
- Raytraced (hard): Creates an infinitely hard shadow from the perspective of the light source. Hard shadows are by far the oldest and most unrealistic type of shadow. In combination with complex geometry, the rendering time also increases.
- Surface: The only type of shadow that becomes sharper the closer you get to the object casting the shadow and more diffuse the further away you get (Fig. 03). Useful in combination with area lights or infinite light (the latter to simulate sunlight).
The next drop-down menu – “Visible light” – creates an effect that corresponds to the effect of foggy air in the illuminated area of a light source. It offers three modes:
- Visible light: Objects in visible light do not cast a volumetric shadow, even if this is activated in the “Shadow” drop-down menu (Fig. 04).
- Volumetric: Objects in visible light cast volumetric shadows if this is activated in the drop-down menu of the same name.
- Inverse volumetric: Visible light is only generated in the volumetric shadow of objects.
Now let’s take a look at the 10 checkboxes below in the “General” tab:
- No lighting: Deactivates the lighting effect.
- Ambient lighting: Light is analysed independently of the angle and therefore has a very flat and low-modulation effect.
- Material colour: Only the diffuse component of the light is evaluated.
- Highlights: Only the specular component of the light is analysed.
- GI illumination: The light source is analysed for global illumination.
- Display illumination: Handles and
Lines of light parameters are displayed in the editor. - Display clipping: The handles and lines of clipping parameters are displayed in the editor.
- Separate pass: Creates a separate multi-pass for the light source.
- Export to compositing: Individual light sources can be exported directly to compositing software such as Adobe After Effects.
Details tab
This tab contains settings for the inner colour, the inner/outer angle and the aspect ratio of spot light sources (if active) as well as the contrast effect of the light source. The “Shadow caster” checkbox can also be used to define whether the lighting effect is switched off and only an active shadow is cast instead.
Special case area lights: If an area light source is selected, further detailed settings can be found here, such as a drop-down menu for the shape of the area light (e.g. rectangle, disc, sphere, etc.).
Due to the freely definable shape and size, area lights are ideal for mimicking light sources with a physically plausible size, i.e. softboxes, screens or (limited to the Z direction) indirect light as so-called bounce light. With the “hemisphere” surface shape and really large dimensions, a surface light is suitable for simulating diffuse daylight, a so-called sky dome.
Surface lights can also be optionally displayed in gloss, reflection or rendering. The “Decrease angle” also defines the angle range in which the light source radiates, and the “Samples” parameter helps to subdivide any blotchy gloss effects on objects more homogeneously.
Decrease: This area simulates a scattering of the light in the room or a decrease in light intensity with increasing distance from the origin. Various functions can be selected, of which the following four have the most practical relevance:
– None: The light source shines just as brightly at a greater distance as at the origin.
– Inverse square: The brightness decreases inversely square. This corresponds to the behaviour of natural light, but also quickly results in overexposed areas near the source. Ideal, for example, for the realistic depiction of light gradients on walls (image 05).

- Linear: Achieves a linearly balanced reduction curve. Clear and easy to use function.
- Clipping: Clipping describes the brightness emission from and up to a defined distance from the origin of the light source. For example, a spot light source with shadow casting – although positioned in front of a wall – can only begin to have an effect behind the wall.
Other parameters such as “Radial colour reduction” and “Activate gradient” ensure a colouring of the light effect along the radius, while “Z direction only” is an important function for restricting the light direction of area lights to their Z axis only.
Visibility tab
The “Visibility” tab references the “Visibility” drop-down menu in the “General” tab and offers numerous parameters for defining the reduction of visible light with inner or outer distance and along the light source axis or the light source radius. This is done independently of the decrease parameters in the “Details” tab – however, the handles of these parameters in the editor can easily be confused with each other.
“Brightness” controls the visible light parameter of the same name. “Dustiness” adds a black component to the visible light at low brightness values, which creates the impression of an opaque cloud of dust. If the “Volumetric” option is selected in the “Visibility” drop-down menu in the “General” tab, shadows are taken into account. The resolution of this volumetric effect is determined in the “Visibility” tab by the “Sample density” parameter: This must be reduced in order to increase the sample density.
Tip: Due to their sample-based nature, volumetrically visible lights in combination with more complex scenes should always be rendered separately to black and then combined in compositing.
Shadows tab
The “Shadows” tab references the “Shadows” drop-down menu in the “General” tab, which is also available separately here. The parameters “Density” (shadow effect of objects), “Colour” and “Transparency” can remain untouched in the vast majority of cases.
In the case of shadow maps, the “Resolution X/Y” parameters can be used to select the resolution of the maps, while “Sample radius” determines their softness. A sensible choice is, for example, a resolution of 1,000 x 1,000 (pixels) with a sample radius of 6. “Bias (Abs.)” is used to determine the distance of the shadow from the object causing it. Values that are too large appear unrealistic, while values that are too small lead to self-shadowing artefacts on rounded surfaces. On a real scale, 0.3 cm is a good basic value. The other parameters are of little relevance in everyday practice.
In the case of surface shadows, only three parameters are available for adaptive sampling in addition to the basic parameters. Adaptive, i.e. context-sensitive, intelligent sampling can be found in several places in Cinema 4D, e.g. also in anti-aliasing. In principle, “Minimum Samples” is used for uncomplicated areas, while “Maximum Samples” is responsible for complex areas. The “Accuracy” parameter weights between these areas. In principle, these parameters can remain untouched for the time being.
Photometric tab
The “Photometric” tab is active as soon as an IES light source is selected in the “General” tab
has been selected in the “General” tab. The corresponding IES data set can then be linked here and the brightness can be entered in candela or lumen. “Photometric size” includes the spatial size of the referenced light source and converts the IES light into an area light source.
Caustics tab
Caustic refraction artefacts are bundles of light generated by transparent refractive objects. Such caustics can be activated in the effects of the render presets and defined there with general parameters (surface or volume caustics, strength, samples, etc.). In the “Caustics” tab of the light source, the energy of the effect and its subdivision (“photons”) as well as a separate decrease function can then be defined for each light source.
Noise tab
The “Noise” tab references visible light (if selected) and adds random irregularities to it in terms of visibility and/or illumination in the form of 4 noise functions. These noises can be adjusted in brightness, size, contrast, movement and direction of movement. “Local coordinates” determines whether moving light sources move through a global noise or take it with them (“locally”).
Visible light sources with noise are ideal for creating diffuse, non-shadow-casting clouds or fog fields
(see cover picture).
Lenses tab
There is only one thing to say about this tab full of old lensflare
Effects, there is really only one thing to say: Forget it. Lens flares should always be created in post-production
in post-production.
Project tab
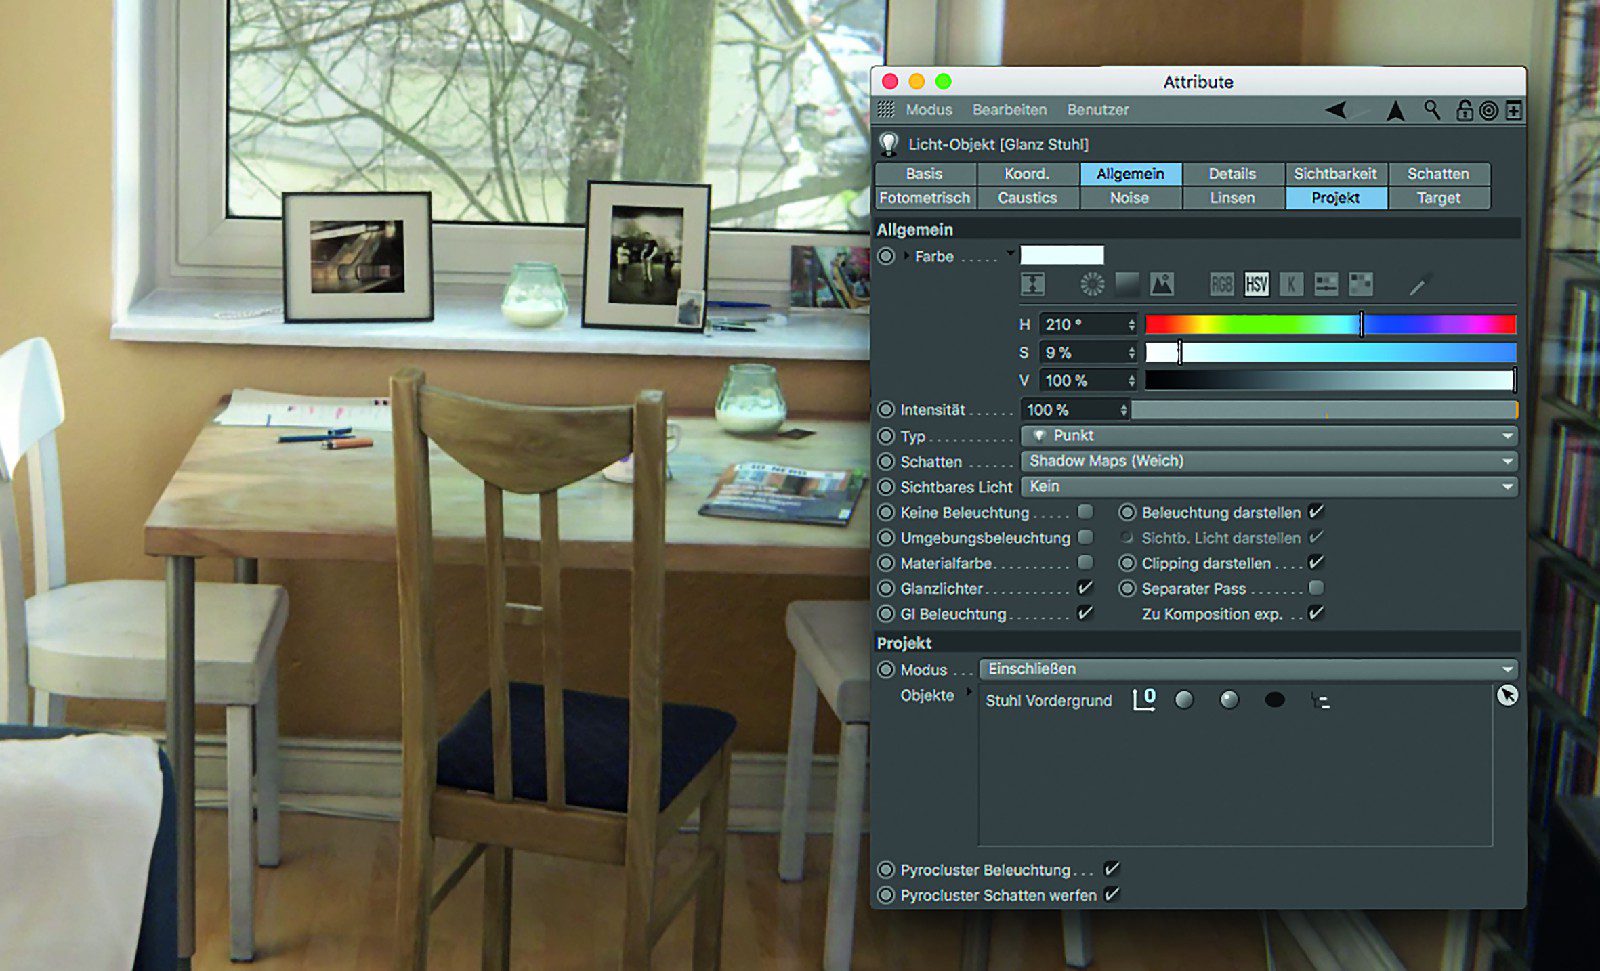
In this tab, you can determine which objects in the scene are affected by a light source and which are not. For example, if you drag an object into the corresponding list field and set the mode to “Exclude”, this object will explicitly not be illuminated by the light source. If you select “Include” instead, only this object will be explicitly illuminated. Please note that an empty list in “Include” mode virtually switches off the light source.
The icons to the right of the object in the list also offer control over further details: For example, you can exclude an object from diffuse lighting, but not from specular lighting – by deactivating the icon for specular lighting (2nd from left). The same works for diffuse lighting and shadow casting (image 06). We have now gained a comprehensive overview of the light sources and shadow types in Cinema 4D and will now turn to their application in the form of various lighting techniques.
Direct and indirect light
Look at the room around you in daylight: only very few areas should be directly illuminated by sunlight. Most of the brightness in your room is probably due to indirect light, i.e. light that has been reflected by several objects on its way from the sun to your eye.
On its way, the light received brightness, colour and directional information from the reflecting objects and is also likely to have become significantly more diffuse. The reason for the latter is the fact that direct light is usually reflected back from surfaces that are not ideally reflective and thus experiences additional scattering – as do the resulting shadows. You can probably already guess the importance of indirect light – indirect light is virtually an indicator of the credibility of a rendering
(image 05).
Manual lighting vs. GI
There are basically two ways to create indirect light in Cinema 4D:
- The automated simulation called Global Illumination (GI) by Cinema 4D’s internal render engines Standard Renderer, Physical Renderer or ProRender.
- The manual placement of a few light sources and the skilful use of supplementary shaders (Smart AO and Shadow Luminance, see part 3 of this series).
Ultimately, your skills as a lighting artist determine the choice of tools. Especially if you are working with animation, global illumination is still a significant time factor with CPU-based rendering. GPU-based render engines can of course help here, but the limited VRAM puts a limit on very complex scenes with dozens of Gbytes of RAM. If you still want to sleep before the deadline, you should have the former solution as a trump card up your sleeve.
Three-point lighting
A very popular standard lighting setup for lighting objects in photography and film is three-point lighting. It allows you to emphasise the spatial conditions of your 3D scene very flexibly and create completely different lighting moods quickly and expressively.
Three-point lighting is therefore a fundamental tool for lighting control, i.e. designing with light. In its basic version, three-point lighting initially consists of three light sources, each with specific functions:
- Main light (key light): The brightest light from diagonally forwards at the top. It determines the direction of illumination and the main shadow. The key light should always have harder shadows than the other lights.
- Fill light: Coming from the left, more towards the centre / bottom. It brightens the shadows of the key light, adds additional soft light and can thus simulate indirect light from the key light.
- Rim light: Bright (often around 150%), coming from the top left behind the object. It emphasises the silhouette of the object and separates it from the background.
Of course, three-point lighting does not just have to consist of the three main components in textbook fashion, but can be supplemented and changed in a variety of ways. In addition to varying the number, position, brightness and hardness of the lights involved, you should experiment with the following tips (Fig. 07):
- Complementary contrasts and spatial depth: a cool / bluish fill appears to come from a greater distance to the human eye than a warm / yellowish key light – this suggests spatial depth
- Key light – this suggests spatial depth. The complementary contrast also heightens the tension of the lighting.

- Colour schemes: When using subtle light colours, it is also a good idea to use colours that recur on materials in the scene. This allows you to maintain a chosen colour scheme and a harmonious and consistent image effect.
- Contrasts control the mood of the image: Strong key-to-fill contrasts and hard highlights with defined shadows create drama, while soft shadows and a balanced key-to-fill ratio (approx. 2:1) create a harmonious lighting mood.
- Lightlinking (lights only affect certain objects) in the “Project” tab: Due to the high brightness, the rim light, for example, should only be applied to the object of interest.
- Using “gloss-only” lights: Switching off the gloss component, e.g. of the main light, and inserting a copy of the main light with a gloss-only component allows diffuse and specular lighting to be controlled separately in terms of quality and space (image 06).
Lighting techniques: Interior lighting
As described above, interior lighting is largely fuelled by indirect light. They therefore belong to the supreme discipline of lighting, all the more so if you want to do without global illumination. This is why it makes sense to make a few preliminary considerations, especially when it comes to interior lighting:
- Is the scene intended for still images or animation?
In the case of animation, will only the camera be animated or will objects also be animated? Will the light remain as it is or will it also be animated? - What is the source of my direct light – spotlights, lamps, sunlight?
- What influence does the direct indirect light have (e.g. when strong sunlight shines on a light-coloured floor)? How deep does it penetrate into the room?
- What influence does natural daylight have and through which passages does it enter the room?
- What is the predominant colour in my room – the colour of the wall paint or, for example, the green of sunlit foliage? (Image 08)
Daylight – from nature to realisation
If you have an existing room as a natural model, you can answer the last three questions with an analytical eye. Take some time and train your eye: what is the strength of the light you are looking at, can you directly observe its reduction, e.g. on walls, at what angle does it spread, how sharp are the shadows created?
Let’s take natural daylight: we could answer the question about transmittance quite simply with “windows and doors”. If we then consider the net yield of daylight through a window as a light source, we could also visualise this in the form of an area light in the shape of the window. This should only be “Limited to Z direction” in the “Details” tab, have a beam angle of 160 to 180 degrees and, if possible, not create any (surface) shadows cast by objects that are very close to the surface light (e.g. blinds). This would create extremely diffuse shadows that would be barely perceptible but very slow to calculate. Also make sure that you use a fall-off with an inverse-square function and a fall-off distance that is sufficient to illuminate the walls opposite the window. You can switch off the gloss component and the visibility of the surface light source for gloss, reflection and rendering, as the outside environment of your room (e.g. an HDRI) will be visible in reflections anyway.
The basic ingredients for interior lighting in natural daylight would therefore be:
- Direct incident sunlight: a slightly yellowish, infinite light with surface shadows for Immediate indirect sunlight (“bounce”): If direct sunlight hits the floor, for example, an area light should be placed at this point and in this size, with its Z-axis pointing towards the ceiling and radiating into the room by means of suitable intensity and decrease (inverse-square). When choosing the colour of the light, reference should be made to the colour of the floor. (Image 09)
- Diffuse daylight: Slightly bluish surface light with surface shadows as above.
- Diffuse room brightness: Objects in the room can be illuminated with a hemispherical surface light in the approximate size and predominant colour of the room, thus actively maintaining a diffuse basic brightness. Instead, you can place half a handful of additional bounce lights in the room as required.
- Shadow Luminance and Smart AO: With Smart AO and Shadow Luminance, we learnt about two shader setups for the passive simulation of indirect light and diffuse shadows in the last issue of this series: Shadow Luminance provides a subtle brightening in shadow areas – this is particularly useful for materials used over large areas, such as wall paint. Smart AO, on the other hand, adds intelligent ambient occlusion only in shadow areas.
Lighting techniques: Outdoor lighting
The ingredients for exterior lighting overlap with those of three-point lighting, as a similar lighting pattern is used depending on the scene content (e.g. automotive visualisation). The principles of indirect light in turn follow the same rules as those explained in the section on interior lighting.
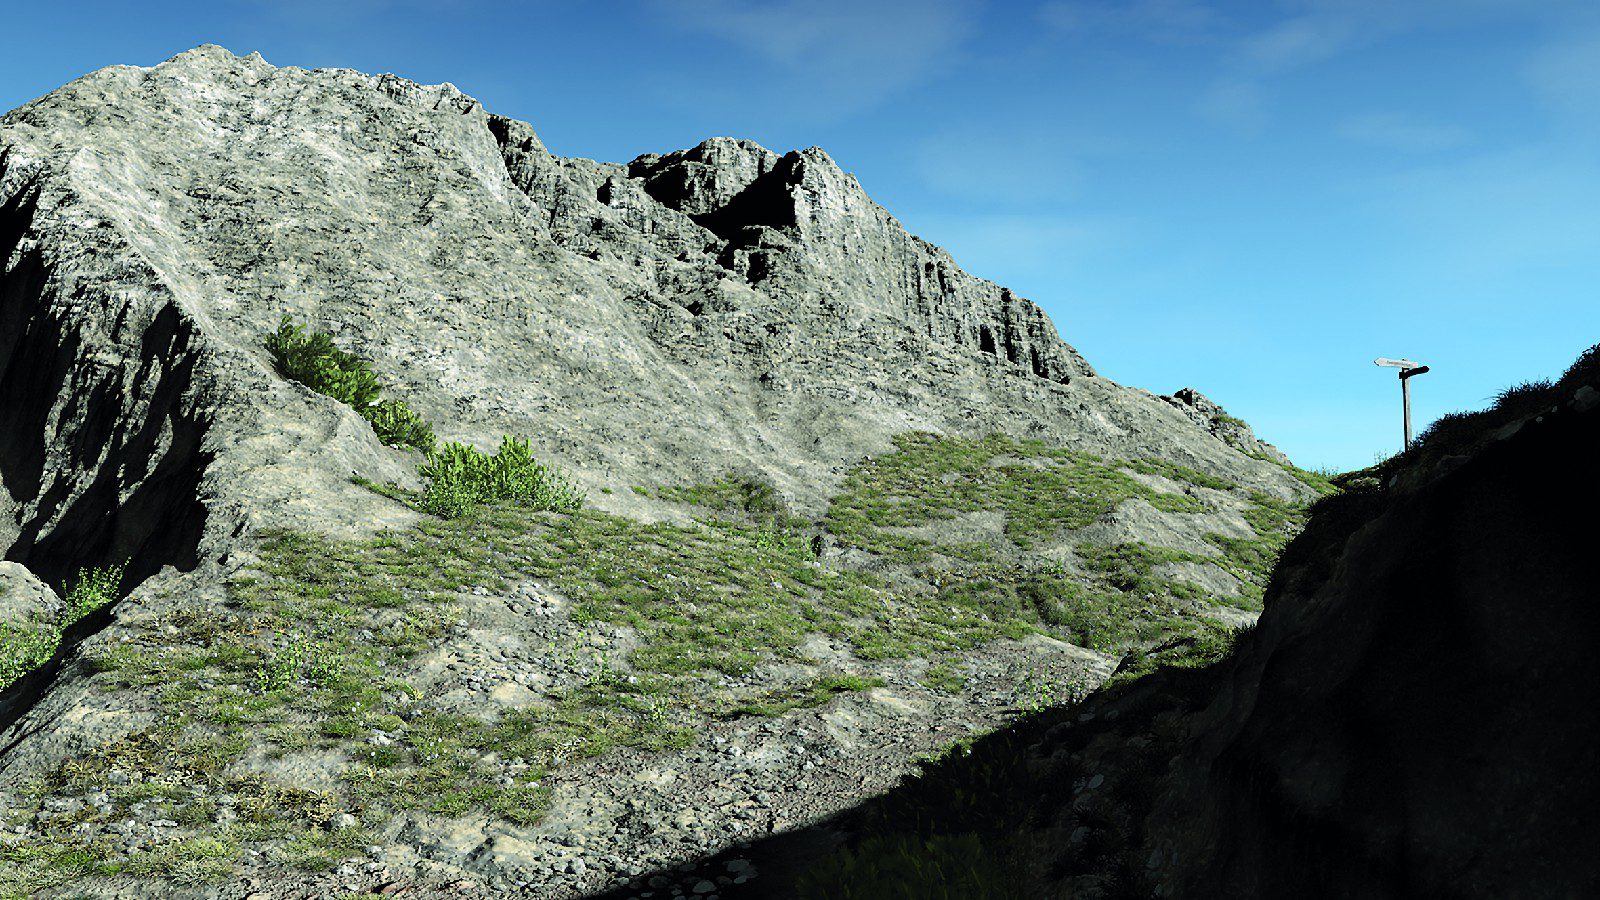
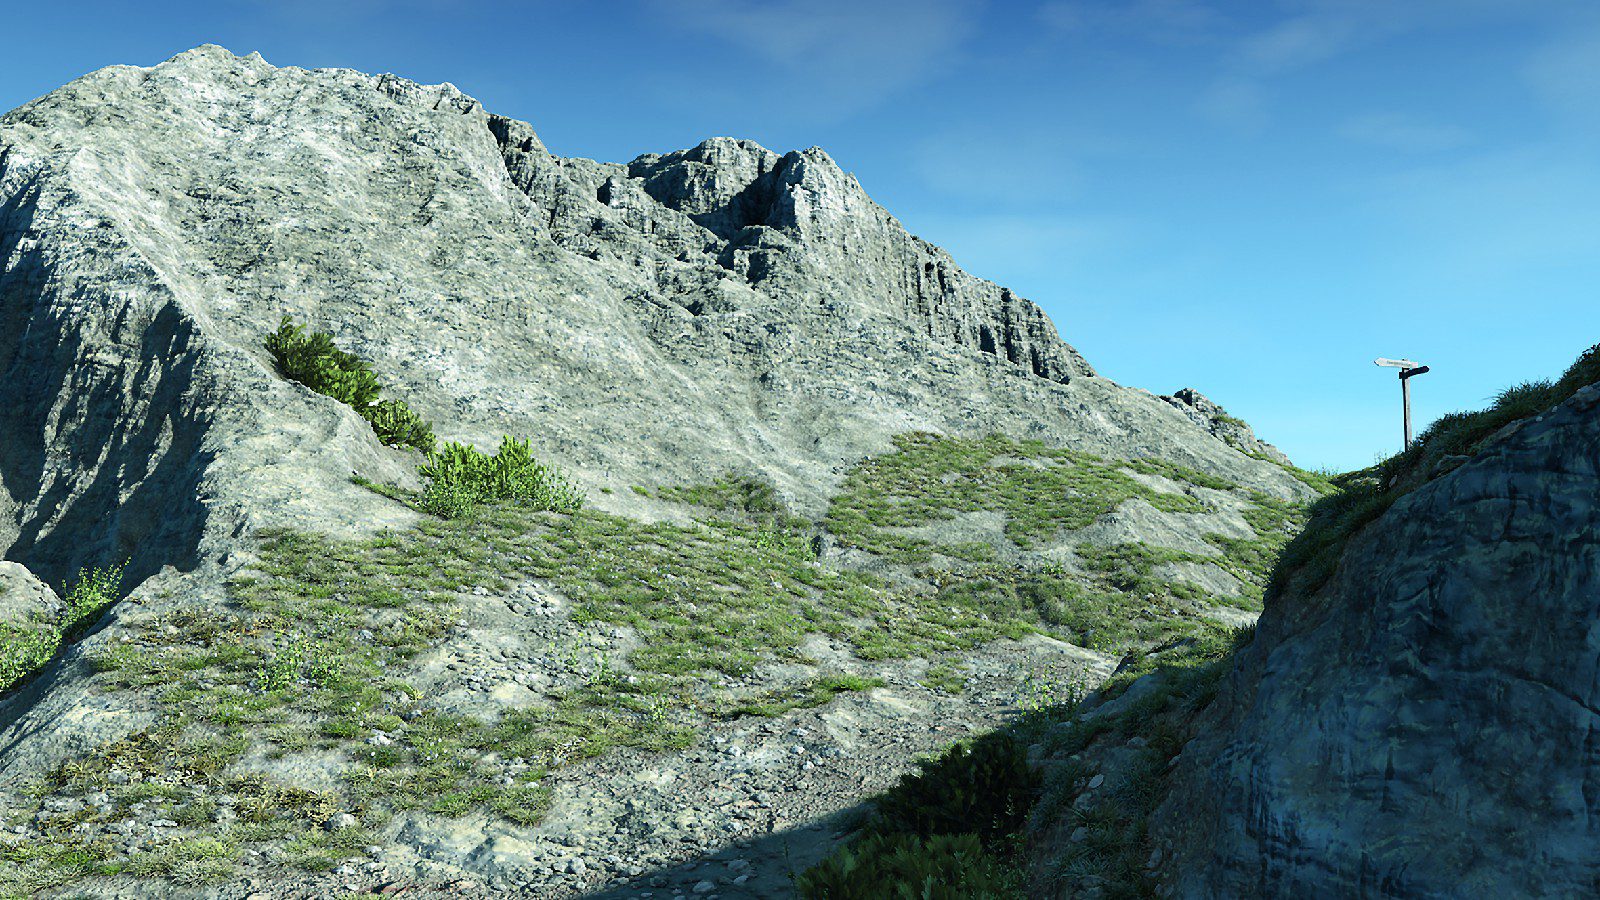
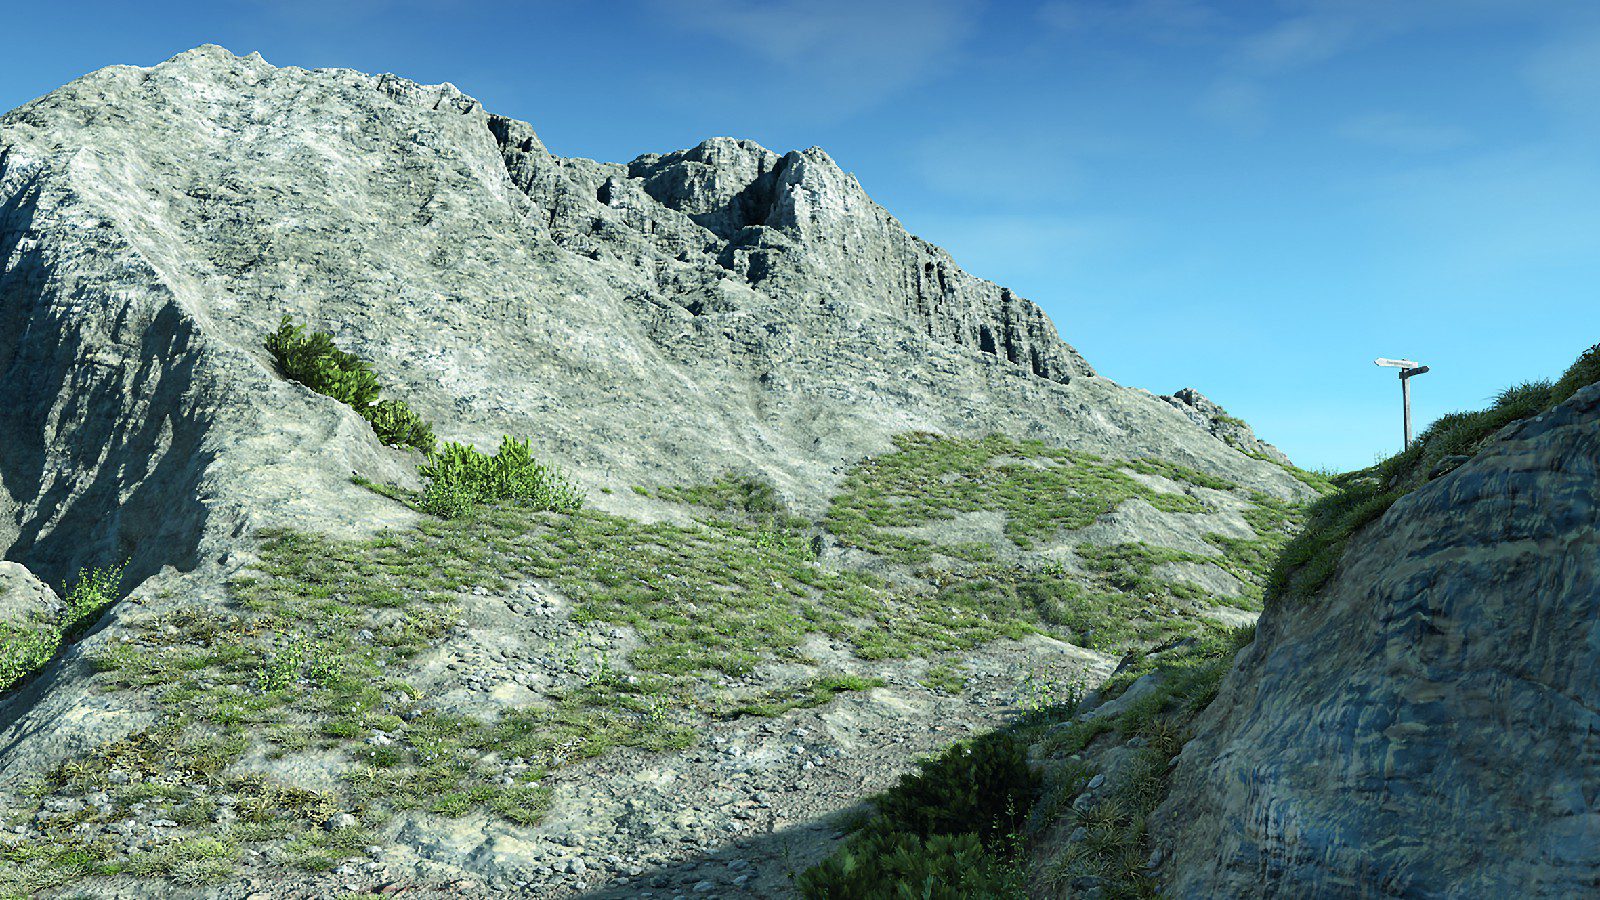
The main difference is, of course, the dominant occurrence of white or slightly yellowish sunlight (infinite light with surface shadows) and bluish sky light / sky dome (very large-scale surface light in hemispherical form with surface shadows). Outdoor scenes on a large scale – as shown in the cover picture – can be illuminated with these two light sources and a few bounce lights.
Conclusion
Creating realistic lighting manually requires some practice, but with a bit of trial and error and Cinema 4D’s steep learning curve, this will soon become a reality.
Alternatively, you can use Global Illumination for indirect lighting. Details on this and tricks that simplify
Rendering will be covered in the next and final instalment of this series.


